
Garmin Approach S2 Screen Replacement

Evan Miller and one other contributor
Last updated on May 22, 2018
Views: 1.3K
View statistics:
- Past 24 Hours:
- 1
- Past 7 Days:
- 13
- Past 30 Days:
- 74
- All Time:
- 1,251
Comments: 2
2 comments on steps.
Completed: 1 2
1 person has marked this guide "completed." Will you be next?
2 people have marked this guide "completed." Including you — great job!
Favorites: 0 1
No one has favorited (and subscribed to) this guide. Will you be the first?
1 person has favorited (and subscribed to) this guide — and that's you!
Needs More Images
A few more images would make this guide's procedures crystal clear.
Missing Steps
Oops! This guide is currently missing one or more important steps.
Incorrect Tools
Help make this guide better by using the correct tools in images and/or text.
Introduction
Go to step 1 ↓In this guide there are delicate parts that will very easily break under tension. Keep this in mind as your move forwards.
What you need
Tools


-
-
-
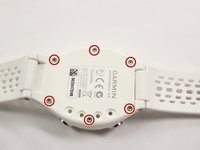
Remove the six T5 Torx 6.32mm screws securing the back cover to the watch.
 Ask FixBot
-
-
-
-
-
-
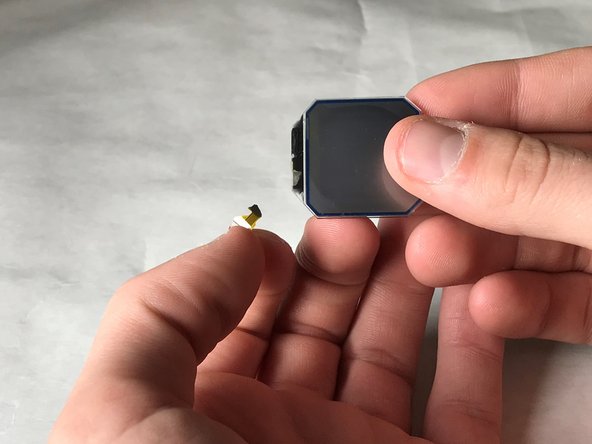
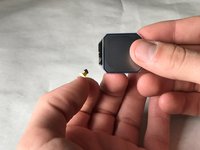
Use a metal spudger to remove the golden retaining clip from the screen. There will be some adhesive to break.
-
-
-
-
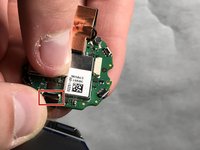
Unhinge the black retaining hinge by prying it open with the metal spudger; Your fingernails will work as well.
-





To reassemble your device, follow these instructions in reverse order.
Cancel: I did not complete this guide.
One other person completed this guide.

Team

IUPUI, Team S4-G1, Baechle Spring 2018 Member of IUPUI, Team S4-G1, Baechle Spring 2018
IUPUI-BAECHLE-S18S4G1
3 Members
36 Guides authored
