Free Shipping on Domestic Orders $75+

Gamestop G3 Gamecube Left and Right Trigger Replacement

What you need

  1. Gamestop G3 Gamecube Left and Right Trigger Replacement, Back Panel: step 1, image 1 of 3 Gamestop G3 Gamecube Left and Right Trigger Replacement, Back Panel: step 1, image 2 of 3 Gamestop G3 Gamecube Left and Right Trigger Replacement, Back Panel: step 1, image 3 of 3
    • First, remove the 6 screws in the back panel and pull the back panel off.

    • Separate the halves of the controller. However, be careful when separating due to the little wires that could get mixed up.

    Ask FixBot

    Add Comment

  2. Gamestop G3 Gamecube Left and Right Trigger Replacement: step 2, image 1 of 3 Gamestop G3 Gamecube Left and Right Trigger Replacement: step 2, image 2 of 3 Gamestop G3 Gamecube Left and Right Trigger Replacement: step 2, image 3 of 3
    • Next, remove the rumble motor by unscrewing the 2 screws connecting it.

    Ask FixBot

    Add Comment

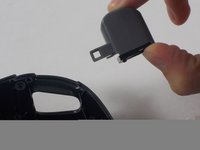
  3. Gamestop G3 Gamecube Left and Right Trigger Replacement: step 3, image 1 of 3 Gamestop G3 Gamecube Left and Right Trigger Replacement: step 3, image 2 of 3 Gamestop G3 Gamecube Left and Right Trigger Replacement: step 3, image 3 of 3
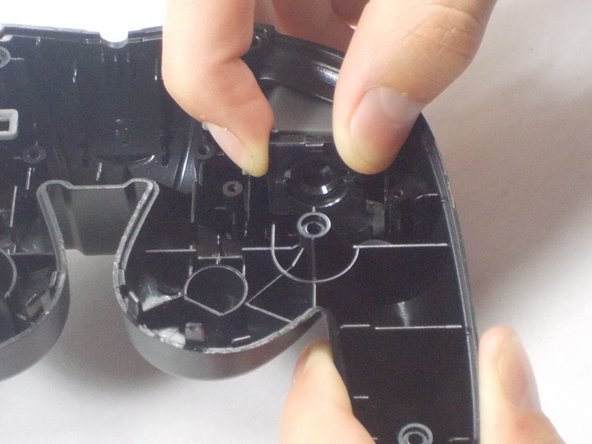
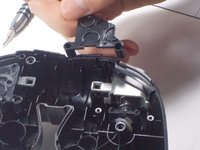
    • Finally remove the screws holding in the right and left triggers. It's easiest to hold the trigger together as shown in the third picture. Remove both the left and right trigger, and then you have successfully removed your back panel.

    Ask FixBot

    Add Comment

  4. Gamestop G3 Gamecube Left and Right Trigger Replacement, Left and Right Trigger: step 4, image 1 of 2 Gamestop G3 Gamecube Left and Right Trigger Replacement, Left and Right Trigger: step 4, image 2 of 2
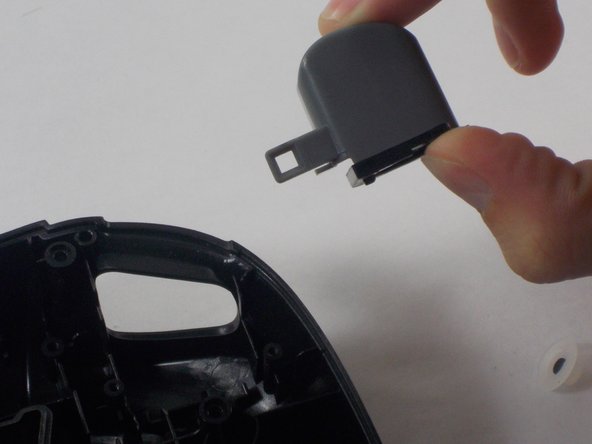
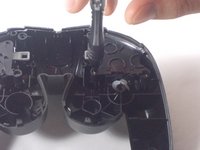
    • Remove the screws holding the plastic bumper cover in place and remove it.

    Ask FixBot

    Add Comment

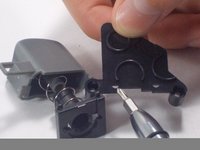
  5. Gamestop G3 Gamecube Left and Right Trigger Replacement: step 5, image 1 of 3 Gamestop G3 Gamecube Left and Right Trigger Replacement: step 5, image 2 of 3 Gamestop G3 Gamecube Left and Right Trigger Replacement: step 5, image 3 of 3
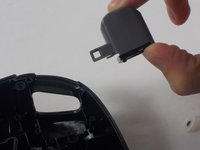
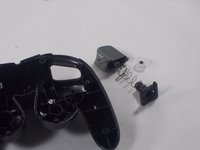
    • At this point you should be able to remove the bumper along with its spring from the controller.

    • Clean thoroughly underneath the bumper and remove any dirt or debris before reattaching.

    • To reassemble the device, follow these steps in reverse order.

    Ask FixBot

    Add Comment

Conclusion

To reassemble your device, follow these instructions in reverse order.

Cancel: I did not complete this guide.

John Harrison

Member since: 10/28/16

225 Reputation

2 Guides authored

Team

UMass Dartmouth, Team 3-5, Isaacson Fall 2016 Member of UMass Dartmouth, Team 3-5, Isaacson Fall 2016

UMASSD-ISAACSON-F16S3G5

3 Members

10 Guides authored

0 Guide Comments

Add Comment

View Statistics:

Past 24 Hours: 0

Past 7 Days: 2

Past 30 Days: 27

All Time: 692