
GameStop GS3 GameCube Controller Disassembly

Brandon and 2 other contributors
Last updated on Aug 6, 2024
Views: 779
View statistics:
- Past 24 Hours:
- 4
- Past 7 Days:
- 24
- Past 30 Days:
- 68
- All Time:
- 779
Comments: 0
No one has left comments on this guide. Will you be first?
Go to guide commentsCompleted: 0 1
No one has marked this guide "completed." Will you be the first?
1 person has marked this guide "completed." It's you — great job!
Favorites: 0 1
No one has favorited (and subscribed to) this guide. Will you be the first?
1 person has favorited (and subscribed to) this guide — and that's you!
Community-Contributed Guide
An awesome member of our community made this guide. It was not created by iFixit staff.
What you need
Tools
-
High Content Rubbing Alcohol$12.99
-


-
-
-
Turn the controller over so the back is facing upwards.
 Ask FixBot
-
-
-
Carefully pry open the controller. Ensure that the rumble assembly stays intact.
-
-
-
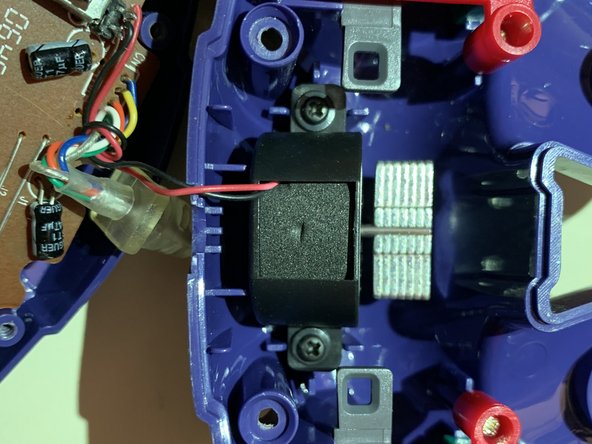
Locate the two black screws attached to the rumble assembly. Remove them and separate the motor from the back casing.
-
-
-
Locate the green pcb on the main assembly. Remove the silver screw on the green pcb to separate it from the controller casing.
-
-
-
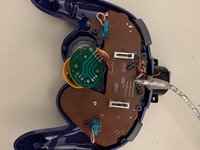
Locate the two silver screws on the brown pcb. Remove them and carefully pry both pcbs off of the controller casing. Ensure that the buttons on the controller casing remain in place.
-
-
-
-
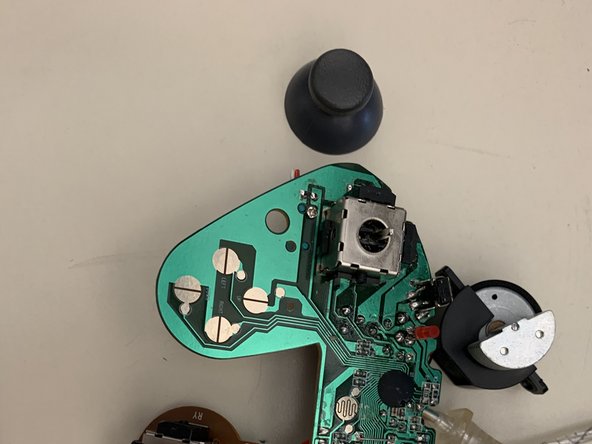
Firmly pry the plastic part of the problematic joystick off of the pcb. Take care to ensure that the pcb remains intact.
-
-
-
Examine the joystick module on the pcb. Stick drift is a common problem and is usually caused by dirt and debris inside the metal casing. Use rubbing alcohol and a tissue to clean the affected area.
-
-









To reassemble your device, follow these instructions in reverse order.

