
GameStop GS3 GameCube Controller Buttons Replacement

Andrew Gonsalves and 11 other contributors
Last updated on Jun 15, 2021
Views: 1.6K
View statistics:
- Past 24 Hours:
- 3
- Past 7 Days:
- 18
- Past 30 Days:
- 85
- All Time:
- 1,569
Comments: 0
No one has left comments on this guide. Will you be first?
Go to guide commentsCompleted: 0 1
No one has marked this guide "completed." Will you be the first?
1 person has marked this guide "completed." It's you — great job!
Favorites: 0 1
No one has favorited (and subscribed to) this guide. Will you be the first?
1 person has favorited (and subscribed to) this guide — and that's you!
Action Shots
Be an action hero! This guide needs images that better demonstrate how to perform specific actions.
Introduction
Go to step 1 ↓After many hours of use, the buttons on the Gamecube Controller can become too loose or stick. This guide will provide instructions on how to replace the buttons of the GameStop GS3 Gamecube Controller. There are ten total buttons in this controller: left and right triggers, Z, turbo, D-pad, start/pause, A, B, X, and Y.
What you need
Tools

-
-
-
First, remove the 6 screws in the back panel and pull the back panel off.
-
Separate the halves of the controller. However, be careful when separating due to the little wires that could get mixed up.
 Ask FixBot
-
-
-
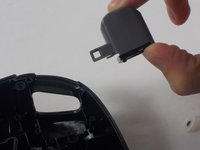
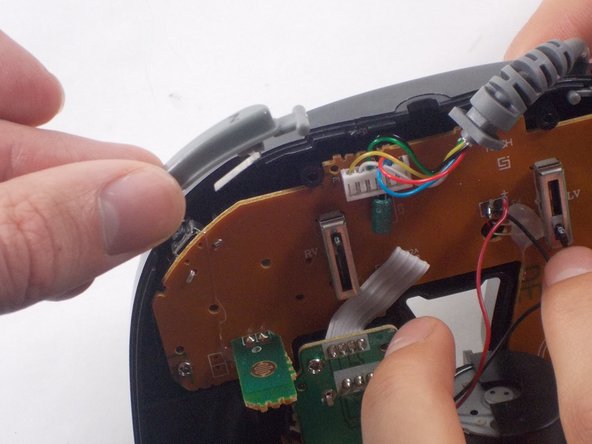
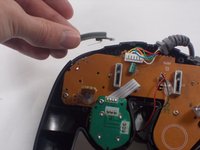
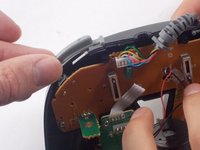
Finally remove the screws holding in the right and left triggers. It's easiest to hold the trigger together as shown in the third picture. Remove both the left and right trigger, and then you have successfully removed your back panel.
-
-
-
-
-
Hold the controller as shown in the picture so that you can remove the circuit board.
-
-
-
Now that the back panel has been removed it should be easy to snap off the "Z" and "TURBO" buttons as shown in the images.
-
-
-
Remove the two screws on the motherboard so that you can remove the motherboard from the front cover.
-
-
-


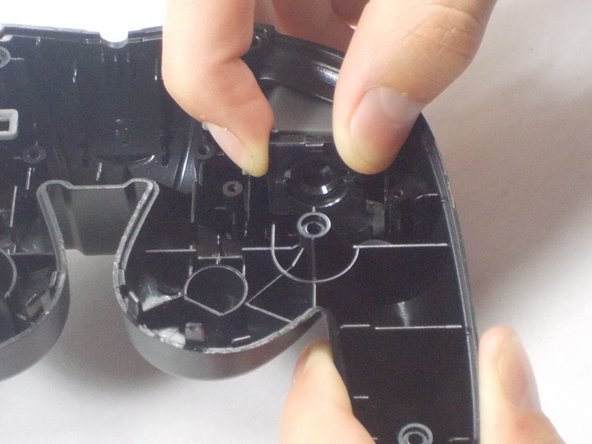
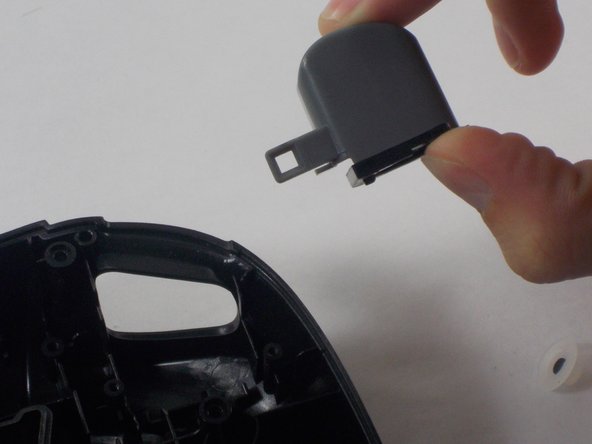




To reassemble your device, follow these instructions in reverse order.

Team

UMass Dartmouth, Team 3-5, Isaacson Fall 2016 Member of UMass Dartmouth, Team 3-5, Isaacson Fall 2016
UMASSD-ISAACSON-F16S3G5
3 Members
60 Guides authored
