Free Shipping on Domestic Orders $75+

GameSir X2 Type-C Left Joystick Replacement

What you need

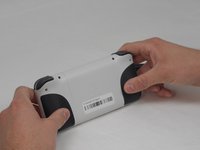
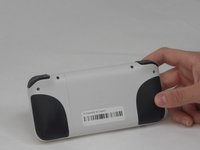
  1. GameSir X2 Type-C Left Joystick Replacement, Back Cover: step 1, image 1 of 2 GameSir X2 Type-C Left Joystick Replacement, Back Cover: step 1, image 2 of 2
    • Turn the device so the back faces you.

    Ask FixBot
    Add Comment

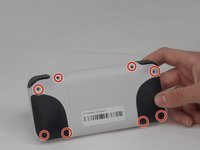
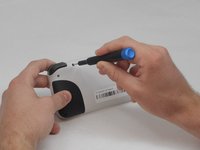
  2. GameSir X2 Type-C Left Joystick Replacement: step 2, image 1 of 2 GameSir X2 Type-C Left Joystick Replacement: step 2, image 2 of 2
    • Remove the eight 6 mm T6 Torx screws.

    Ask FixBot
    Add Comment

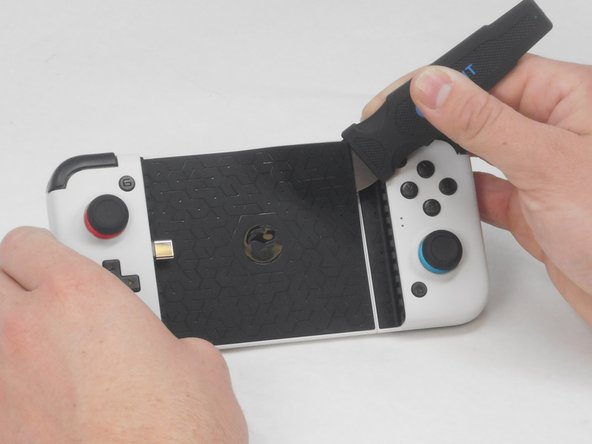
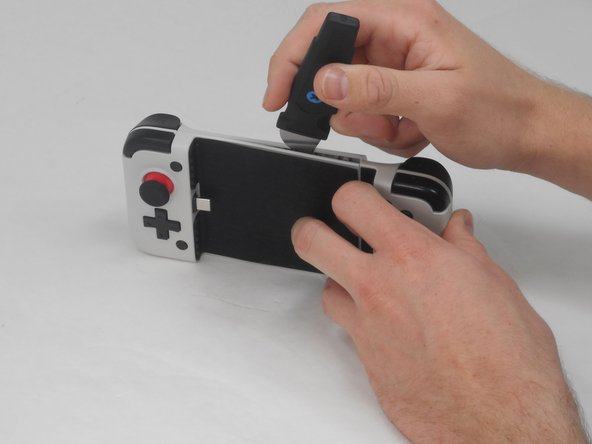
  3. GameSir X2 Type-C Left Joystick Replacement: step 3, image 1 of 1
    • Use a straight edge to remove the rubber pad on the front of the device.

    Ask FixBot
    Add Comment

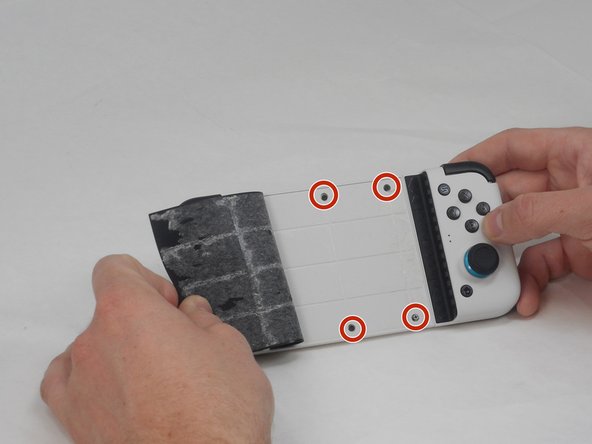
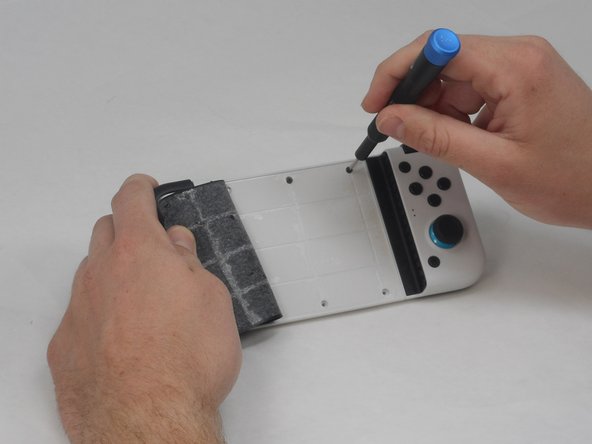
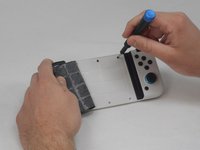
  4. GameSir X2 Type-C Left Joystick Replacement: step 4, image 1 of 2 GameSir X2 Type-C Left Joystick Replacement: step 4, image 2 of 2
    • Remove the four 4.5 mm screws with a Phillips #000 screwdriver.

    Ask FixBot
    Add Comment

  5. GameSir X2 Type-C Left Joystick Replacement: step 5, image 1 of 2 GameSir X2 Type-C Left Joystick Replacement: step 5, image 2 of 2
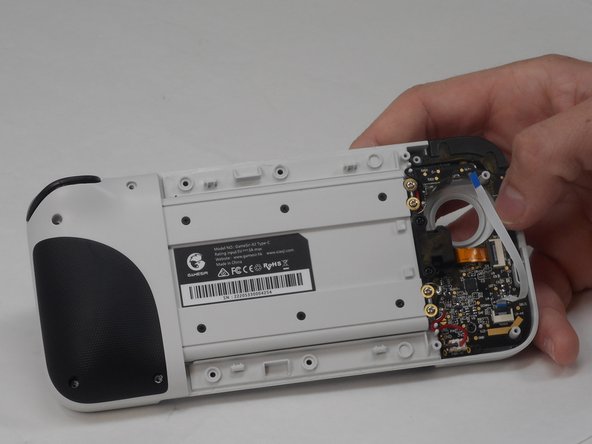
    • Use a straight edge to pry open the controller, following the seam on the controller.

    • Some force is necessary, but be careful not to damage any of the clips holding the controller together.

    Ask FixBot
    Add Comment

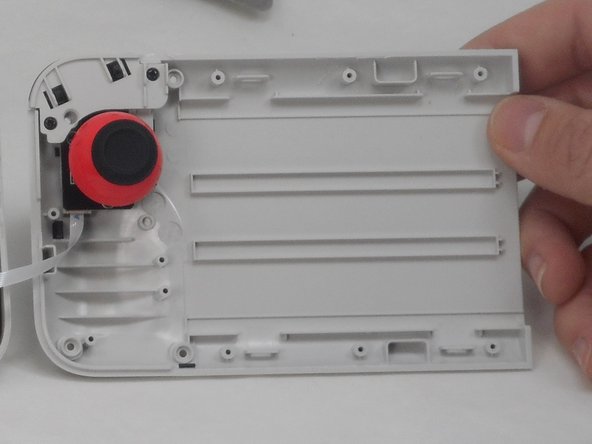
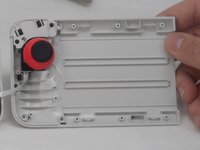
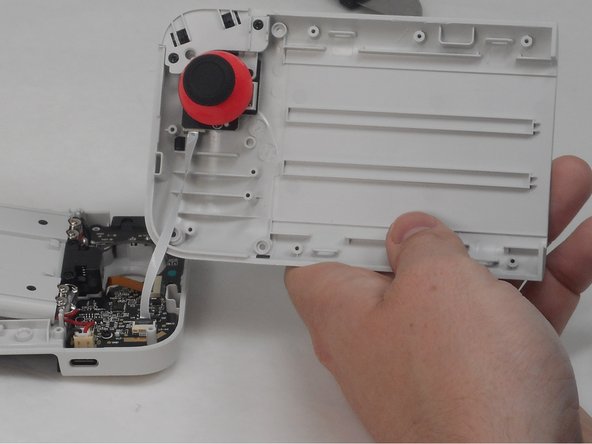
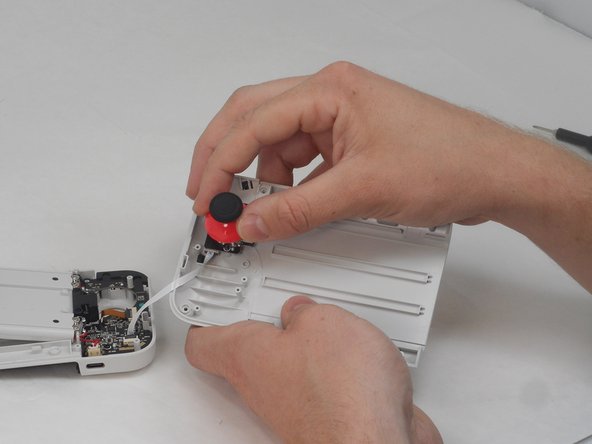
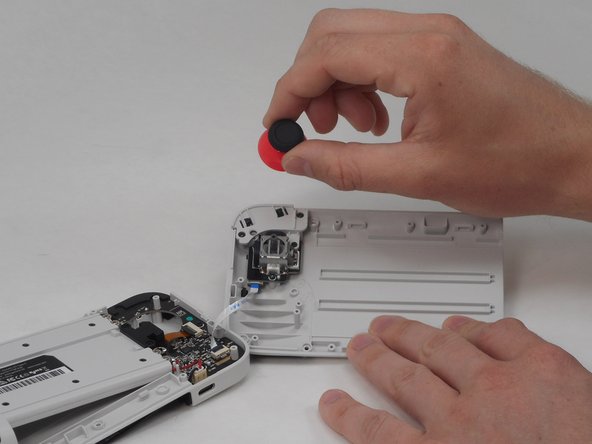
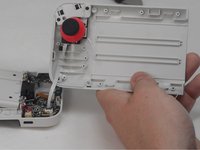
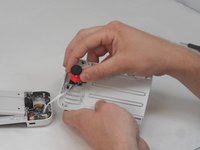
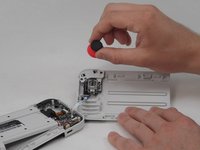
  6. GameSir X2 Type-C Left Joystick Replacement, Left Joystick: step 6, image 1 of 3 GameSir X2 Type-C Left Joystick Replacement, Left Joystick: step 6, image 2 of 3 GameSir X2 Type-C Left Joystick Replacement, Left Joystick: step 6, image 3 of 3
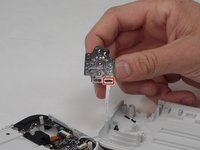
    • Pull the joystick cap out of its socket.

    Ask FixBot
    Add Comment

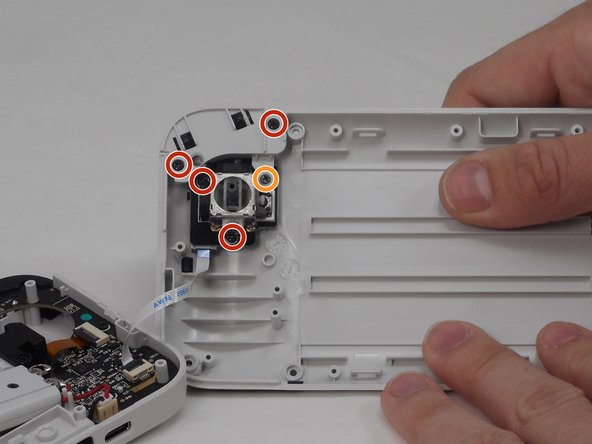
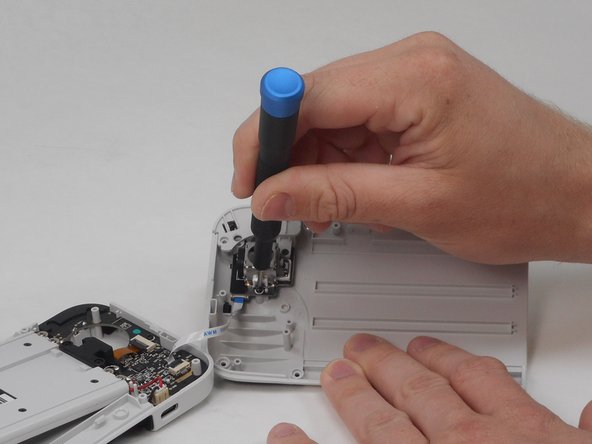
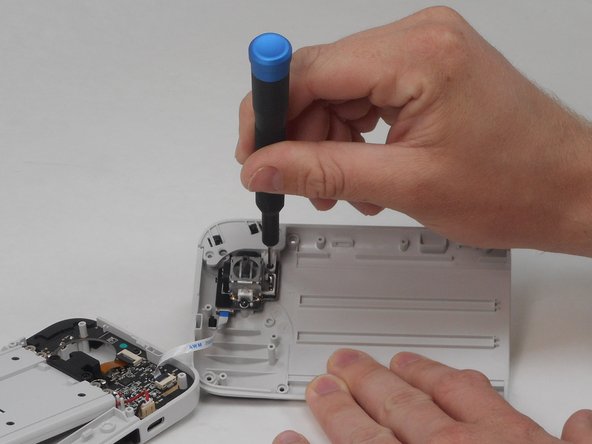
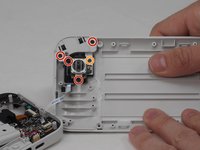
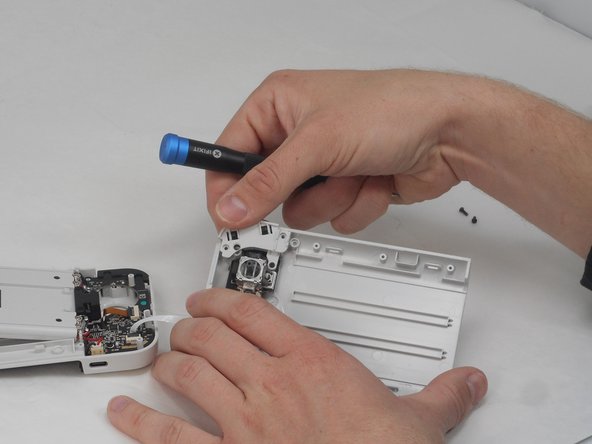
  7. GameSir X2 Type-C Left Joystick Replacement: step 7, image 1 of 3 GameSir X2 Type-C Left Joystick Replacement: step 7, image 2 of 3 GameSir X2 Type-C Left Joystick Replacement: step 7, image 3 of 3
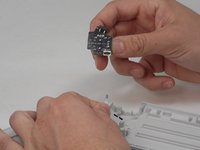
    • Remove the four 6 mm screws using a Phillips #00 screwdriver.

    • Remove the single 7.5 mm screw using a Phillips #00 screwdriver.

    Ask FixBot
    Add Comment

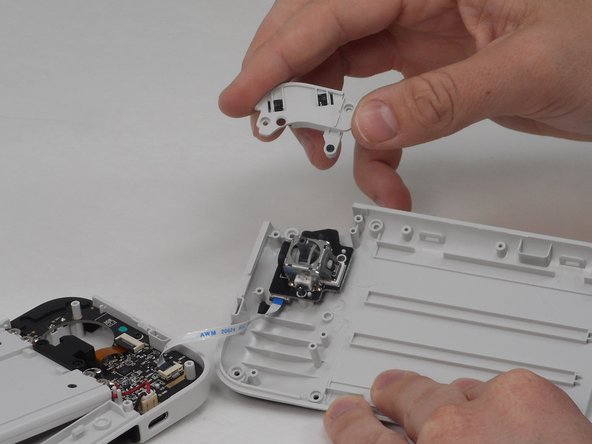
  8. GameSir X2 Type-C Left Joystick Replacement: step 8, image 1 of 2 GameSir X2 Type-C Left Joystick Replacement: step 8, image 2 of 2
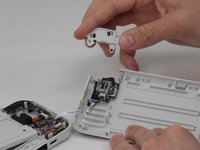
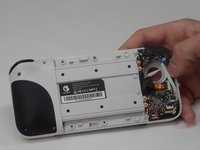
    • Pull out the left trigger.

    Ask FixBot
    Add Comment

  9. GameSir X2 Type-C Left Joystick Replacement: step 9, image 1 of 1
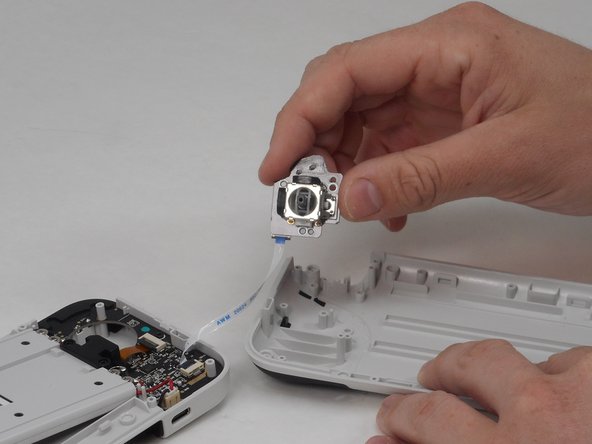
    • Pull out the left joystick.

    Ask FixBot

    Add Comment

  10. GameSir X2 Type-C Left Joystick Replacement: step 10, image 1 of 3 GameSir X2 Type-C Left Joystick Replacement: step 10, image 2 of 3 GameSir X2 Type-C Left Joystick Replacement: step 10, image 3 of 3
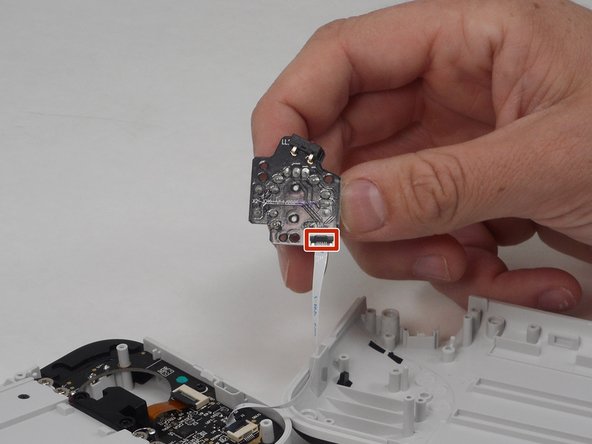
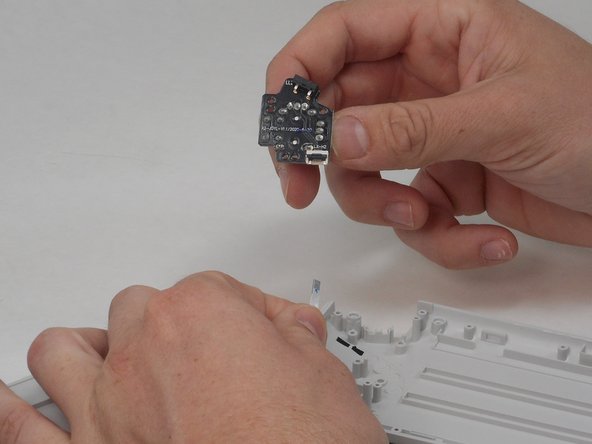
    • Flip up the black ZIF locking flap to disconnect the ribbon cable.

    Ask FixBot

    Add Comment

Conclusion

To reassemble your device, follow these instructions in reverse order.

Cancel: I did not complete this guide.

One other person completed this guide.

Guillermo Lopez

Member since: 02/16/24

133 Reputation

1 Guide authored

1 Guide Comment

Nice guide, but where does one procure a replacement thumbstick assembly?

Rens van den Heuvel - Reply Share

Add Comment

View Statistics:

Past 24 Hours: 1

Past 7 Days: 16

Past 30 Days: 61

All Time: 1,542