Introduction
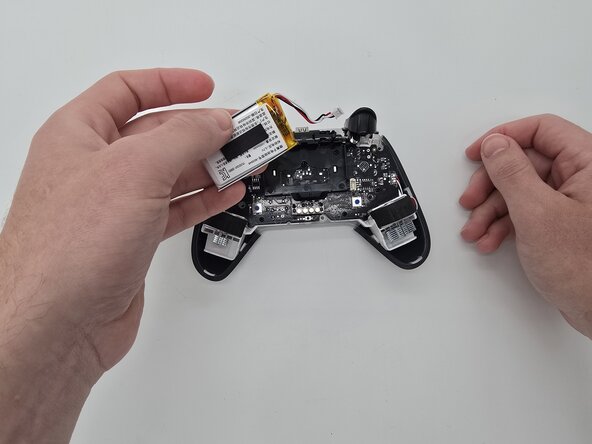
Use this guide to remove and replace the battery in the GameSir Super Nova Controller. The battery powers the controller and should be replaced if you experience poor battery life, charging issues, or random shutdowns.
This controller uses a 3.7 V, 1000 mAh battery.
• Caution: Do not puncture or bend the battery during removal.
• Reminder: Reconnect the battery cable securely before reassembly.
What you need
-
-
-
Press your fingertips into the seams of the controller and gently pry the faceplate off.
 Ask FixBot
-
-
-
-
-
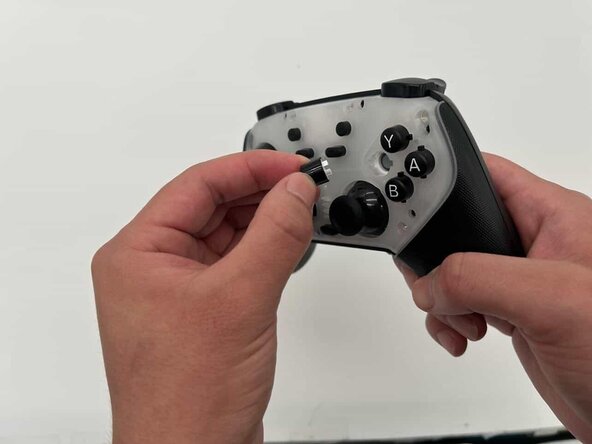
Remove the interchangeable buttons and joystick caps from the controller by pulling them up.
-
-
-
-
-
-
Remove the seven 7 mm screws from the outer shell using a Phillips #00 screwdriver.
-
-
-
Use your iFixit opening tool to disengage the clips of the back of your controller shell.
-
-




To reassemble your device, follow these instructions in reverse order.
Cancel: I did not complete this guide.
2 other people completed this guide.

Team

University of North Texas, Team 1-2, Kilpatrick Spring 2026 Member of University of North Texas, Team 1-2, Kilpatrick Spring 2026
UNT-KILPATRICK-S26S1G2
4 Members
72 Guides authored
