Introduction
If your GameSir Nova 2 Lite controller’s bumpers are unresponsive, sticky, or broken, this guide will help you replace them and restore full functionality. Over time, the bumpers can wear out due to frequent use, accidental drops, or internal component damage.
Before you begin, make sure to power off the controller and disconnect it from any devices to avoid accidental shocks or damage during the repair.
What you need
-
-
-
Use a Phillips #0 screwdriver to remove the four 8.5 mm screws from the bottom of the controller's casing.
 Ask FixBot
-
-
-
Insert an opening tool between the two halves to open the controller's casing.
-
Disconnect them by sliding the opening tool along the seam in the casing, applying continuous pressure.
-
Once you find a connector, apply increased pressure until you hear a snapping sound.
-
Repeat this process until all of the connectors are disconnected.
-
Separate the top and bottom of the controller case.
-
-
-
Set aside the bottom half of the shell.
-
Position the controller so that the motherboard is visible.
-
Use the point of a spudger to push on alternating sides of the battery connector to "walk" it out of its socket.
-
-
-
-
Use a spudger to loosen the tape securing the battery.
-
Remove the battery from the controller.
-
-
-
-
-
Push on alternating sides of the JST connector to release it from the socket on the circuit board.
-
If that doesn't work, use a pair of tweezers to firmly grip the sides of the connector and pull straight away from the socket. Hold the tweezers closer to the connector to get a better grip.
-
-
-
Pull the motor out of its socket.
-
Repeat the steps for the other rumble motor.
-
-
-
-
-
Use a Phillips #0 screwdriver to remove the four 5.5 mm screws from the main board.
-
Remove the motherboard and frame from the outer case.
-
-
-
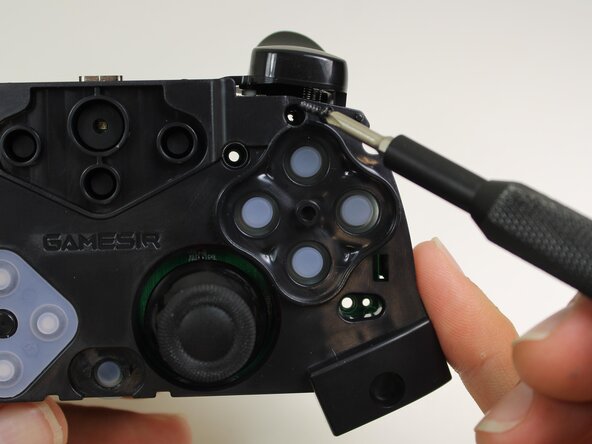
Use a Phillips #0 screwdriver to remove two 5.5 mm screws from the casing.
-
Use an opening tool to separate the motherboard from the casing.
-
-






To reassemble your device, follow these instructions in reverse order. Take your e-waste to an R2 or e-Stewards certified recycler.
Cancel: I did not complete this guide.
3 other people completed this guide.

Team

Austin Community College, Team 10-2, Watkins Fall 2025 Member of Austin Community College, Team 10-2, Watkins Fall 2025
AUSTINCC-WATKINS-F25S10G2
4 Members
71 Guides authored
