
Game Boy Pocket Buttons Replacement

Adriana Rahrig and 4 other contributors
Last updated on Jun 11, 2021
Views: 6.3K
View statistics:
- Past 24 Hours:
- 3
- Past 7 Days:
- 30
- Past 30 Days:
- 134
- All Time:
- 6,261
Comments: 1
1 guide comment.
Go to guide commentsCompleted: 3 4
3 people have marked this guide "completed." Will you be next?
4 people have marked this guide "completed." Including you — great job!
Favorites: 1 2
1 person has favorited (and subscribed to) this guide. Will you be next?
2 people have favorited (and subscribed to) this guide — including you!
Slice and Dice
The steps in this guide should be split up and made into a series of prerequisite guides.
Introduction
Go to step 1 ↓If you need to replace the face buttons on a Game Boy Pocket (model MGB-001) due to worn-out buttons or to customize your console, use this guide to remove and replace the buttons. No prior experience or soldering is required.
The Game Boy Pocket has five buttons located on the front of the device:
- Directional Pad (D-Pad)
- A
- B
- Start
- Select
Before beginning, ensure that the console is powered off by moving the power switch located on the top left corner to the left position. It is recommended that you remove the two AAA batteries located on the lower backside of the console as well as any game cartridges from the slot on the top of the console.
What you need


-
-
-
Place the Game Boy Pocket face-down on a clean, flat surface.
-
Use a Y1 tri-wing screwdriver and turn counterclockwise to remove the four external screws.
-
Use a Y1 tri-wing screwdriver and turn counterclockwise to remove the two screws inside the battery compartment.
 Ask FixBot
-
-
-
Place your hands on the front and back covers of the Game Boy Pocket, and carefully separate the device.
-
-
-
Use a Phillips #1 screwdriver to remove the three screws from the motherboard.
-
-
-
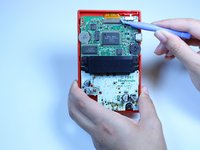
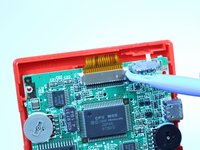
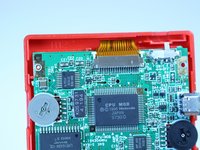
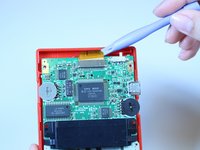
Use a plastic opening tool to dislodge and remove the clip securing the ribbon cable.
-
-
-
-
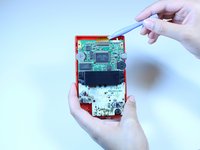
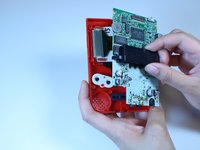
Grab the black piece protruding from the motherboard, and lift up to remove the motherboard.
-
-
-
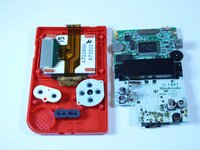
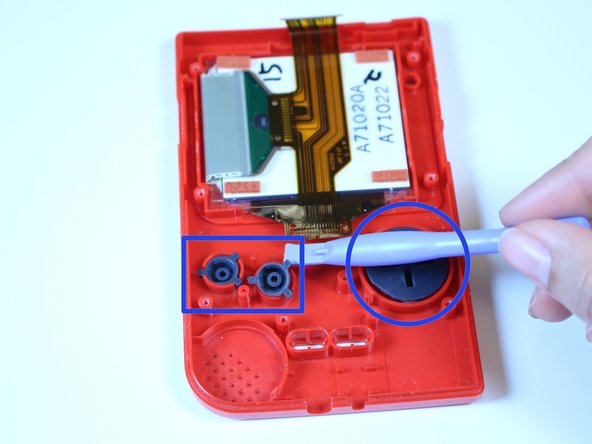
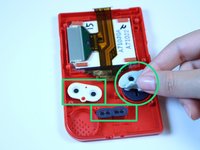
Use your fingers to remove the three silicone button covers.
-
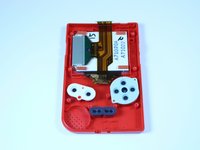
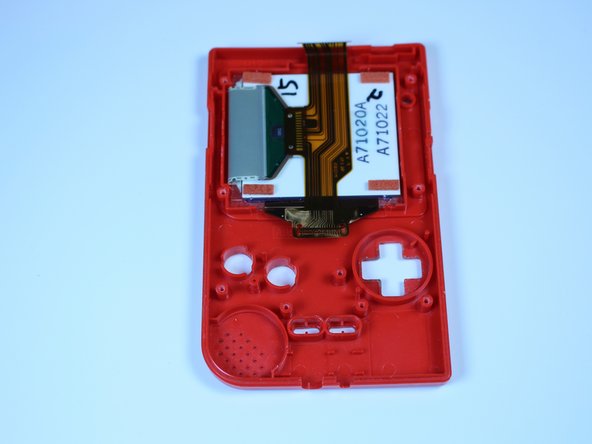
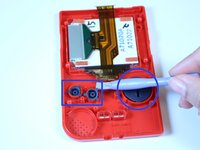
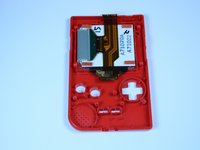
Use a plastic opening tool to remove the buttons.
-
-







To reassemble your device, follow these instructions in reverse order.
Cancel: I did not complete this guide.
3 other people completed this guide.

Team

USF Tampa, Team 1-1, Leahy Fall 2014 Member of USF Tampa, Team 1-1, Leahy Fall 2014
USFT-LEAHY-F14S1G1
4 Members
60 Guides authored
1 Guide Comment
where can you just buy the a and b buttons (if possible)
