
GK61 Keyboard Keycap/Switch Replacement

Alexander Truong and one other contributor
Last updated on Jul 13, 2021
Views: 2.6K
View statistics:
- Past 24 Hours:
- 4
- Past 7 Days:
- 21
- Past 30 Days:
- 102
- All Time:
- 2,575
Comments: 0
No one has left comments on this guide. Will you be first?
Go to guide commentsCompleted: 0 1
No one has marked this guide "completed." Will you be the first?
1 person has marked this guide "completed." It's you — great job!
Favorites: 0 1
No one has favorited (and subscribed to) this guide. Will you be the first?
1 person has favorited (and subscribed to) this guide — and that's you!
Better Introduction
Improve this guide by completing or revising its introduction.
Introduction
Go to step 1 ↓In this guide, I will show the process of repairing and replacing keycap switches on the GK61 Keyboard mechanical keyboard.
Over a period of time, though keyboards look fine on the exterior, the little crevices collect hair, oils and dust which will affects its performance. This guide will show how easy it is to repair your mechanical keyboard.
What you need
Tools
-
-
-
-
-
-
High Content Rubbing Alcohol$12.99
-


-
-
-
Use a keycap puller to remove the top and bottom of the keycaps from the keyboard.
-
When pulling the keycap, make sure to apply pressure until you hear a click sound from the keycap.
-
-
-
Using a hand held vacuum cleaner remove any excess dust, hair, and oils.
-
Tilting your keyboard will also help for a deeper clean
-
-
-
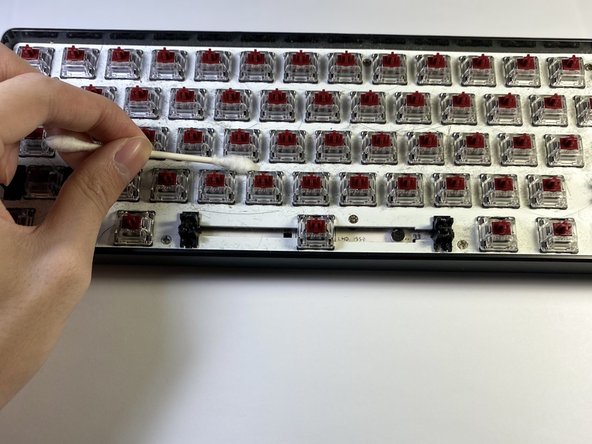
Using a Q-Tip with rubbing alcohol, gently clean and rub the crevices around the plate of the keyboard.
-
-
-
-
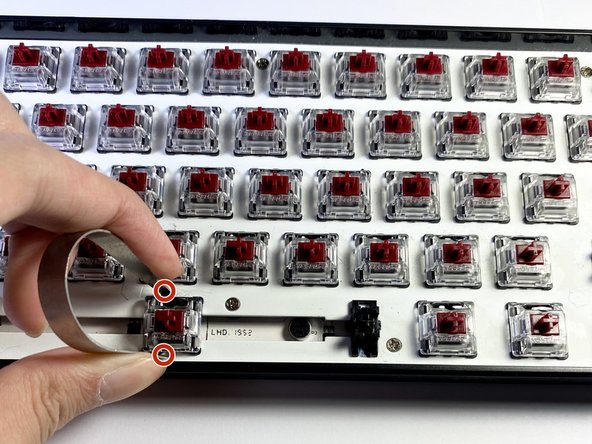
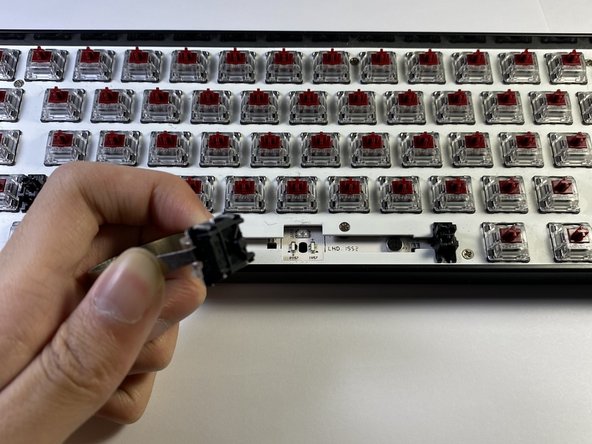
Using a switch puller, pull the keyboard switch from the top and bottom of the switch.
-
-
-
Grab a replacement switch to replace the broken switch.
-
Push the switch straight down into the socket of the switch.
-
-
-
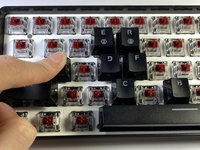
After drying the keycaps, put the keycaps back into their sockets.
-
Align the keycap with the socket of the switch and push straight down with a bit of pressure.
-

 Ask FixBot






To reassemble your device, follow these instructions in reverse order.

Team

York University, Team S1-G28, O'Regan Summer 2021 Member of York University, Team S1-G28, O'Regan Summer 2021
YORK-O'REGAN-SU21S1G28
1 Member
12 Guides authored
