Free Shipping on Domestic Orders $75+

GE Side By Side Refrigerator Ice Maker Replacement

What you need

  1. GE Side By Side Refrigerator Ice Maker Replacement, Unplug your refrigerator: step 1, image 1 of 1
    • Unplug your refrigerator before you begin your repair.

    • If you are testing or repairing the following items, you may also need to shut off and disconnect the water supply:

    • Condenser fan motor

    • Compressor motor and thermal overload device

    • Water supply valve assembly

    Ask FixBot

    Add Comment

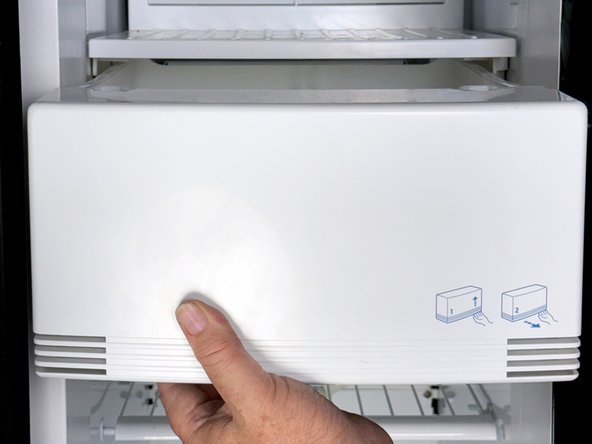
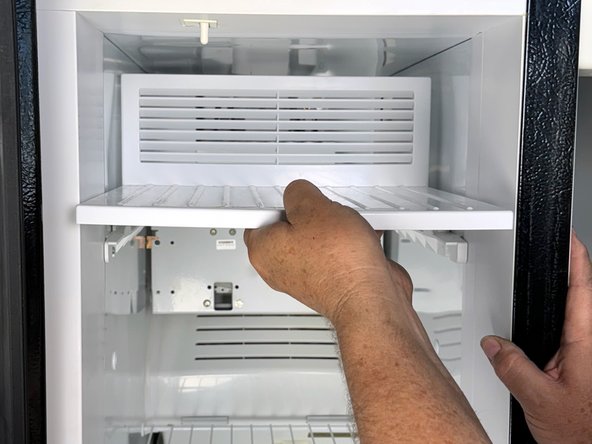
  2. GE Side By Side Refrigerator Ice Maker Replacement, Remove ice bin: step 2, image 1 of 3 GE Side By Side Refrigerator Ice Maker Replacement, Remove ice bin: step 2, image 2 of 3 GE Side By Side Refrigerator Ice Maker Replacement, Remove ice bin: step 2, image 3 of 3
    • Grasp the ice bin and lift it upward slightly.

    • Pull the bin out of the freezer compartment and remove it.

    Ask FixBot

    Add Comment

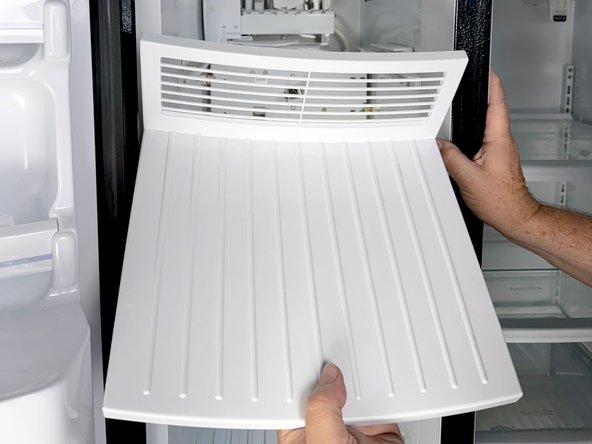
  3. GE Side By Side Refrigerator Ice Maker Replacement, Remove ice maker cover: step 3, image 1 of 3 GE Side By Side Refrigerator Ice Maker Replacement, Remove ice maker cover: step 3, image 2 of 3 GE Side By Side Refrigerator Ice Maker Replacement, Remove ice maker cover: step 3, image 3 of 3
    • Lift the front edge of the cover 1cm (1/2") and pull the cover out of the freezer compartment.

    Ask FixBot

    Add Comment

  4. GE Side By Side Refrigerator Ice Maker Replacement, Unfasten ice maker: step 4, image 1 of 1
    • Use a 1/4" nut driver to loosen or remove the two screws securing the ice maker in place.

    Ask FixBot

    Add Comment

  5. GE Side By Side Refrigerator Ice Maker Replacement, Reposition the ice maker: step 5, image 1 of 3 GE Side By Side Refrigerator Ice Maker Replacement, Reposition the ice maker: step 5, image 2 of 3 GE Side By Side Refrigerator Ice Maker Replacement, Reposition the ice maker: step 5, image 3 of 3
    • Lift the icemaker upward to allow the mounting keyholes to slip over the screw heads.

    Ask FixBot

    Add Comment

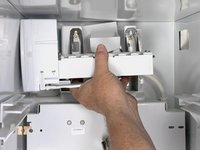
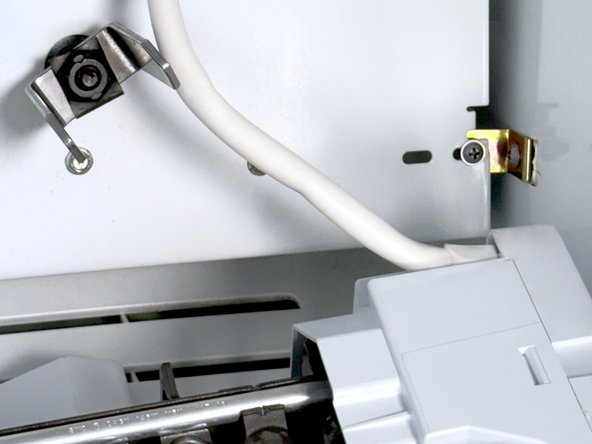
  6. GE Side By Side Refrigerator Ice Maker Replacement: step 6, image 1 of 2 GE Side By Side Refrigerator Ice Maker Replacement: step 6, image 2 of 2
    • Reposition the ice maker to the lower right, below the auger motor.

    • You may be able to rest it on a lower shelf.

    • The ice maker is still connected to the electrical supply. Don't try to remove it yet.

    Ask FixBot

    Add Comment

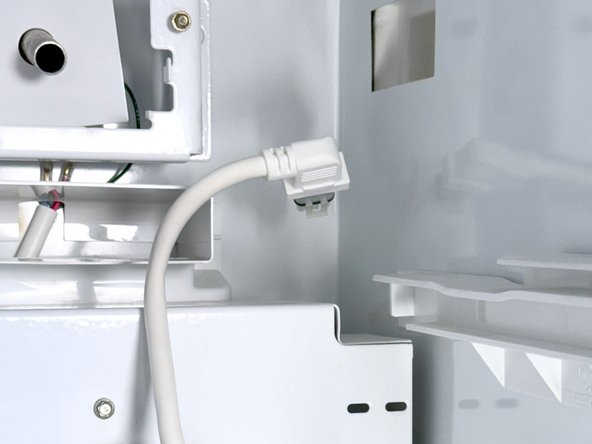
  7. GE Side By Side Refrigerator Ice Maker Replacement, Disconnect ice maker: step 7, image 1 of 3 GE Side By Side Refrigerator Ice Maker Replacement, Disconnect ice maker: step 7, image 2 of 3 GE Side By Side Refrigerator Ice Maker Replacement, Disconnect ice maker: step 7, image 3 of 3
    • Disconnect ice maker plug by loosening the retainer clips by lifting them if possible and then pulling the plug out of the socket. The socket is shown with the plug removed.

    • This may take some force. You can try lifting the retainer clips with a small flat head screwdriver, but access is difficult.

    • Remove the ice maker from the freezer compartment.

    Ask FixBot

    Add Comment

Conclusion

To reassemble your device, follow these instructions in reverse order.

Take your e-waste to an R2 or e-Stewards certified recycler.

Repair didn’t go as planned? Try some basic troubleshooting, or ask our  Answers community for help.

Cancel: I did not complete this guide.

Bill Gilbert

Member since: 06/30/22

40,137 Reputation

261 Guides authored

Team

iFixit Member of iFixit

Staff

123 Members

28,236 Guides authored

0 Guide Comments

Add Comment

View Statistics:

Past 24 Hours: 9

Past 7 Days: 53

Past 30 Days: 249

All Time: 3,152