Introduction
If the motor of your laminator is not working, it may need to be replaced. Since the motor is inside of the device, you need to disassemble the Laminator. For this guide, you will need to open the top of the device using a Phillips #2 screwdriver to remove the screws. It is not difficult to open the laminator, but some of the components may be difficult to pull apart.
What you need
-
-
Using the Phillips #2 screwdriver, remove ten 12 mm long screws on the bottom of the device.
 Ask FixBot
-
-
-
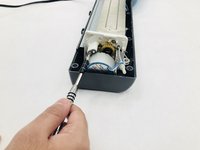
Open the top of the device, and the inside of the Laminator will be exposed as shown.
-
-
-
-
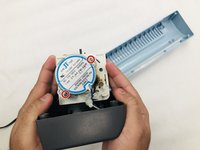
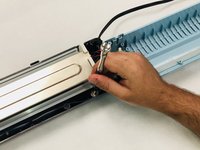
Using the Phillips #2 screwdriver, remove two 9 mm long screws on the side of the main component that keep the motor in place.
-
-
-
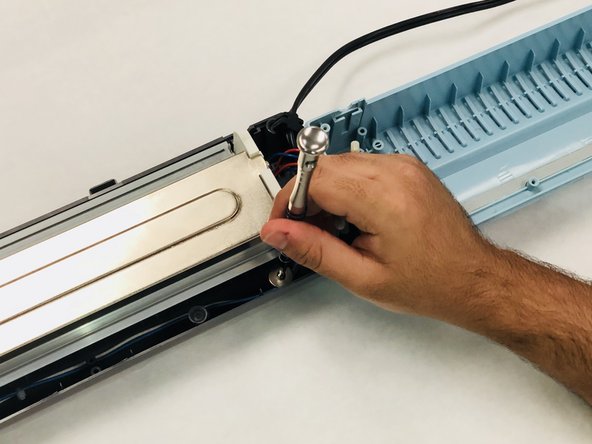
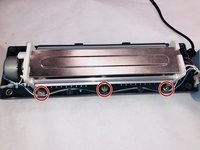
Using the Phillips #2 screwdriver, remove three 8.5 mm long screws and washers on the front edge of the plastic casing.
-




To reassemble your device, follow these instructions in reverse order.
Cancel: I did not complete this guide.
One other person completed this guide.

Team

IUPUI, Team S1-G1, Wilson Summer 2018 Member of IUPUI, Team S1-G1, Wilson Summer 2018
IUPUI-WILSON-SU18S1G1
5 Members
4 Guides authored
