Free Shipping on Domestic Orders $75+

G-Wolves Hati Paracord Replacement

Views: 1.4K

View statistics:

Past 24 Hours:
2
Past 7 Days:
24
Past 30 Days:
98
All Time:
1,447
Comments: 0

No one has left comments on this guide. Will you be first?

Go to guide comments
Completed: 0

No one has marked this guide "completed." Will you be the first?

Favorites: 0

No one has favorited (and subscribed to) this guide. Will you be the first?

Time Required: 15 - 25 minutes
Difficulty: Easy
Featured Student Guide

This guide has been the hard work of our awesome students and is found to be exceptionally cool by the iFixit staff.

G-Wolves Hati Paracord Replacement

Introduction

Go to step 1 ↓

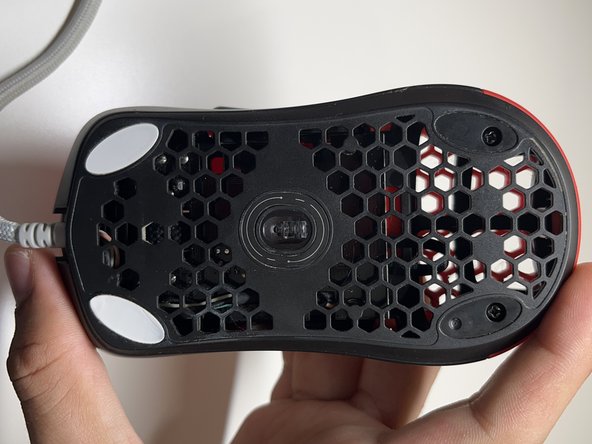
This guide is used to replace or swap the cord/paracord on the G-Wolves Hati mouse.

The paracord is the wire which connects the mouse to the computer and allows the mouse to function and guide the cursor. It is a lighter form of cable which is used in gaming mice in order to alleviate the feeling of having a cable attached to a mouse. With a faulty paracord, the mouse sensor could not only be stuttering, but there is a chance the entire mouse will disconnect or not function whatsoever (even if the rest of the components are all in working condition).

Steps 2 and 3 involve removing mouse skates from the feet. Be careful not to create, bend, or fold lines on these feet as they will be felt when moving the mouse. Peel them slowly.

Make sure to have the mouse disconnected before beginning the guide.

What you need

Tools

    1. G-Wolves Hati Paracord Replacement, Mouse Paracord: step 1, image 1 of 1
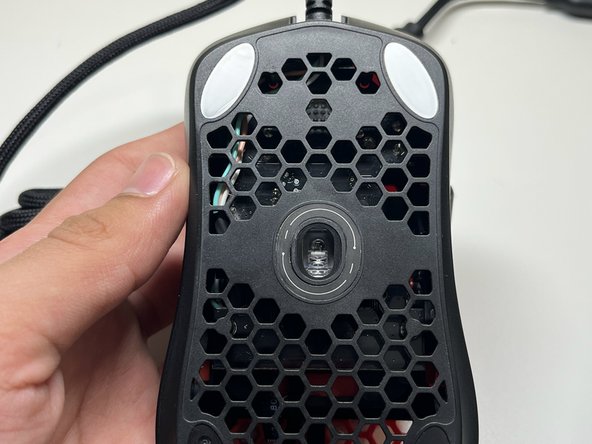
      • Flip your mouse upside down.

      Ask FixBot

      Add Comment

    2. G-Wolves Hati Paracord Replacement: step 2, image 1 of 3 G-Wolves Hati Paracord Replacement: step 2, image 2 of 3 G-Wolves Hati Paracord Replacement: step 2, image 3 of 3
      • Peel off the back right mouse skate.

      • Peel slowly, you don't want to create bends on your skate.

      Ask FixBot

      Add Comment

    3. G-Wolves Hati Paracord Replacement: step 3, image 1 of 3 G-Wolves Hati Paracord Replacement: step 3, image 2 of 3 G-Wolves Hati Paracord Replacement: step 3, image 3 of 3
      • Peel off the back left mouse skate.

      • Peel slowly, you don't want to create bends on your skate.

      Ask FixBot

      Add Comment

    4. G-Wolves Hati Paracord Replacement: step 4, image 1 of 3 G-Wolves Hati Paracord Replacement: step 4, image 2 of 3 G-Wolves Hati Paracord Replacement: step 4, image 3 of 3
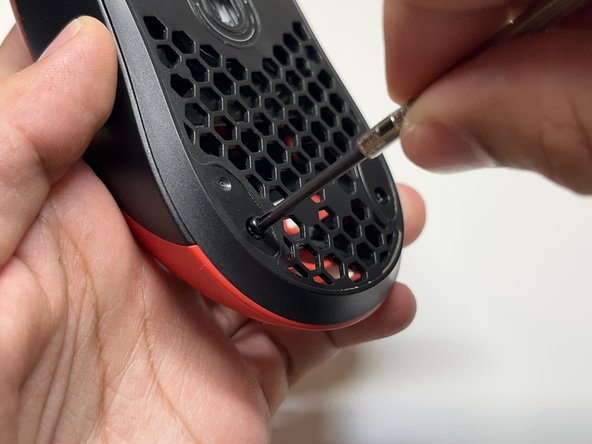
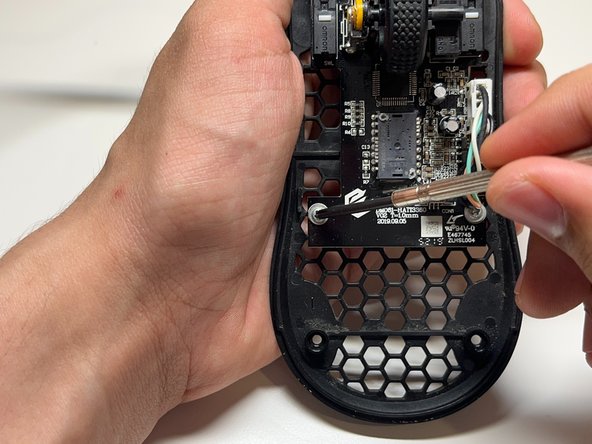
      • Unscrew both of the uncovered screws.

      • 6.4mm Phillips-head screws.

      Ask FixBot
      Add Comment

    5. G-Wolves Hati Paracord Replacement: step 5, image 1 of 2 G-Wolves Hati Paracord Replacement: step 5, image 2 of 2
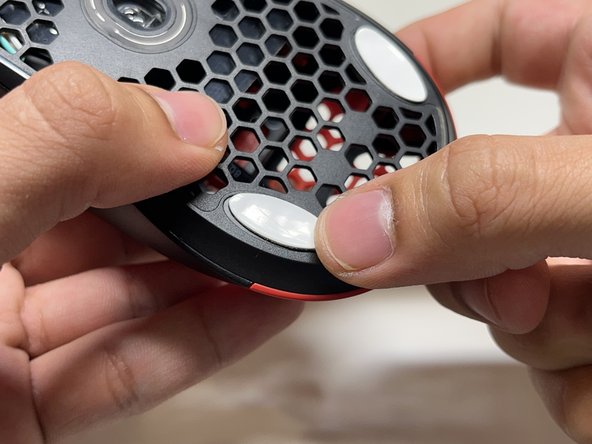
      • Squeeze the mouse under second mouse button until the bottom opens.

      Ask FixBot

      Add Comment

    6. G-Wolves Hati Paracord Replacement: step 6, image 1 of 2 G-Wolves Hati Paracord Replacement: step 6, image 2 of 2
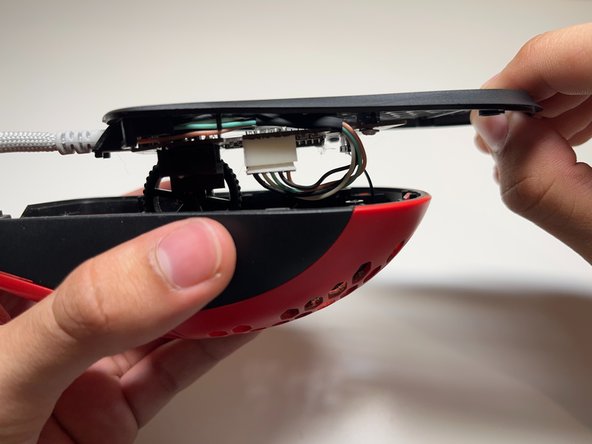
      • Pull the bottom piece towards the back of the mouse and upwards to remove it.

      • Pull carefully there is a ribbon cable still connected.

      Ask FixBot
      Add Comment

    7. G-Wolves Hati Paracord Replacement: step 7, image 1 of 2 G-Wolves Hati Paracord Replacement: step 7, image 2 of 2
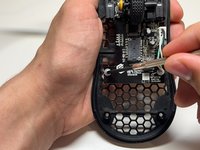
      • Remove the ribbon cable connecting the bottom piece to the upper piece.

      Ask FixBot

      Add Comment

    8. G-Wolves Hati Paracord Replacement: step 8, image 1 of 2 G-Wolves Hati Paracord Replacement: step 8, image 2 of 2
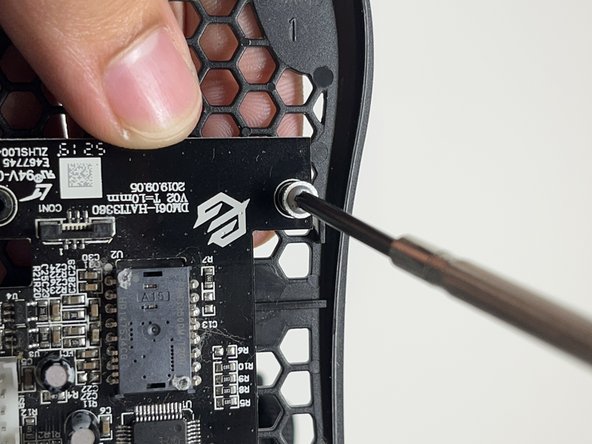
      • Unscrew the following screws:

      • 4.8 mm Phillips-head screws.

      Ask FixBot
      Add Comment

    9. G-Wolves Hati Paracord Replacement: step 9, image 1 of 2 G-Wolves Hati Paracord Replacement: step 9, image 2 of 2
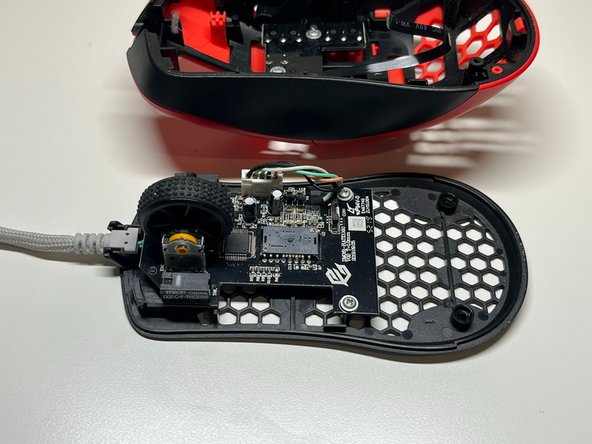
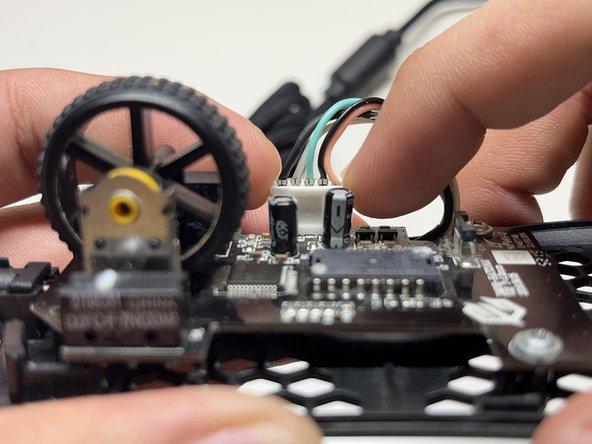
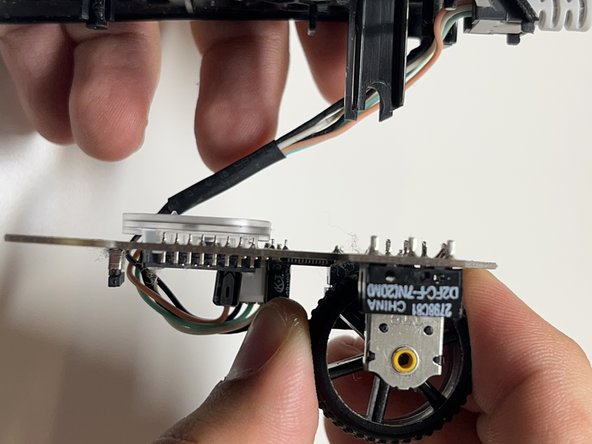
      • Flip the bottom piece upside down.

      • Pull the circuit board off without pulling on the cable.

      Ask FixBot

      Add Comment

    10. G-Wolves Hati Paracord Replacement: step 10, image 1 of 3 G-Wolves Hati Paracord Replacement: step 10, image 2 of 3 G-Wolves Hati Paracord Replacement: step 10, image 3 of 3
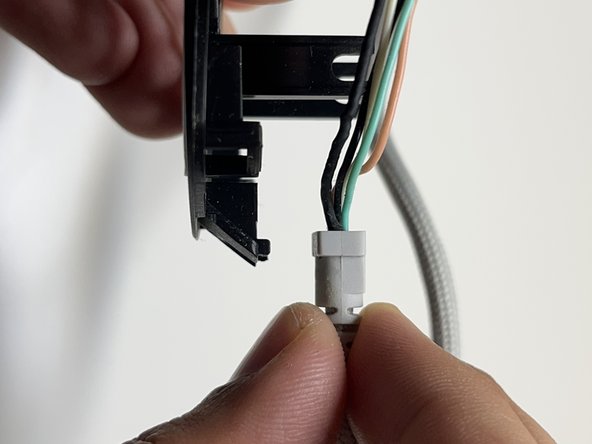
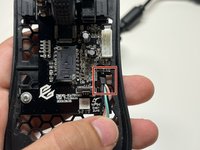
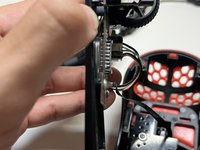
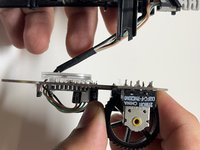
      • Grab the side ridges and remove the connection.

      • Do not wiggle till slightly removed to not bend pins.
      Ask FixBot

      Add Comment

    11. G-Wolves Hati Paracord Replacement: step 11, image 1 of 2 G-Wolves Hati Paracord Replacement: step 11, image 2 of 2
      • Pop off the paracord from the bottom piece.

      Ask FixBot

      Add Comment

    12. G-Wolves Hati Paracord Replacement: step 12, image 1 of 2 G-Wolves Hati Paracord Replacement: step 12, image 2 of 2
      • Press in the new paracord.

      Ask FixBot

      Add Comment

    13. G-Wolves Hati Paracord Replacement: step 13, image 1 of 3 G-Wolves Hati Paracord Replacement: step 13, image 2 of 3 G-Wolves Hati Paracord Replacement: step 13, image 3 of 3
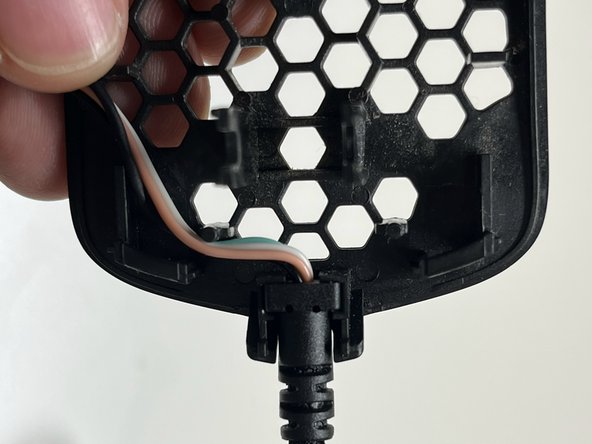
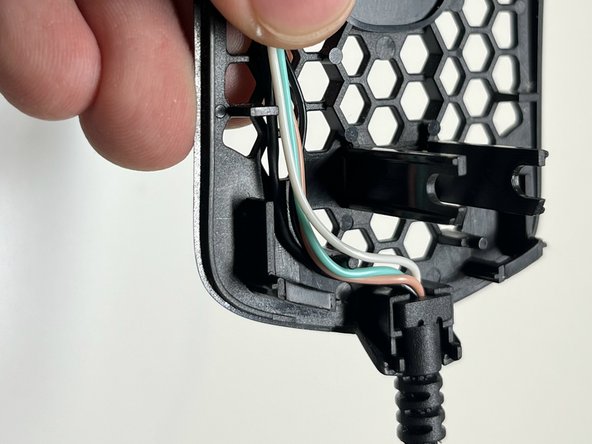
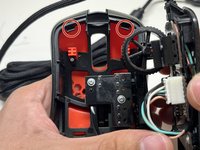
      • Rearrange wires to follow the guide ridges.

      Ask FixBot

      Add Comment

    14. G-Wolves Hati Paracord Replacement: step 14, image 1 of 2 G-Wolves Hati Paracord Replacement: step 14, image 2 of 2
      • Re-insert the circuit board by lining up the scroll wheel with the front piece and pressing down.

      Ask FixBot

      Add Comment

    15. G-Wolves Hati Paracord Replacement: step 15, image 1 of 2 G-Wolves Hati Paracord Replacement: step 15, image 2 of 2
      • Re-insert the screws.

      • 4.8 mm Phillips-head screws.

      Ask FixBot

      Add Comment

    16. G-Wolves Hati Paracord Replacement: step 16, image 1 of 2 G-Wolves Hati Paracord Replacement: step 16, image 2 of 2
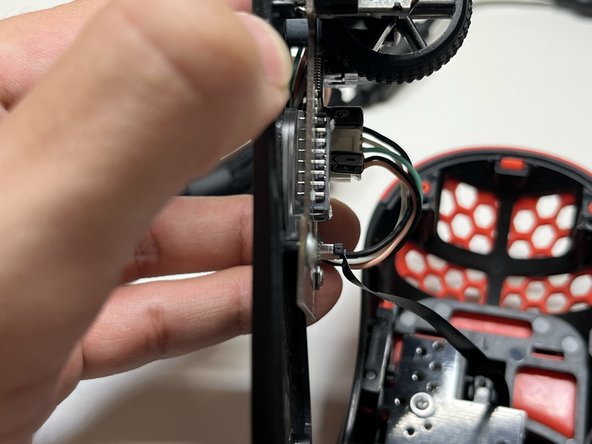
      • Thread the wire through the side opening.

      • Insert the paracord connection.

      Ask FixBot

      Add Comment

    17. G-Wolves Hati Paracord Replacement: step 17, image 1 of 2 G-Wolves Hati Paracord Replacement: step 17, image 2 of 2
      • Insert the ribbon cable.

      • Cable is located on the upper mouse piece.

      Ask FixBot

      Add Comment

    18. G-Wolves Hati Paracord Replacement: step 18, image 1 of 3 G-Wolves Hati Paracord Replacement: step 18, image 2 of 3 G-Wolves Hati Paracord Replacement: step 18, image 3 of 3
      • Hover the bottom piece over the upper piece flipped over.

      • Press the bottom piece down and forward till under clip pieces.

      • Press down where skates where removed till there is a click.

      Ask FixBot

      Add Comment

    19. G-Wolves Hati Paracord Replacement: step 19, image 1 of 2 G-Wolves Hati Paracord Replacement: step 19, image 2 of 2
      • Insert the screws.

      • 6.4mm Phillips Head Screws.

      Ask FixBot

      Add Comment

    20. G-Wolves Hati Paracord Replacement: step 20, image 1 of 3 G-Wolves Hati Paracord Replacement: step 20, image 2 of 3 G-Wolves Hati Paracord Replacement: step 20, image 3 of 3
      • Press on the skates.

      Ask FixBot

      Add Comment

Finish Line

Cancel: I did not complete this guide.

Ayaan

Member since: 10/23/23

301 Reputation

1 Guide authored

Team

0 Guide Comments

Add Comment

View Statistics:

Past 24 Hours: 2

Past 7 Days: 24

Past 30 Days: 98

All Time: 1,447