Free Shipping on Domestic Orders $75+

Fujitsu LifeBook N3510 Optical Drive Replacement

What you need

  1. Fujitsu LifeBook N3510 Optical Drive Replacement, Battery: step 1, image 1 of 1
    • Locate the two clips on the bottom of the computer that support the battery.

    Ask FixBot

    Add Comment

  2. Fujitsu LifeBook N3510 Optical Drive Replacement: step 2, image 1 of 1
    • Using your fingers, push the clips inward and then upward.

    • Lift the battery out of the computer.

    Ask FixBot

    Add Comment

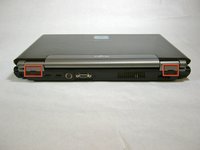
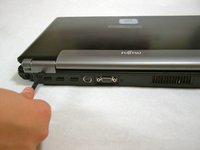
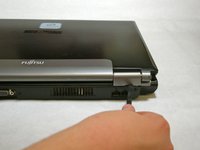
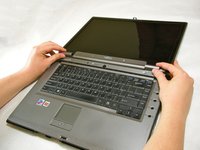
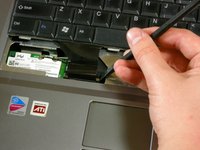
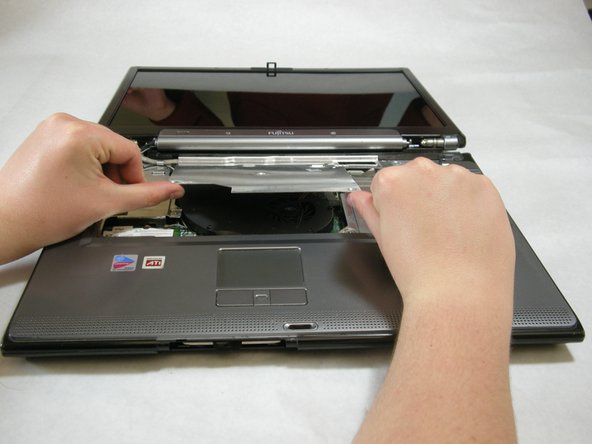
  3. Fujitsu LifeBook N3510 Optical Drive Replacement, Hinge Cover: step 3, image 1 of 3 Fujitsu LifeBook N3510 Optical Drive Replacement, Hinge Cover: step 3, image 2 of 3 Fujitsu LifeBook N3510 Optical Drive Replacement, Hinge Cover: step 3, image 3 of 3
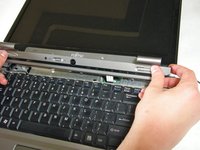
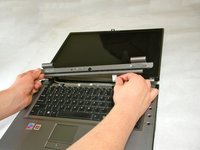
    • Use a spudger to lift the back of the hinge cover on the left and right sides of the computer.

    Ask FixBot

    Add Comment

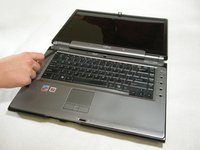
  4. Fujitsu LifeBook N3510 Optical Drive Replacement: step 4, image 1 of 1
    • Lay the computer flat on a stable surface with the monitor pointing away from you.

    Ask FixBot

    Add Comment

  5. Fujitsu LifeBook N3510 Optical Drive Replacement: step 5, image 1 of 3 Fujitsu LifeBook N3510 Optical Drive Replacement: step 5, image 2 of 3 Fujitsu LifeBook N3510 Optical Drive Replacement: step 5, image 3 of 3
    • Use a spudger to partially lift the hinge cover.

    Ask FixBot

    Add Comment

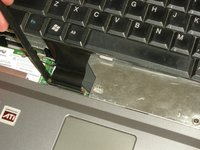
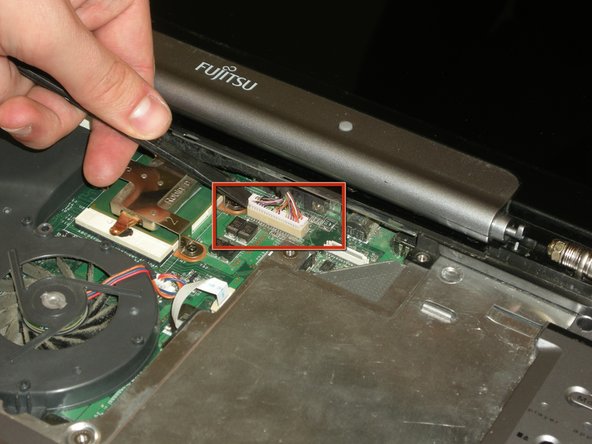
  6. Fujitsu LifeBook N3510 Optical Drive Replacement: step 6, image 1 of 2 Fujitsu LifeBook N3510 Optical Drive Replacement: step 6, image 2 of 2
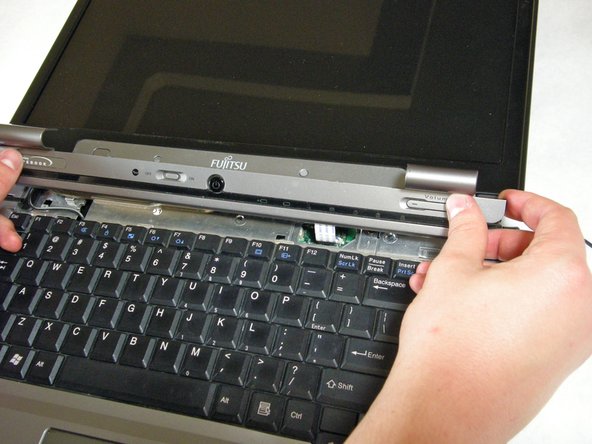
    • The hinge cover has a ribbon cable that is attached to the motherboard. To prevent damage, lift the hinge cover slowly.

    • Lift the hinge cover enough to expose the ribbon cable.

    Ask FixBot

    Add Comment

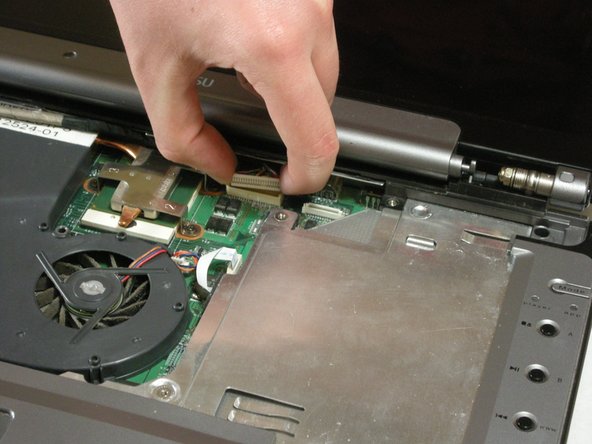
  7. Fujitsu LifeBook N3510 Optical Drive Replacement: step 7, image 1 of 2 Fujitsu LifeBook N3510 Optical Drive Replacement: step 7, image 2 of 2
    • Disconnect the ribbon cable from the motherboard and remove the hinge cover from the computer.

    Ask FixBot

    Add Comment

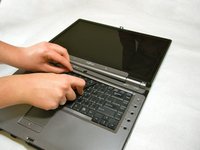
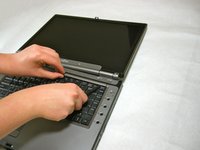
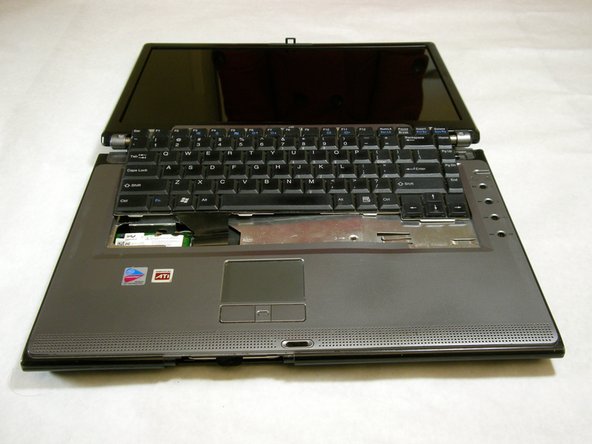
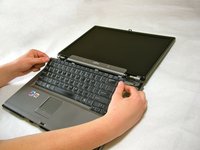
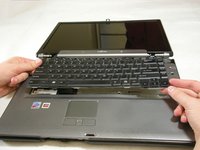
  8. Fujitsu LifeBook N3510 Optical Drive Replacement, Keyboard: step 8, image 1 of 3 Fujitsu LifeBook N3510 Optical Drive Replacement, Keyboard: step 8, image 2 of 3 Fujitsu LifeBook N3510 Optical Drive Replacement, Keyboard: step 8, image 3 of 3
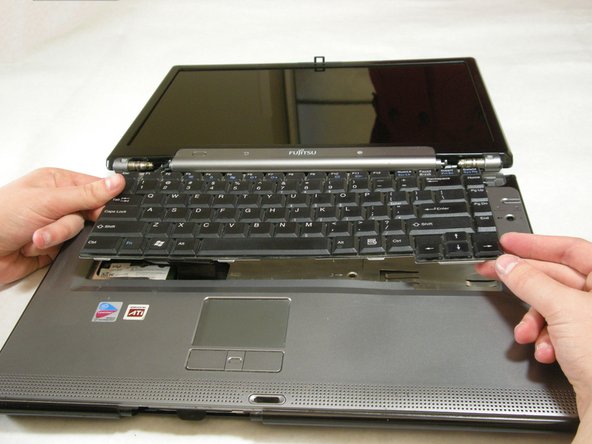
    • The keyboard has a ribbon cable that is attached to the motherboard. To prevent damage, lift keyboard slowly.

    • Lift the keyboard enough to expose the ribbon cable.

    Ask FixBot

    Add Comment

  9. Fujitsu LifeBook N3510 Optical Drive Replacement: step 9, image 1 of 2 Fujitsu LifeBook N3510 Optical Drive Replacement: step 9, image 2 of 2
    • Use a spudger to release the ribbon cable from the motherboard.

    Ask FixBot

    Add Comment

  10. Fujitsu LifeBook N3510 Optical Drive Replacement: step 10, image 1 of 2 Fujitsu LifeBook N3510 Optical Drive Replacement: step 10, image 2 of 2
    • After the ribbon has been detached, carefully remove the keyboard.

    Ask FixBot

    Add Comment

  11. Fujitsu LifeBook N3510 Optical Drive Replacement, Metal Motherboard Cover: step 11, image 1 of 1
    • Remove the following screws, all labeled "3."

    • Two 8.63mm screws.

    • One 7.65mm screw.

    • One 5.74mm screw.

    • Remove the following screw, labeled "15."

    • One 17.81mm screw.

    Ask FixBot

    Add Comment

  12. Fujitsu LifeBook N3510 Optical Drive Replacement: step 12, image 1 of 3 Fujitsu LifeBook N3510 Optical Drive Replacement: step 12, image 2 of 3 Fujitsu LifeBook N3510 Optical Drive Replacement: step 12, image 3 of 3
    • Lift the cover with fingers and remove.

    Ask FixBot

    Add Comment

  13. Fujitsu LifeBook N3510 Optical Drive Replacement, Display: step 13, image 1 of 1
    • Remove labeled screws.

    Ask FixBot

    Add Comment

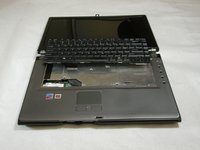
  14. Fujitsu LifeBook N3510 Optical Drive Replacement: step 14, image 1 of 1
    • Remove the screws from the bottom of the hinge as shown in the image.

    Ask FixBot

    Add Comment

  15. Fujitsu LifeBook N3510 Optical Drive Replacement: step 15, image 1 of 3 Fujitsu LifeBook N3510 Optical Drive Replacement: step 15, image 2 of 3 Fujitsu LifeBook N3510 Optical Drive Replacement: step 15, image 3 of 3
    • Use a spudger to detach and remove cables from the motherboard.

    Ask FixBot

    Add Comment

  16. Fujitsu LifeBook N3510 Optical Drive Replacement: step 16, image 1 of 3 Fujitsu LifeBook N3510 Optical Drive Replacement: step 16, image 2 of 3 Fujitsu LifeBook N3510 Optical Drive Replacement: step 16, image 3 of 3
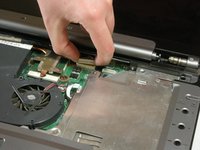
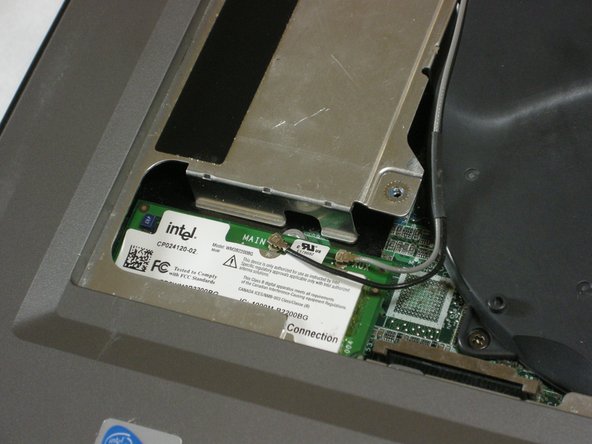
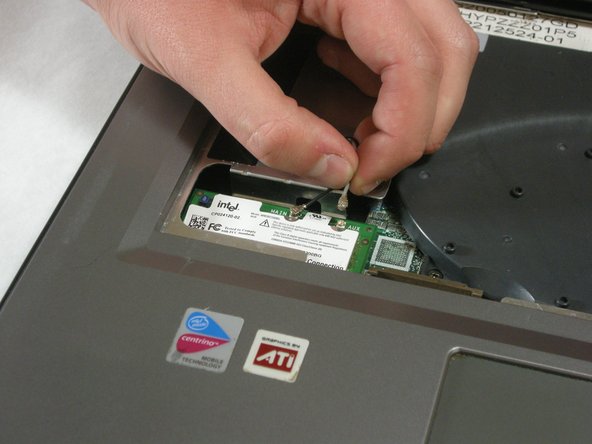
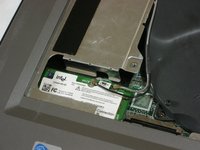
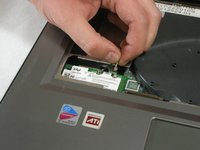
    • Unplug highlighted cables from the wireless module.

    Ask FixBot

    Add Comment

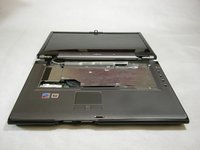
  17. Fujitsu LifeBook N3510 Optical Drive Replacement: step 17, image 1 of 3 Fujitsu LifeBook N3510 Optical Drive Replacement: step 17, image 2 of 3 Fujitsu LifeBook N3510 Optical Drive Replacement: step 17, image 3 of 3
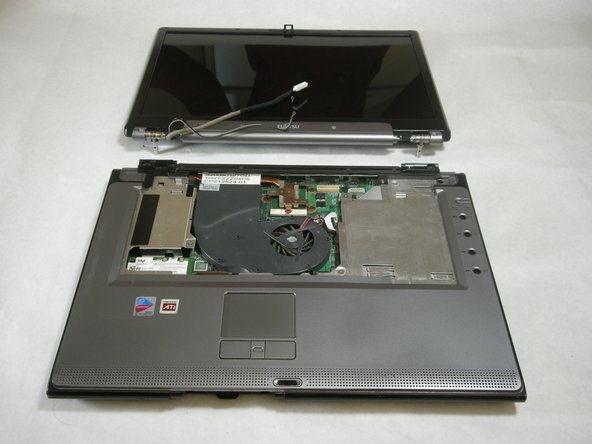
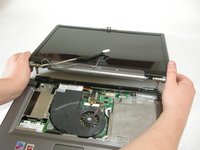
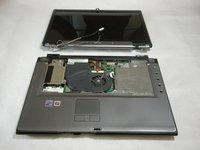
    • Hold down the body of the computer by placing your hands in the pictured positions. Then, lift the display from the body.

    Ask FixBot

    Add Comment

  18. Fujitsu LifeBook N3510 Optical Drive Replacement, Top Palm Rest Cover: step 18, image 1 of 1
    • Remove the 4 labeled screws.

    Ask FixBot

    Add Comment

  19. Fujitsu LifeBook N3510 Optical Drive Replacement: step 19, image 1 of 1
    • Remove screws from bottom of laptop as shown in the picture.

    Ask FixBot

    Add Comment

  20. Fujitsu LifeBook N3510 Optical Drive Replacement: step 20, image 1 of 1
    • Lift the palm rest cover from the base of the laptop.

    • You may use spudger if needed, lift from the front corners as shown.

    Ask FixBot

    Add Comment

  21. Fujitsu LifeBook N3510 Optical Drive Replacement: step 21, image 1 of 1
    • Great job! You have successfully removed the old palm rest cover.

    Ask FixBot

    Add Comment

  22. Fujitsu LifeBook N3510 Optical Drive Replacement, Optical Drive: step 22, image 1 of 1
    • Remove the single screw labeled "5".

    Ask FixBot

    Add Comment

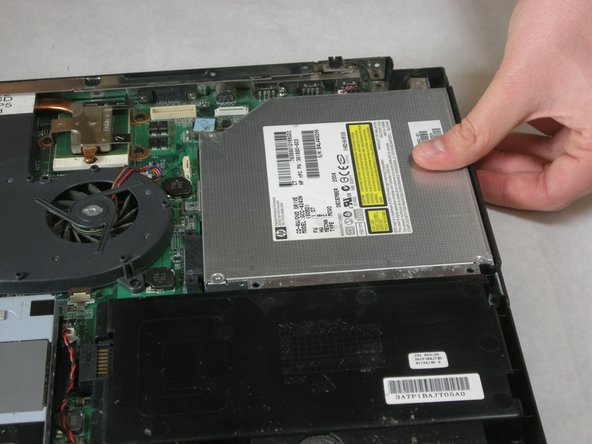
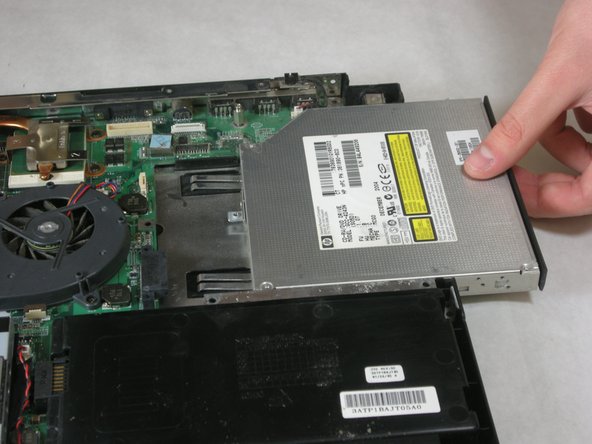
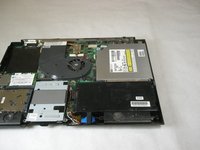
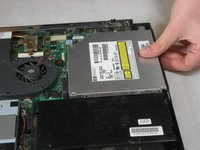
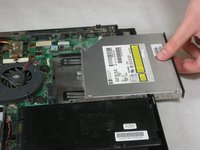
  23. Fujitsu LifeBook N3510 Optical Drive Replacement: step 23, image 1 of 3 Fujitsu LifeBook N3510 Optical Drive Replacement: step 23, image 2 of 3 Fujitsu LifeBook N3510 Optical Drive Replacement: step 23, image 3 of 3
    • Remove optical drive.

    Ask FixBot

    Add Comment

Conclusion

To reassemble your device, follow these instructions in reverse order.

Cancel: I did not complete this guide.

Neil Daniels

Member since: 01/17/11

1,411 Reputation

11 Guides authored

Team

Cal Poly, Team 5-18, Amido Winter 2011 Member of Cal Poly, Team 5-18, Amido Winter 2011

CPSU-AMIDO-W11S5G18

3 Members

23 Guides authored

0 Guide Comments

Add Comment

View Statistics:

Past 24 Hours: 1

Past 7 Days: 7

Past 30 Days: 50

All Time: 2,032