
Front Panel Assembly Replacement

Carlos Salas and 2 other contributors
Last updated on Dec 19, 2016
Views: 320
View statistics:
- Past 24 Hours:
- 1
- Past 7 Days:
- 2
- Past 30 Days:
- 25
- All Time:
- 320
Comments: 0
No one has left comments on this guide. Will you be first?
Go to guide commentsCompleted: 1 2
1 person has marked this guide "completed." Will you be next?
2 people have marked this guide "completed." Including you — great job!
Favorites: 0 1
No one has favorited (and subscribed to) this guide. Will you be the first?
1 person has favorited (and subscribed to) this guide — and that's you!
Introduction
Go to step 1 ↓This guide will walk you through how you remove the front panel assembly which contains the screen along with the front glass and capacitive buttons.
What you need
Tools


-
-
-
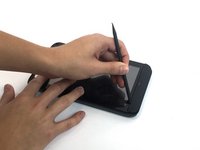
Insert the spudger under the capacitive button panel, and slide the spudger all the way around.
 Ask FixBot
-
-
-
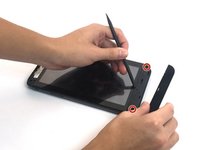
Using the spudger, insert it under the black side panel. Slide the spudger all the way around until the cover piece comes off.
-
With the Torx screwdriver, remove the two 4mm screws.
-
-
-
-
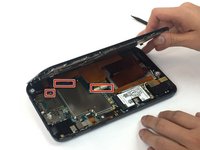
Use the spudger to go along the edges of the device and pop out the latches securing the display to the case.
-
-
-
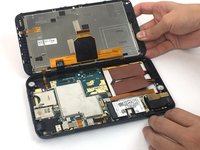
Disconnect the ribbon cables by unlocking the connector and pulling the cable out slowly.
-
-




To reassemble your device, follow these instructions in reverse order.
Cancel: I did not complete this guide.
One other person completed this guide.

Team

USF Tampa, Team 4-6, Passmore Fall 2016 Member of USF Tampa, Team 4-6, Passmore Fall 2016
USFT-PASSMORE-F16S4G6
3 Members
72 Guides authored
