Introduction
Follow this guide to remove and replace the heatsink in your Framework Laptop 12.
The Framework Heatsink comes with PTM7958 thermal compound pre-applied to it, so you don't need replacement thermal paste. You do need the cleaning supplies listed in the tools section to clean off the thermal compound residue from the processor.
You'll encounter some component terms in this guide:
- The Input Cover is the part that contains the keyboard and trackpad.
What you need
-
-
Before you begin repairs, unplug your laptop and shut it down from the operating system. This ensures that the laptop isn't in standby/suspend mode.
-
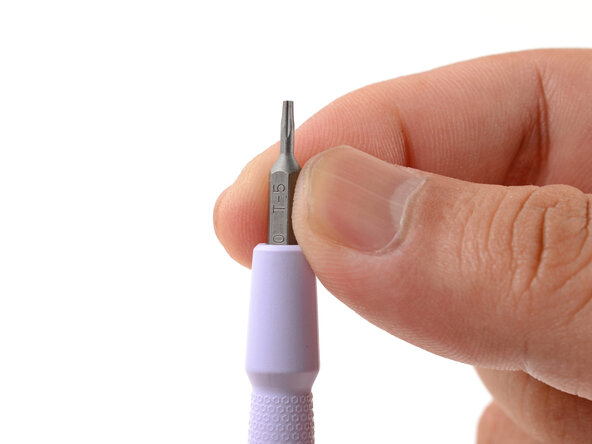
Make sure your Framework Screwdriver has the T5 Torx bit (labeled as T-5) facing outwards. If it's not, pull the bit out and flip it.
 Ask FixBot
-
-
-
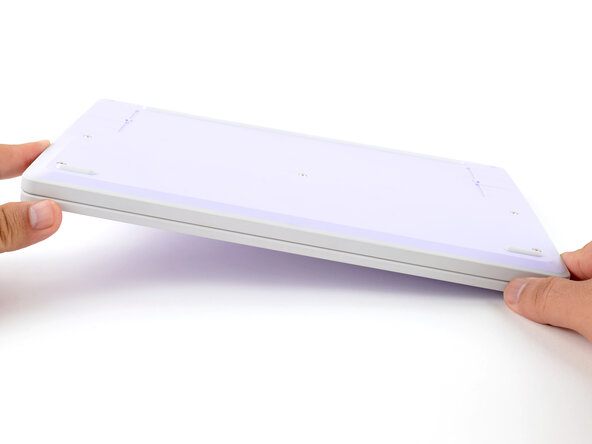
Set your Framework Laptop face-down on a clean work surface.
-
-
-
Use your Framework Screwdriver to fully loosen the eight captive T5 Torx screws on the bottom of your laptop.
-
-
-
Flip your laptop over so it's face-up on your work surface.
-
-
-
Open the laptop lid so that both the screen and the base lie flat on your work surface.
-
-
-
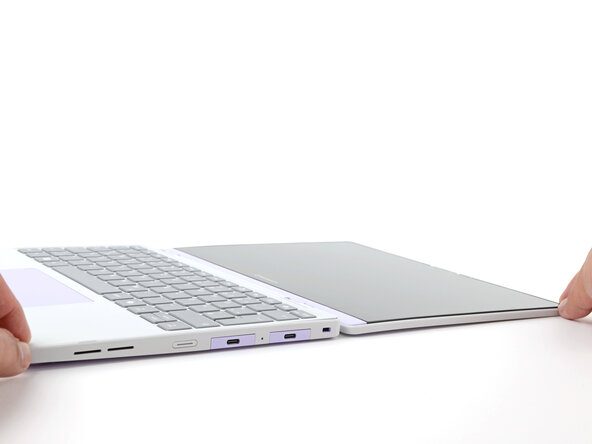
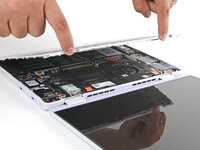
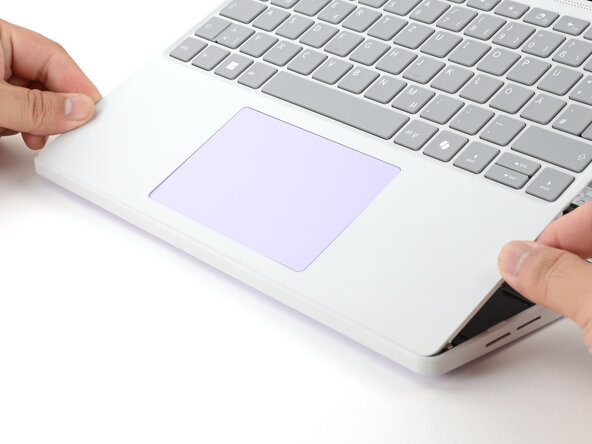
Use your fingers to grip the Input Cover in the hinge cutouts.
-
Lift upwards to swing the Input Cover up from the base of the laptop.
-
Remove the Input Cover.
-
-
-
-
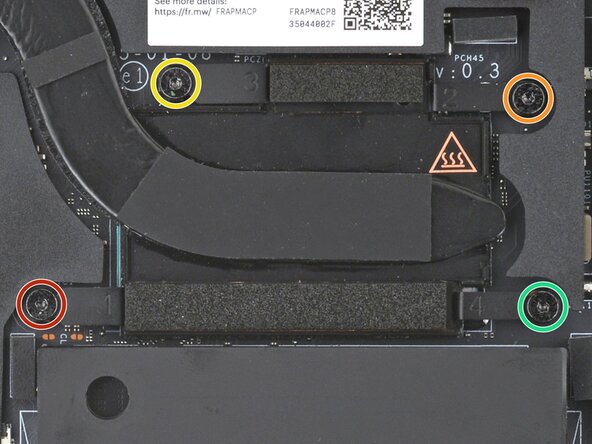
Use your Framework Screwdriver to loosen the four captive Torx T5 screws securing the heatsink.
-
-
-
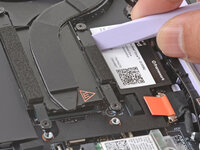
Slide the flat end of your Framework Screwdriver under the heatsink arm labeled "2".
-
Twist the Framework Screwdriver to lift the heatsink arm and loosen the heatsink.
-
Repeat the procedure with the heatsink arm labeled "3".
-
-
-
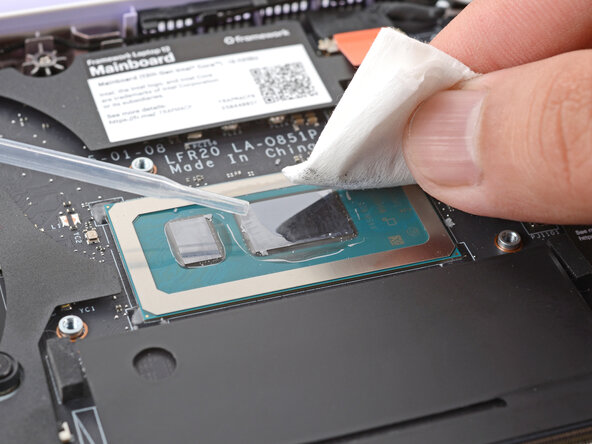
Use a few drops of high concentration (>90%) isopropyl alcohol and a lint-free cloth to wipe away the remaining residue from the processor.
-
-
-
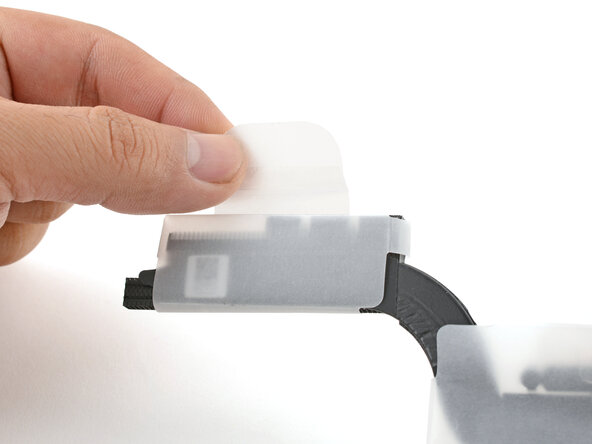
Unwrap the replacement heatsink and remove the clear plastic cover.
-
-
-
Carefully align and lay the heatsink over the processor.
-
Use your Framework Screwdriver to gradually tighten the heatsink screws in the marked order until they're snug:
-
First screw
-
Second screw
-
Third screw
-
Fourth screw, then back to the first
-
-
-
Angle the bottom edge of the Input Cover towards the base of the laptop.
-
Align and insert the bottom edge of the Input Cover into the base of the laptop.
-
Lower the Input Cover's top edge onto the laptop until the magnets snap it in place.
-
-
-
Close the laptop lid.
-
Flip your laptop face-down on a clean work surface.
-
-
-
Use your Framework Screwdriver to tighten the eight captive T5 Torx screws on the bottom of your laptop.
-


You finished fixing your Framework Laptop!
Take your e-waste to an R2 or e-Stewards certified recycler.
If you need help, contact Framework support.

Team
