Introduction
If your Flydigi Vader 4 Pro is not responding despite functional external components, or continues to exhibit multiple system-wide issues after individual parts have been tested or replaced, this guide can be used to replace the mainboard. The mainboard is the central component of the controller, connecting and controlling all internal systems including buttons, thumbsticks, vibration motors, and wireless communication. Because it manages all core functions, failure of the mainboard can prevent the device from operating correctly. It is important to note that improper unscrewing or excessive force during disassembly may cause flexing or damage to the mainboard. Handle all components carefully to prevent unnecessary stress on it.
What you need
-
-
-
Remove the four 10 mm screws on the rear case using a Phillips #0 screwdriver.
 Ask FixBot
-
-
-
Insert an opening pick into the seam between the rear and front case.
-
Pry around the perimeter of the controller.
-
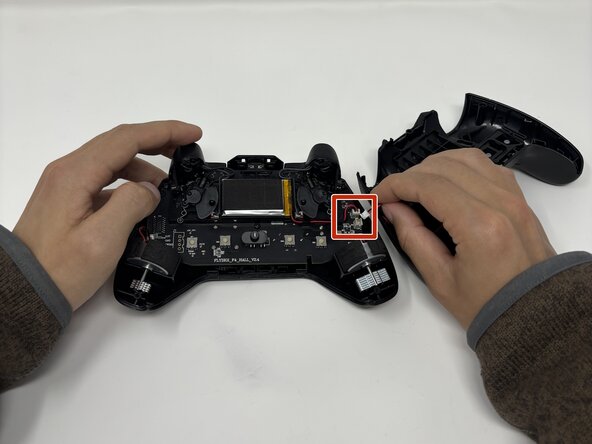
Remove the rear case and set it to the side of the front case, with care not to strain the connected cable.
-
-
-
-
-
-
Disconnect each of the two vibration motor connectors.
-
Remove the vibration motors.
-
-
-
-
-
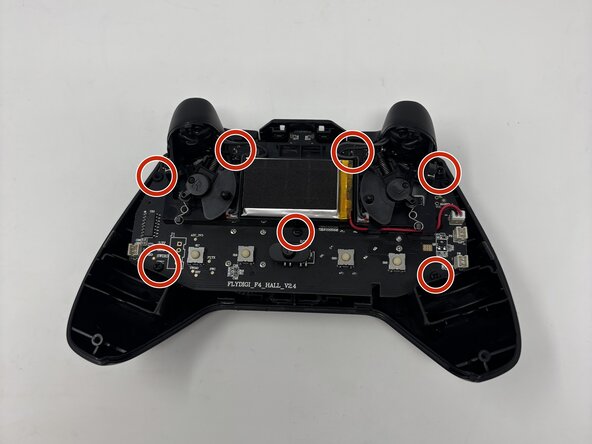
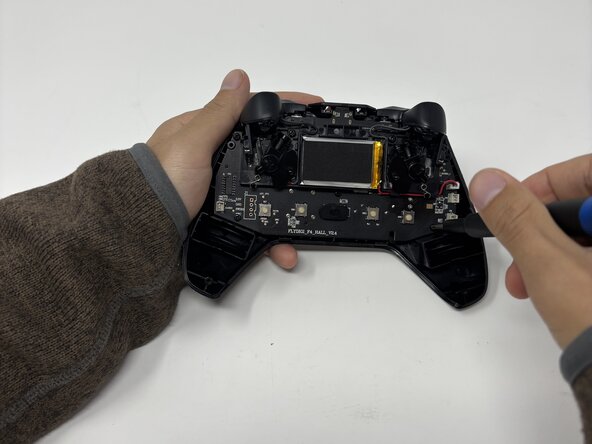
Remove the seven 10 mm screws securing the mainboard using a Phillips #0 screwdriver.
-
-






To reassemble your device, follow the above steps in reverse order.
Take your e-waste to an R2 or e-Stewards certified recycler.
Repair didn’t go as planned? Try some basic troubleshooting or ask our Answers community for help.

Team

Utah Tech University, Team 1-2, McMurrin Spring 2026 Member of Utah Tech University, Team 1-2, McMurrin Spring 2026
UTAHTECH-MCMURRIN-S26S1G2
3 Members
72 Guides authored
