Introduction
Use this guide to replace the battery in a Flydigi Vader 4 Pro.
What you need
-
-
-
Remove the four 10 mm screws on the rear case using a Phillips #0 screwdriver.
 Ask FixBot
-
-
-
Insert an opening pick into the seam between the rear and front case.
-
Pry around the perimeter of the controller.
-
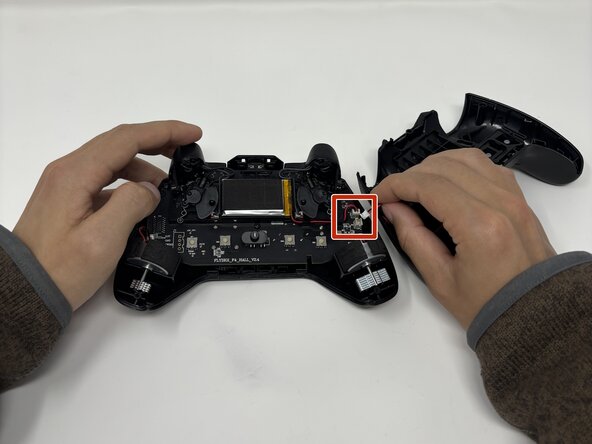
Remove the rear case and set it to the side of the front case, with care not to strain the connected cable.
-
-
-
-
-
-
Pull the white battery connector directly up and out of its motherboard socket.
-
Slide an opening pick under the battery to sever the adhesive securing it to the mainboard.
-
Lift the battery up and out.
-
-



To reassemble your device, follow the above steps in reverse order.
For optimal performance, after completing this guide, calibrate your newly installed battery.
Take your e-waste to an R2 or e-Stewards certified recycler.
Repair didn’t go as planned? Try some basic troubleshooting or ask our Answers community for help.

