Free Shipping on Domestic Orders $75+

Flydigi Vader 4 Pro Action Button Replacement

What you need

    1. Flydigi Vader 4 Pro Action Button Replacement, Front Case: step 1, image 1 of 3 Flydigi Vader 4 Pro Action Button Replacement, Front Case: step 1, image 2 of 3 Flydigi Vader 4 Pro Action Button Replacement, Front Case: step 1, image 3 of 3
      • Remove the four 10 mm screws on the rear case using a Phillips #0 screwdriver.

      Ask FixBot

      Add Comment

    2. Flydigi Vader 4 Pro Action Button Replacement: step 2, image 1 of 2 Flydigi Vader 4 Pro Action Button Replacement: step 2, image 2 of 2
      • Insert an opening pick into the seam between the rear and front case.

      • Pry around the perimeter of the controller.

      • Remove the rear case and set it to the side of the front case, with care not to strain the connected cable.

      Ask FixBot

      Add Comment

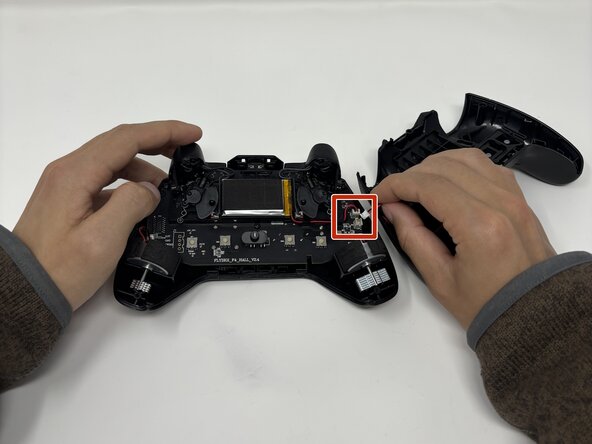
    3. Flydigi Vader 4 Pro Action Button Replacement: step 3, image 1 of 1
      • Disconnect the JST-PH connector from its motherboard socket.

      Ask FixBot

      Add Comment

    1. Flydigi Vader 4 Pro Action Button Replacement, Vibration Motors: step 4, image 1 of 2 Flydigi Vader 4 Pro Action Button Replacement, Vibration Motors: step 4, image 2 of 2
      • Disconnect each of the two vibration motor connectors.

      • Remove the vibration motors.

      Ask FixBot

      Add Comment

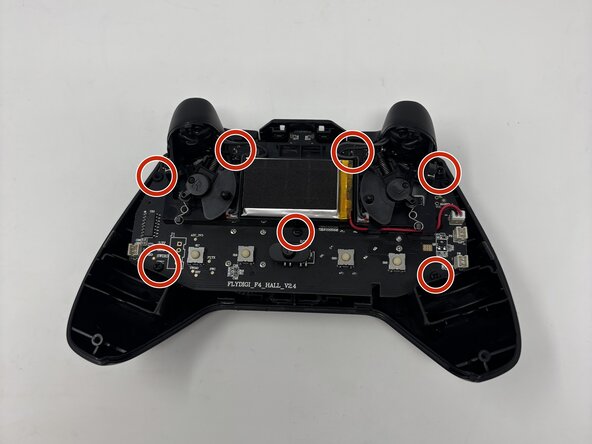
    1. Flydigi Vader 4 Pro Action Button Replacement, Mainboard: step 5, image 1 of 3 Flydigi Vader 4 Pro Action Button Replacement, Mainboard: step 5, image 2 of 3 Flydigi Vader 4 Pro Action Button Replacement, Mainboard: step 5, image 3 of 3
      • Remove the seven 10 mm screws securing the mainboard using a Phillips #0 screwdriver.

      Ask FixBot

      Add Comment

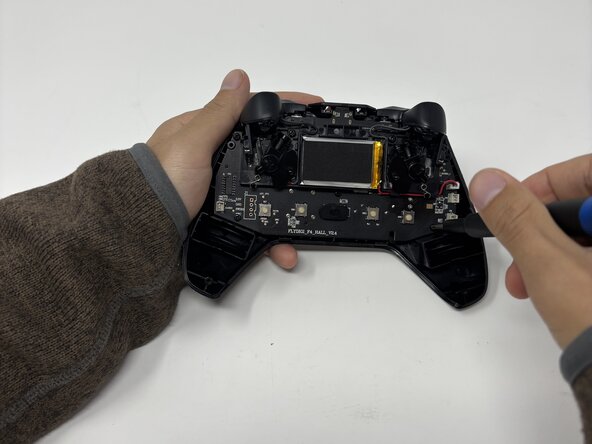
    2. Flydigi Vader 4 Pro Action Button Replacement: step 6, image 1 of 3 Flydigi Vader 4 Pro Action Button Replacement: step 6, image 2 of 3 Flydigi Vader 4 Pro Action Button Replacement: step 6, image 3 of 3
      • Remove the mainboard.

      Ask FixBot

      Add Comment

    1. Flydigi Vader 4 Pro Action Button Replacement, Action Button: step 7, image 1 of 3 Flydigi Vader 4 Pro Action Button Replacement, Action Button: step 7, image 2 of 3 Flydigi Vader 4 Pro Action Button Replacement, Action Button: step 7, image 3 of 3
      • Remove the four 6 mm screws securing the action buttons bracket with a Phillips #00 screwdriver.

      Ask FixBot

      Add Comment

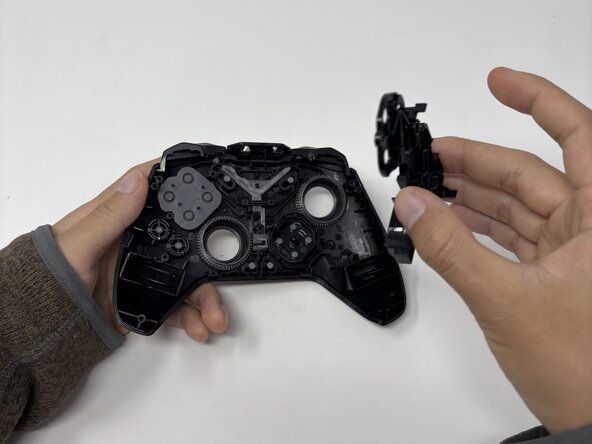
    2. Flydigi Vader 4 Pro Action Button Replacement: step 8, image 1 of 3 Flydigi Vader 4 Pro Action Button Replacement: step 8, image 2 of 3 Flydigi Vader 4 Pro Action Button Replacement: step 8, image 3 of 3
      • Remove the bracket.

      Ask FixBot

      Add Comment

    3. Flydigi Vader 4 Pro Action Button Replacement: step 9, image 1 of 2 Flydigi Vader 4 Pro Action Button Replacement: step 9, image 2 of 2
      • Remove the rubber action button gasket.

      Ask FixBot

      Add Comment

    4. Flydigi Vader 4 Pro Action Button Replacement: step 10, image 1 of 2 Flydigi Vader 4 Pro Action Button Replacement: step 10, image 2 of 2
      • Replace the action buttons.

      Ask FixBot

      Add Comment

Conclusion

To reassemble your device, follow these instructions in reverse order.

Cancel: I did not complete this guide.

Maklee Rhoades

Member since: 02/03/26

171 Reputation

1 Guide authored

1 Guide Comment

Hi do you know where i can source a silicone membrane for the action buttons

Arif Munshi - Reply Share

Add Comment

View Statistics:

Past 24 Hours: 3

Past 7 Days: 39

Past 30 Days: 145

All Time: 335