Introduction
If your Flydigi Apex 5 controller fails to turn on or loses power sooner than expected, the cause may be a failing battery. Batteries fail overtime as they are repeatedly charged and discharged from use. Follow this guide to replace the battery.
Before starting, consult the Flydigi Apex 5 Not Charging troubleshooting page to confirm that the battery is your controller's issue.
Warning: Lithium-Ion batteries can be a fire hazard. If the controller battery appears swollen, follow iFixit's guide on What to do with a swollen battery.
What you need
-
-
-
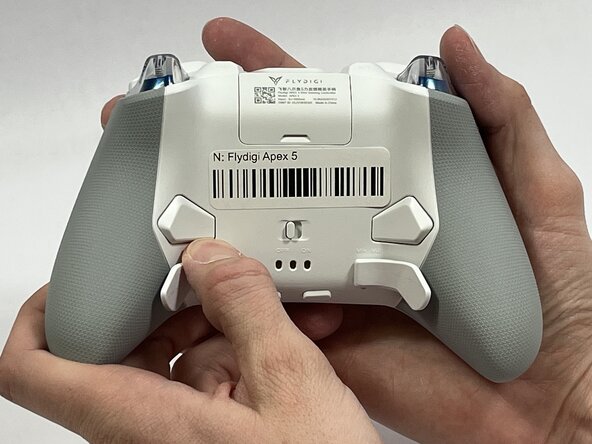
Orient the controller so that its back is facing you.
-
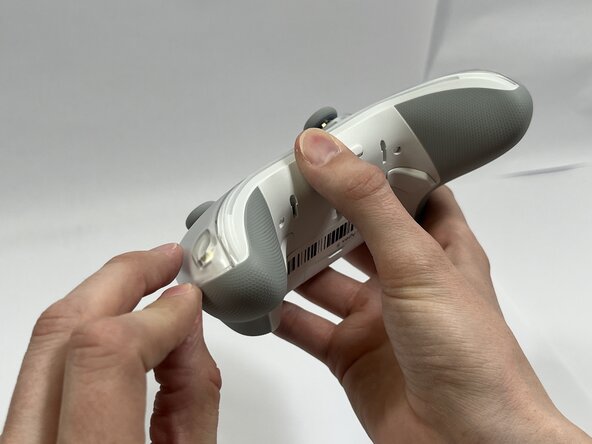
Apply firm downward pressure to remove both the M3 and M4 back paddles.
 Ask FixBot
-
-
-
Turn the controller over so its front faces you.
-
Remove the D-pad by firmly pulling it away from the body of the controller.
-
-
-
Remove the clear, magnetically-adhered faceplate of the controller by firmly pulling it away from the body of the controller starting from the edge of the faceplate.
-
-
-
-
Remove the small cover from the rear of the controller by pushing it upward.
-
Remove the two 5.8mm screws behind the battery cover using a Phillips #0 screwdriver.
-
-
-
Turn the controller over so its front faces you.
-
Remove the six 10mm long screws from the front of the controller using a Torx T6 screwdriver.
-
-
-
Insert the plastic opening tool between the top and bottom plastic controller molds, then pry until the two pieces separate.
-
-
-
Carefully remove the back paddle ribbon cable with the angled tweezers or spudger.
-
-
-
Press a prong of each side of the angled tweezers under the lip of the power supply cable connector and pull the plastic connector out of its terminal.
-
Pull the power supply cable through the plastic cable guides.
-
-




To reassemble your device, follow these instructions in reverse order.
Cancel: I did not complete this guide.
One other person completed this guide.

Team

Idaho State University, Team 1-3, Watkins Spring 2026 Member of Idaho State University, Team 1-3, Watkins Spring 2026
ISU-WATKINS-S26S1G3
4 Members
60 Guides authored
