
Flute Head Cork Replacement

Zoe Bixler and one other contributor
Last updated on Jun 22, 2021
Views: 2.9K
View statistics:
- Past 24 Hours:
- 8
- Past 7 Days:
- 47
- Past 30 Days:
- 161
- All Time:
- 2,880
Comments: 1
1 guide comment.
Go to guide commentsCompleted: 0 1
No one has marked this guide "completed." Will you be the first?
1 person has marked this guide "completed." It's you — great job!
Favorites: 0 1
No one has favorited (and subscribed to) this guide. Will you be the first?
1 person has favorited (and subscribed to) this guide — and that's you!
Featured Student Guide
This guide has been the hard work of our awesome students and is found to be exceptionally cool by the iFixit staff.
Introduction
Go to step 1 ↓When flutes age, or are taken back and forth between places with different temperatures and humidities, the head joint cork can become shrunken and loose, which will not provide an adequate seal on the instrument. If the cork does become loose, a new one needs to be properly attached to the crown and screw device and pushed into the head joint of the flute. Without this cork, the instrument is not able to be played.
What you need
Parts
Tools


-
-
-
Unscrew the Flute Crown.
-
Use pliers to grip the protruding screw and pull out the old cork.
 Ask FixBot
-
-
-
Use a razor blade to cut the glue around the base of the screw set up.
-
Use a razor blade to cut the glue around the removable washer at the top of the cork.
-
Use a razor blade to make two lengthwise cuts on opposite sides of the cork.
-
Break the cork off of the screw.
-
-
-
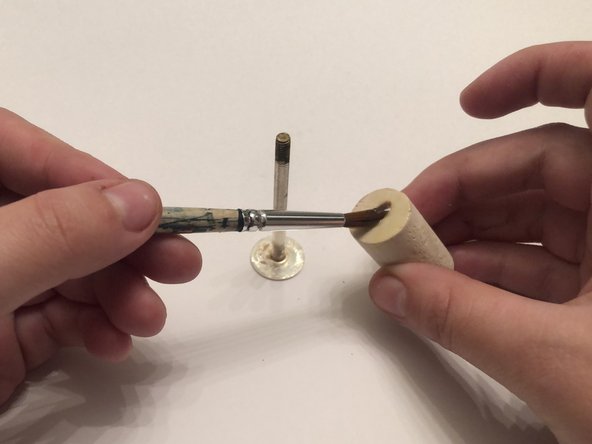
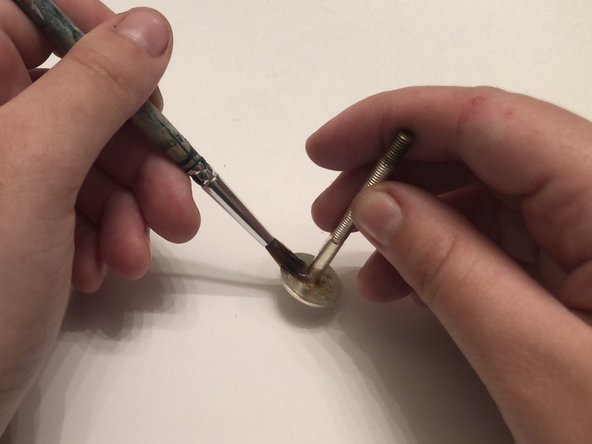
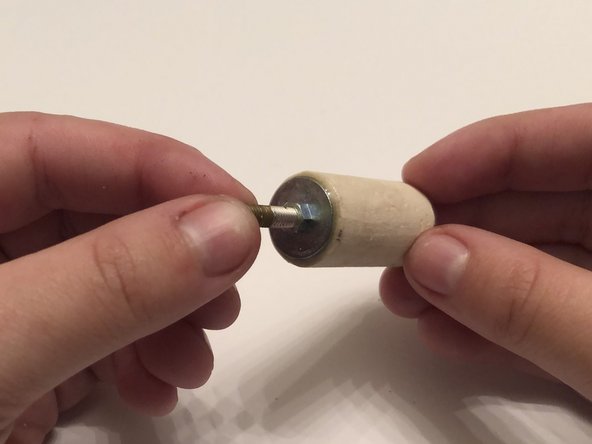
Use a small paintbrush to brush on a layer of contact cement onto the bottom of the new cork and the bottom of the screw set up.
-
Let contact cement sit for a few minutes and then slide the cork down onto the screw rod glue side first.
-
-
-
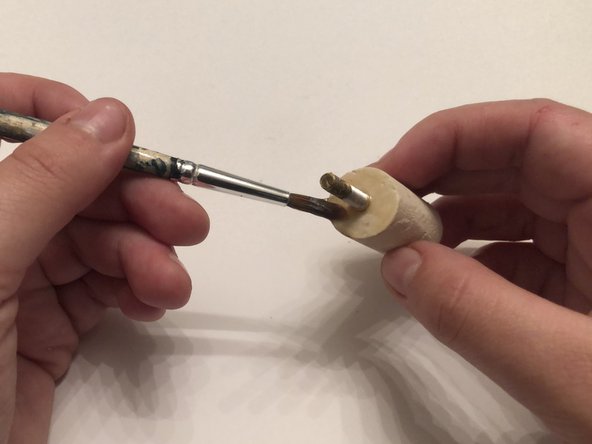
Use a small paintbrush to paint a layer of polyurethane glue onto the top of the cork.
-
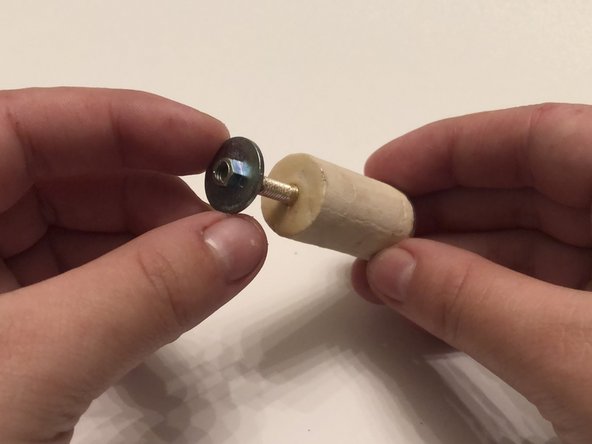
Screw the washer onto the screw rod.
-
Wait for all the glues to dry.
-
-
-
-
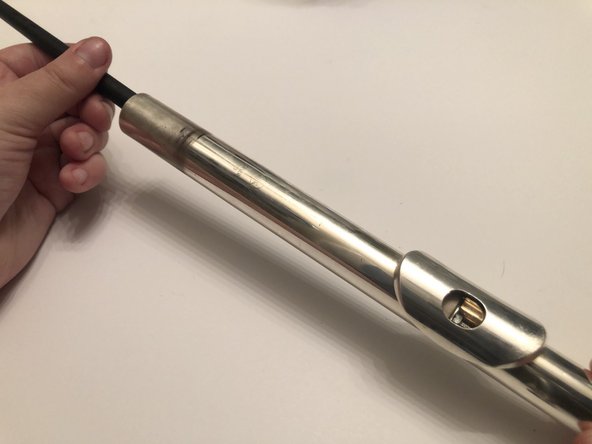
Drop the new cork and screw set up screw first into the bottom of the head joint. If the cork is the correct diameter you should be able to see it partially through the embouchure hole.
-
Use the flute tuning rod to push the cork into the head joint until the tuning line at the bottom of the rod is in the middle of the embouchure hole.
-
-
-
Screw the crown back onto the screw set up and play the instrument to test that the new cork works.
-
-








Team

Texas Tech, Team S3-G25, Cowan Spring 2021 Member of Texas Tech, Team S3-G25, Cowan Spring 2021
TTU-COWAN-S21S3G25
1 Member
12 Guides authored
1 Guide Comment
The head joint cork assembly should never be pulled out the top of the head joint! Pulling it with pliers is a terrible idea! Attempting to do so will damage most flute professional head joints (it depends on the size of the cork plate). As a professional flute repair person I have seen a number of head joints with such damage. Because the head joint has a slight taper it must be pushed out the tenon end. Use a 5/8" wooden or plastic rod with a hole drilled a couple inches deep in one end to contain the threaded rod. Go to your repair person and ask for a demonstration.
