
Fluke 175 Multimeter Fuse Replacement

Richard and one other contributor
Last updated on Oct 16, 2025
Views: 398
View statistics:
- Past 24 Hours:
- 1
- Past 7 Days:
- 14
- Past 30 Days:
- 104
- All Time:
- 398
Comments: 0
No one has left comments on this guide. Will you be first?
Go to guide commentsCompleted: 0 1
No one has marked this guide "completed." Will you be the first?
1 person has marked this guide "completed." It's you — great job!
Favorites: 0 1
No one has favorited (and subscribed to) this guide. Will you be the first?
1 person has favorited (and subscribed to) this guide — and that's you!
Community-Contributed Guide
An awesome member of our community made this guide. It was not created by iFixit staff.
Introduction
Go to step 1 ↓This guide provides simple, step-by-step instructions for safely replacing the fuses in your Fluke 175 Multimeter. Keep your multimeter functioning accurately with this easy maintenance tip.
What you need

-
-
-
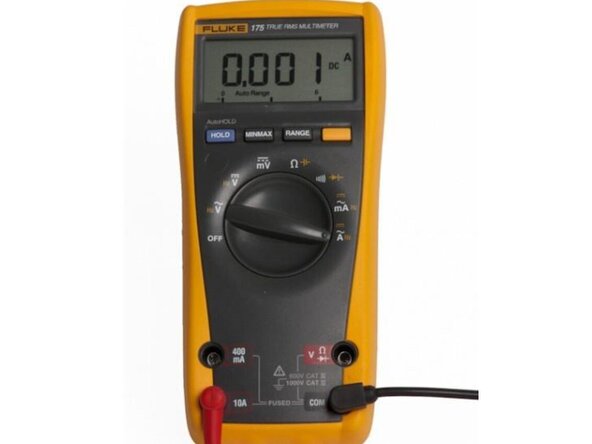
Turn off meter and disconnect test leads.
-
Remove the test leads and any input signals before replacing the fuse.
-
Use ONLY fuses with the amperage, interrupt, voltage, and speed ratings specified.
-
Replace the battery as soon as the low battery indicator appears.
 Ask FixBot
-
-
-
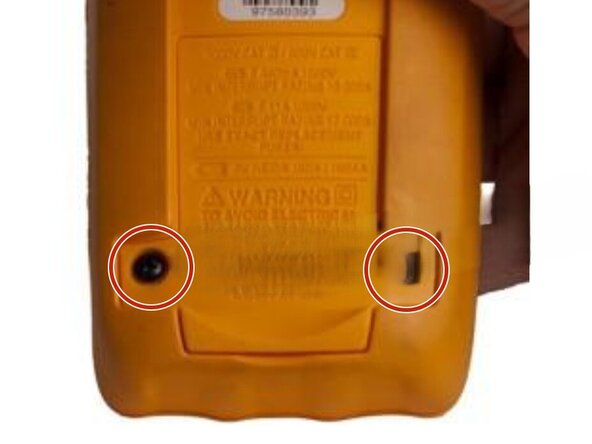
Remove the 2 bottom screws by turning counterclockwise.
-
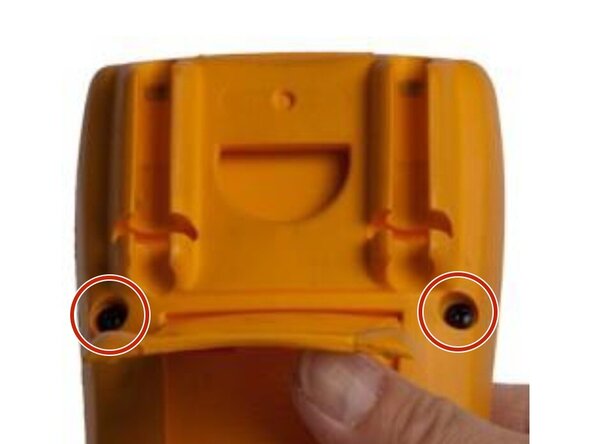
Remove the 2 top screws.
-
-
-

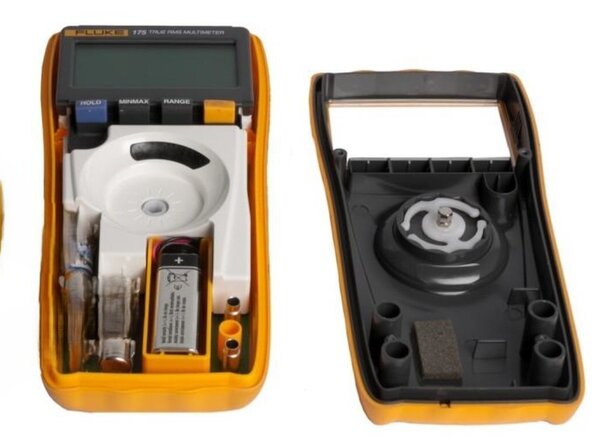
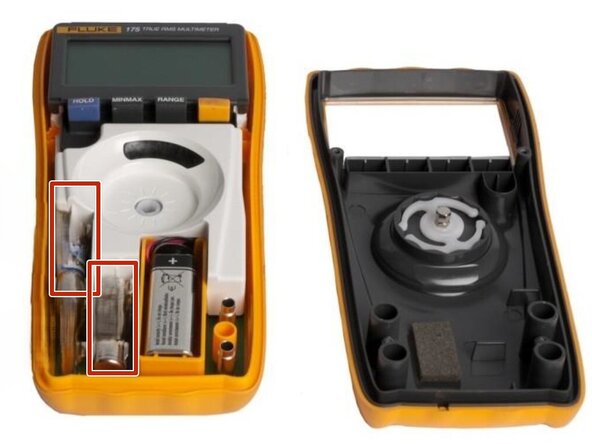
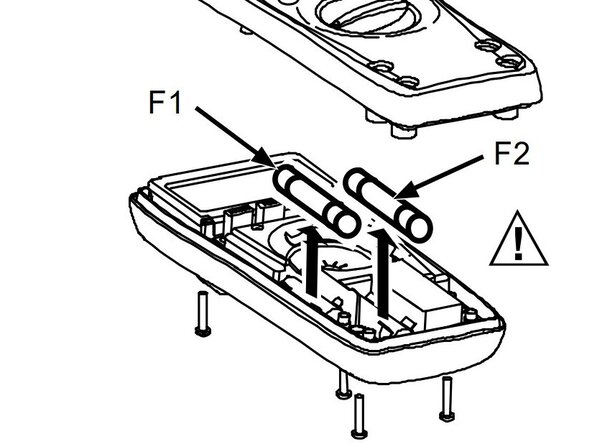
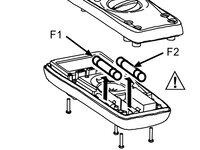
To reassemble your device, follow these instructions in reverse order.

