Free Shipping on Domestic Orders $75+

Floor Pump O-Rings Replacement

Views: 7.5K

View statistics:

Past 24 Hours:
7
Past 7 Days:
39
Past 30 Days:
172
All Time:
7,490
Comments: 1

1 guide comment.

Go to guide comments
Completed: 1

1 person has marked this guide "completed." Will you be next?

Favorites: 1

1 person has favorited (and subscribed to) this guide. Will you be next?

Time Required: No estimate
Difficulty: Moderate
Featured Guide

This guide has been found to be exceptionally cool by the iFixit staff.

Floor Pump O-Rings Replacement

Introduction

Go to step 1 ↓

You may notice that your pump is not able to achieve the pressures it used to be able to. Your pump may be even making unusual sounds while pumping. This could be an indication that the O-rings in the pump are worn and can't make a proper seal. Use this guide to replace your worn O-rings.

    1. Floor Pump O-Rings Replacement, O-Rings: step 1, image 1 of 1
      • Detach the hose from its holder.

      Ask FixBot

      Add Comment

    2. Floor Pump O-Rings Replacement: step 2, image 1 of 2 Floor Pump O-Rings Replacement: step 2, image 2 of 2
      • Hold the base of the pump steady and twist the barrel counter-clockwise by hand until it completely unthreads.

      • If you are having troubles stabilizing the base and twisting the barrel, try standing on the base and using both hands to loosen the barrel.

      • Lift the barrel off the base.

      • When removing the barrel, be sure not to lose the bump stop O-ring. It may stick to the pump base, may be stuck inside the barrel, or may fall out when you remove the barrel.

      Ask FixBot

      Add Comment

    3. Floor Pump O-Rings Replacement: step 3, image 1 of 1
      • Lift the pump handle until the top cap is expsoed

      Ask FixBot

      Add Comment

    4. Floor Pump O-Rings Replacement: step 4, image 1 of 3 Floor Pump O-Rings Replacement: step 4, image 2 of 3 Floor Pump O-Rings Replacement: step 4, image 3 of 3
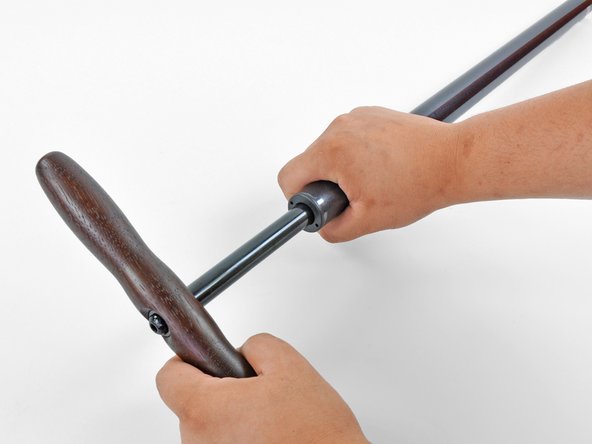
      • Place the ends of needle nose pliers into the top cap holes and turn counter-clockwise until the cap is loose.

      • Finish removing the top cap by hand.

      • Pull the pump plunger out of the barrel.

      Ask FixBot

      Add Comment

    5. Floor Pump O-Rings Replacement: step 5, image 1 of 2 Floor Pump O-Rings Replacement: step 5, image 2 of 2
      • Use a small flathead screwdriver to remove the plunger O-ring.

      • Use the screwdriver to remove the upper bump stop O-ring.

      • Install new O-rings.

      • Be careful not to over-stretch or cut the O-rings if you are using the screwdriver to install them.

      Ask FixBot

      Add Comment

    6. Floor Pump O-Rings Replacement: step 6, image 1 of 2 Floor Pump O-Rings Replacement: step 6, image 2 of 2
      • Remove the lower bump stop O-ring from the pump base.

      • Remove and replace the base O-ring.

      Ask FixBot

      Add Comment

    7. Floor Pump O-Rings Replacement: step 7, image 1 of 3 Floor Pump O-Rings Replacement: step 7, image 2 of 3 Floor Pump O-Rings Replacement: step 7, image 3 of 3
      • Insert the tips of needle nose pliers into the base cap holes and turn it counter-clockwise until it completely unthreads.

      • Remove the base cap from the pump base.

      • Remove and replace the base cap O-ring.

      • Re-assemble the pump using these instructions backwards.

      • Don't forget to set a new bump stop O-ring on top of the pump base before re-installing the pump barrel.

      Ask FixBot

      Add Comment

Finish Line

Cancel: I did not complete this guide.

One other person completed this guide.

iRobot

Member since: 09/24/09

1 Reputation

632 Guides authored

1 Guide Comment

I was looking for ideas on how to “make" an O- ring. It can't be that difficult. I'll update when the plan comes together.?

RBizerka - Reply Share

Add Comment

View Statistics:

Past 24 Hours: 7

Past 7 Days: 39

Past 30 Days: 172

All Time: 7,490