
Flipper Zero iButton board Replacement

Sebastian and one other contributor
Last updated on Nov 7, 2024
Views: 2.6K
View statistics:
- Past 24 Hours:
- 3
- Past 7 Days:
- 27
- Past 30 Days:
- 109
- All Time:
- 2,591
Comments: 3
3 comments on steps.
Completed: 0 1
No one has marked this guide "completed." Will you be the first?
1 person has marked this guide "completed." It's you — great job!
Favorites: 0 1
No one has favorited (and subscribed to) this guide. Will you be the first?
1 person has favorited (and subscribed to) this guide — and that's you!
Community-Contributed Guide
An awesome member of our community made this guide. It was not created by iFixit staff.
Introduction
Go to step 1 ↓Flipper Zero is a popular multi-tool device that is widely used for hardware hacking, electronics prototyping, and security testing. One of its unique features is the iButton board, which enables users to interact with iButton devices such as digital thermometers, time clocks, and access control systems. However, like any electronic device, the iButton board of your Flipper Zero can eventually wear out or become damaged, leading to issues with iButton functionality.
If you're experiencing issues with your Flipper Zero's iButton board, don't worry. Replacing the iButton board is a simple process that can be done with just a few tools and some basic knowledge. In this guide, we'll take you through the steps involved in replacing the iButton board of your Flipper Zero, so you can continue to enjoy using this powerful device for all your iButton-related needs.
What you need


-
-
-
Go to Main Menu > Settings > Power.
-
Select Power OFF.
-
Confirm by pressing the Right-button.
 Ask FixBot
-
-
-
Eject the microSD card by pressing it with your fingernail.
-
-
Tool used on this step:Phillips #0 Screwdriver$5.49
-
Use a PH0 screwdriver to unscrew the four long screws holding the back cover.
-
-
-
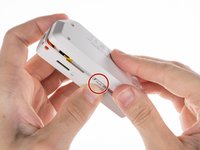
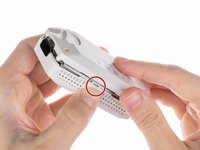
Press the middle of the top cover on both sides, one by one, to release the latches that hold the back cover in place.
-
Once the latches are released, you can remove the bottom cover.
-
-
-
-
Tool used on this step:Phillips #0 Screwdriver$5.49
-
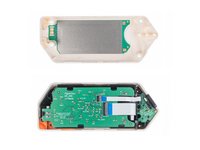
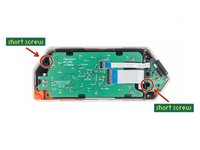
Use a PH0 screwdriver to unscrew the two short screws that are holding the chassis and top cover together.
-
Once the screws are removed, separate the chassis from the top cover.
-
-
Tool used on this step:Spudger$3.99
-
Disconnect the battery by carefully prying the connector with a Spudger and pulling it out.
-
-
-
-
-
Tool used on this step:iFixit Opening Picks (Set of 6)$4.95
-
Disconnect the small ribbon cable from the board. Use a plastic pick to lift the latch up to open the lock and carefully pull it out of the connector.
-
-
Tool used on this step:Phillips #0 Screwdriver$5.49
-
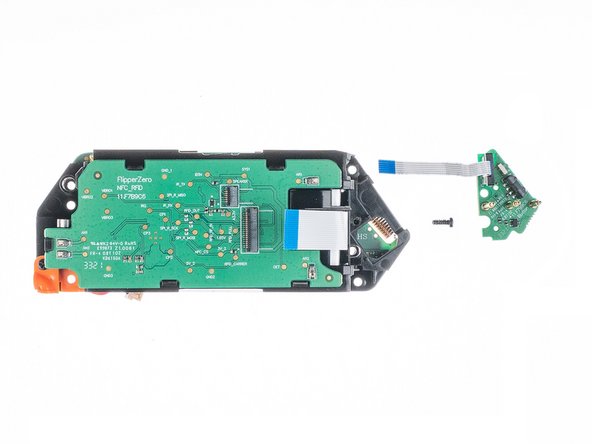
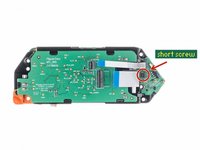
Unscrew the short screw holding the iButton board in place using a PH0 screwdriver.
-
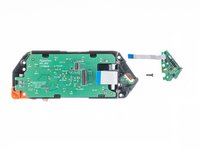
Once the screw is removed, carefully remove the iButton board.
-
-
Tool used on this step:Spudger$3.99
-
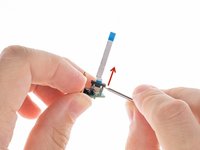
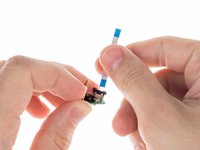
To disconnect the flat cable from the iButton board, use a Spudger to carefully release the lock by pulling the latch up.
-
Once the connector is unlocked, gently pull the cable out of the connector.
-
-




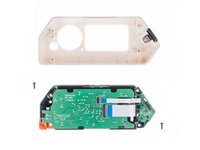


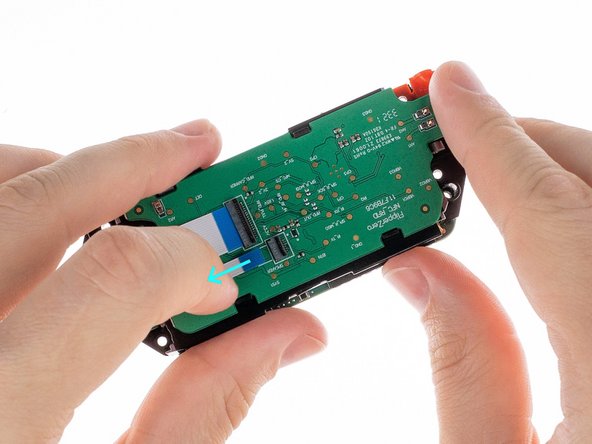



To reassemble your device, follow these instructions in reverse order.
Take your e-waste to an R2 or e-Stewards certified recycler.

