Free Shipping on Domestic Orders $75+

Ferm FZ-13/330 Crank Rod Bearing Replacement

What you need

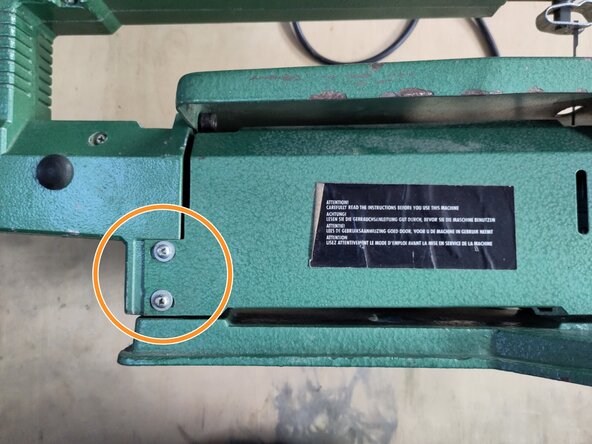
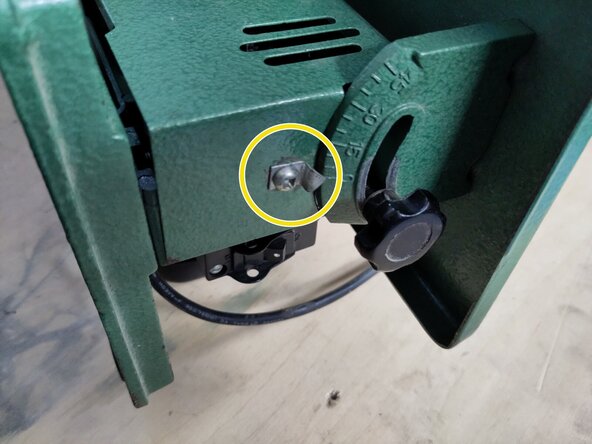
  1. Ferm FZ-13/330 Crank Rod Bearing Replacement, remove the side cover: step 1, image 1 of 3 Ferm FZ-13/330 Crank Rod Bearing Replacement, remove the side cover: step 1, image 2 of 3 Ferm FZ-13/330 Crank Rod Bearing Replacement, remove the side cover: step 1, image 3 of 3
    • Make sure the machine is unplugged before continuing.

    • Take out the saw blade.

    • Turn the scroll saw on its side.

    • Remove the 2 screws that attach the cover to the back.

    • Remove the front screw that attaches the cover to the front.

    Ask FixBot
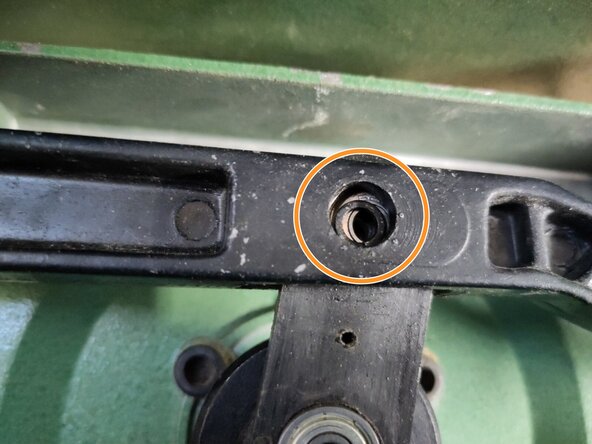
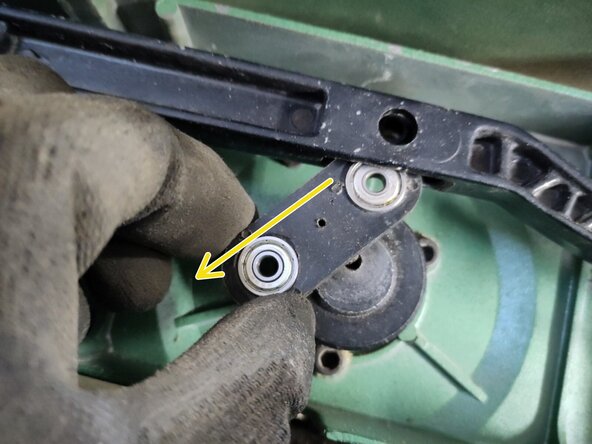
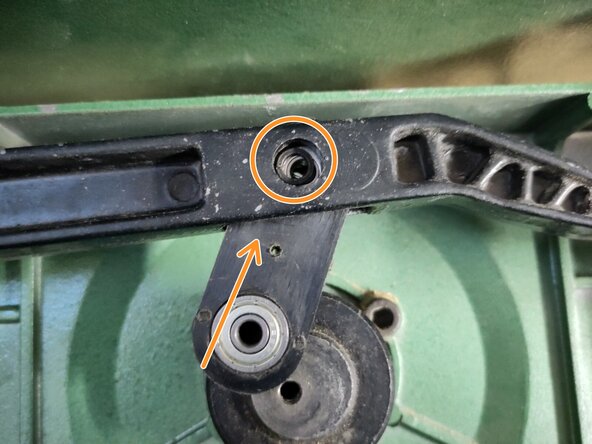
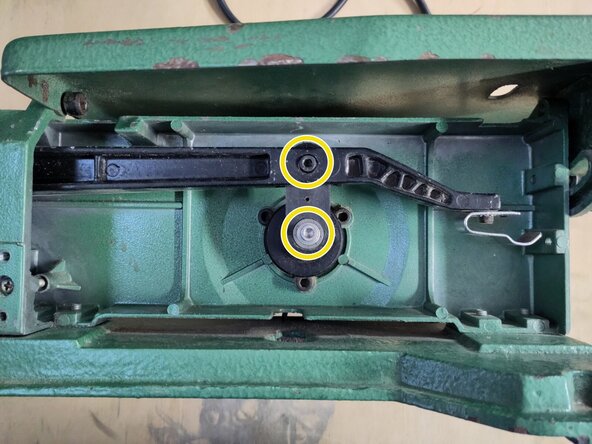
  2. Ferm FZ-13/330 Crank Rod Bearing Replacement, remove the linkage rod: step 2, image 1 of 3 Ferm FZ-13/330 Crank Rod Bearing Replacement, remove the linkage rod: step 2, image 2 of 3 Ferm FZ-13/330 Crank Rod Bearing Replacement, remove the linkage rod: step 2, image 3 of 3
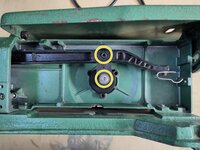
    • Turn loose and remove the bolts with the 4mm Allen key.

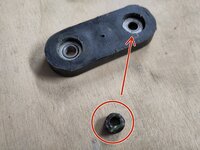
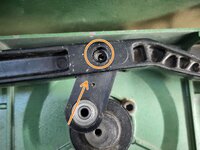
    • Take care to not misplace the ring in the top joint.

    • Remove the linkage rod from the drive arm. The spacer on the backside of the top joint will fall out at this point.

    Ask FixBot
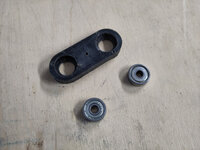
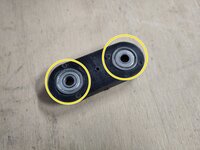
  3. Ferm FZ-13/330 Crank Rod Bearing Replacement, replace bearings: step 3, image 1 of 3 Ferm FZ-13/330 Crank Rod Bearing Replacement, replace bearings: step 3, image 2 of 3 Ferm FZ-13/330 Crank Rod Bearing Replacement, replace bearings: step 3, image 3 of 3
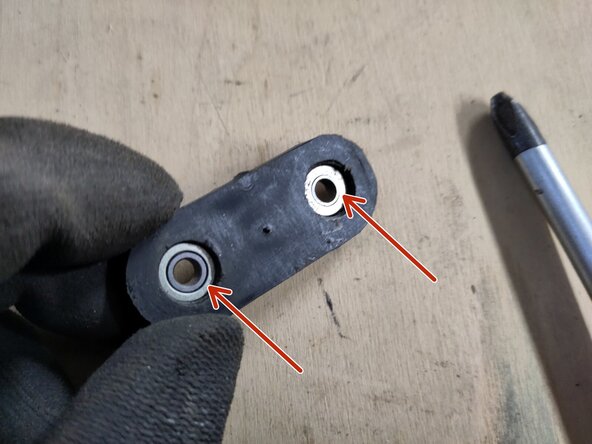
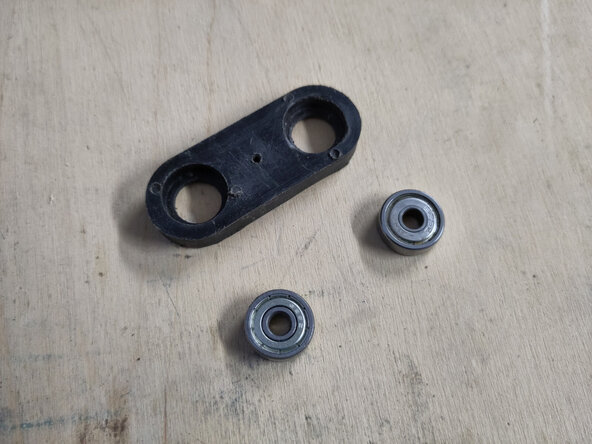
    • Flip the linkage rod and use a screwdriver to push out the bearings.

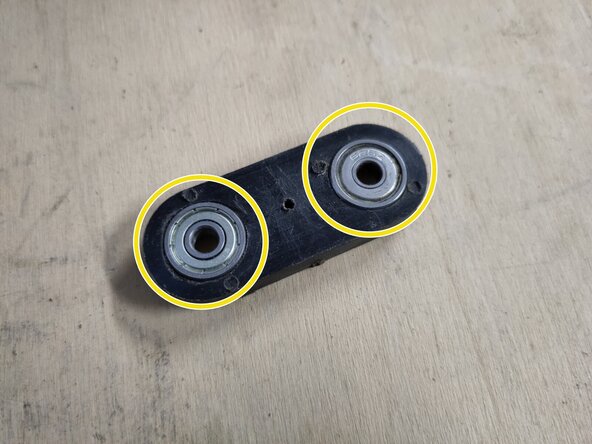
    • Insert new bearings and push them in fully by hand.

    Ask FixBot
  4. Ferm FZ-13/330 Crank Rod Bearing Replacement, install the linkage rod: step 4, image 1 of 3 Ferm FZ-13/330 Crank Rod Bearing Replacement, install the linkage rod: step 4, image 2 of 3 Ferm FZ-13/330 Crank Rod Bearing Replacement, install the linkage rod: step 4, image 3 of 3
    • Add some grease to the top joint spacer and stick it to the top joint bearing.

    • Slide the linkage back into the drive arm and put the ring back.

    • Return the bolts and fasten them. Turn the crank by hand to ensure the mechanism is working smoothly.

    Ask FixBot
Conclusion

Put the saw blade and the side cover back on to reassemble the saw fully.

knipwim

Member since: 09/01/18

15,271 Reputation

44 Guides authored

0 Guide Comments

Add Comment

View Statistics:

Past 24 Hours: 0

Past 7 Days: 2

Past 30 Days: 11

All Time: 191