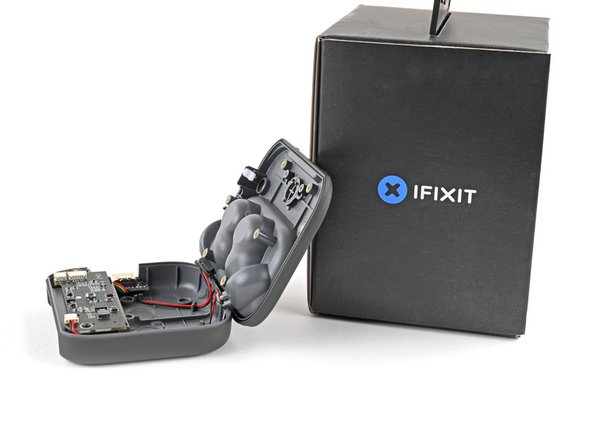
Free Shipping on Domestic Orders $75+

Fairphone Fairbuds Mainboard Replacement

What you need

  1. Fairphone Fairbuds Mainboard Replacement, Remove the earbuds: step 1, image 1 of 2 Fairphone Fairbuds Mainboard Replacement, Remove the earbuds: step 1, image 2 of 2
    • Remove your earbuds from the charging case.

  2. Fairphone Fairbuds Mainboard Replacement, Remove the outer shell screw: step 2, image 1 of 2 Fairphone Fairbuds Mainboard Replacement, Remove the outer shell screw: step 2, image 2 of 2
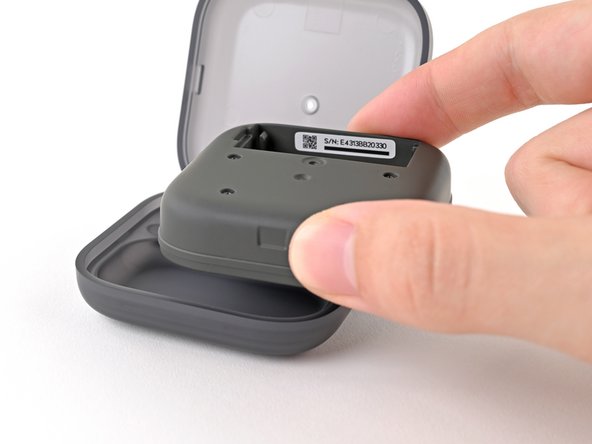
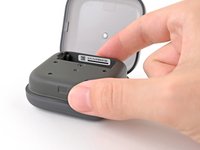
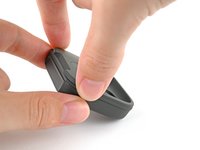
    • Flip your charging case upside down.

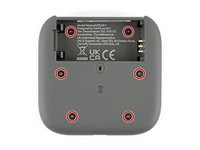
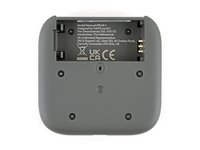
    • Use a Phillips screwdriver to remove the 4.5 mm‑long screw securing the outer shell.

  3. Fairphone Fairbuds Mainboard Replacement, Remove the battery: step 3, image 1 of 2 Fairphone Fairbuds Mainboard Replacement, Remove the battery: step 3, image 2 of 2
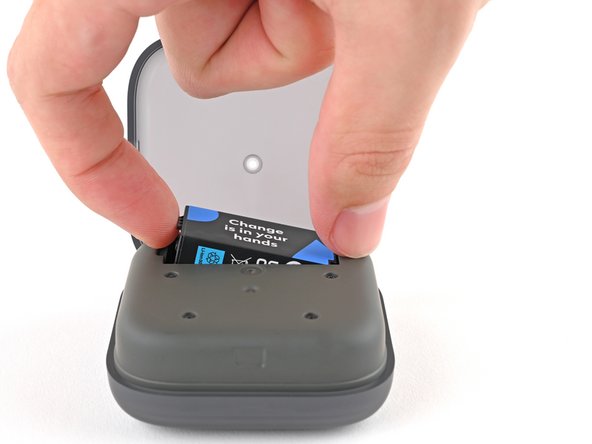
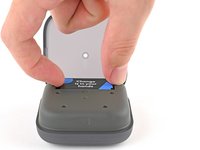
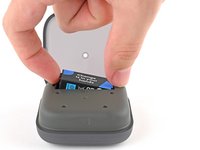
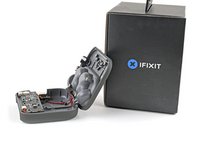
    • Flip up the bottom of the outer shell to expose the battery.

  4. Fairphone Fairbuds Mainboard Replacement: step 4, image 1 of 3 Fairphone Fairbuds Mainboard Replacement: step 4, image 2 of 3 Fairphone Fairbuds Mainboard Replacement: step 4, image 3 of 3
    • Use your finger to pry up the battery at its notch and remove it.

  5. Fairphone Fairbuds Mainboard Replacement, Remove the charging core: step 5, image 1 of 2 Fairphone Fairbuds Mainboard Replacement, Remove the charging core: step 5, image 2 of 2
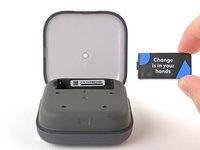
    • Lift the charging core out of the outer shell and remove it.

  6. Fairphone Fairbuds Mainboard Replacement, Remove the charging core screws: step 6, image 1 of 2 Fairphone Fairbuds Mainboard Replacement, Remove the charging core screws: step 6, image 2 of 2
    • Use a Phillips screwdriver to remove the six 3.9 mm‑long screws securing the two halves of the charging core.

  7. Fairphone Fairbuds Mainboard Replacement, Open the charging core: step 7, image 1 of 3 Fairphone Fairbuds Mainboard Replacement, Open the charging core: step 7, image 2 of 3 Fairphone Fairbuds Mainboard Replacement, Open the charging core: step 7, image 3 of 3
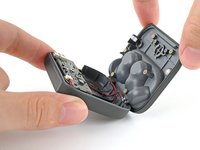
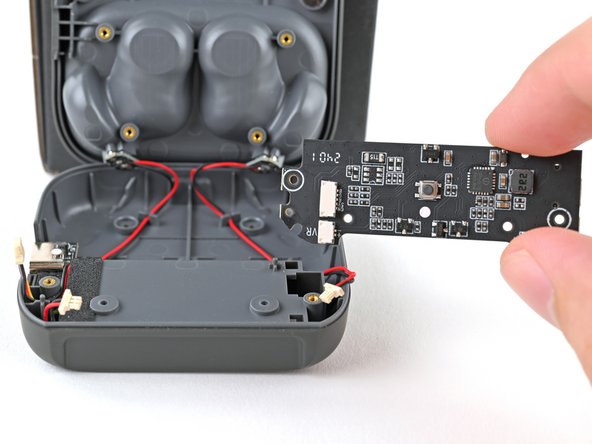
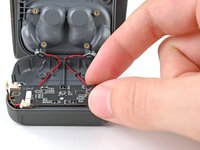
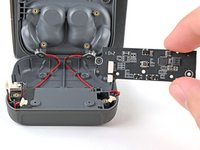
    • Flip over the charging core and grip its top half, near the pairing button.

    • Lift the top half and swing it over the core, letting it rest on something sturdy.

    • Don't try to separate the two halves, as they're still attached by cables.

  8. Fairphone Fairbuds Mainboard Replacement, Disconnect the mainboard: step 8, image 1 of 3 Fairphone Fairbuds Mainboard Replacement, Disconnect the mainboard: step 8, image 2 of 3 Fairphone Fairbuds Mainboard Replacement, Disconnect the mainboard: step 8, image 3 of 3
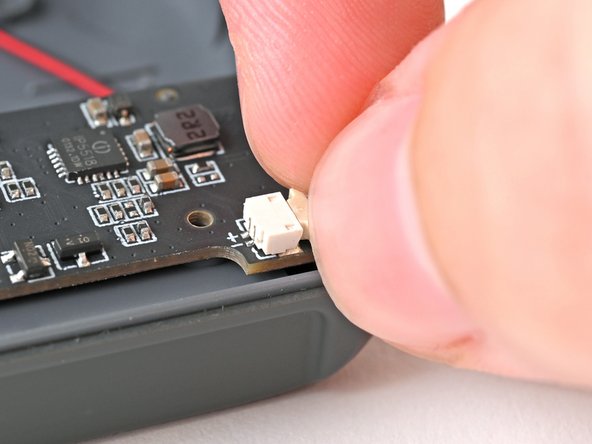
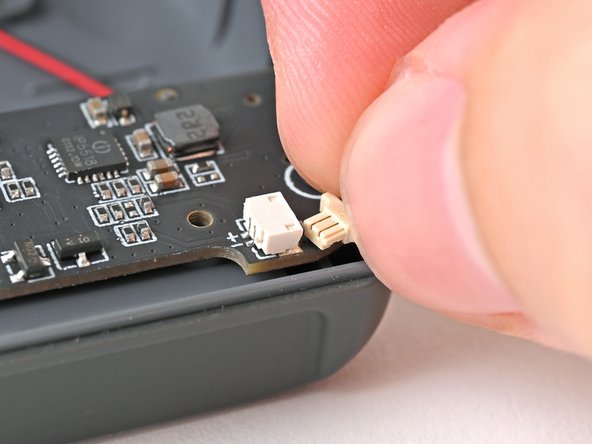
    • Use your fingers to pull the left earbud charging cable out of its socket.

    • Don't grip the cable! Only pull on the cable's plastic head.

    • If you're having trouble gripping the cable's head, use the tip of a spudger to push it out of its socket.

  9. Fairphone Fairbuds Mainboard Replacement: step 9, image 1 of 3 Fairphone Fairbuds Mainboard Replacement: step 9, image 2 of 3 Fairphone Fairbuds Mainboard Replacement: step 9, image 3 of 3
    • Since the remaining connectors are next to each other, it can be difficult to grip them with your fingers. The following instructions use a spudger instead.

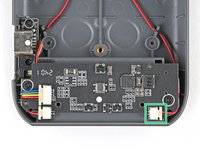
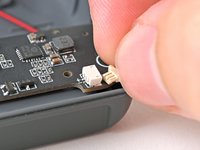
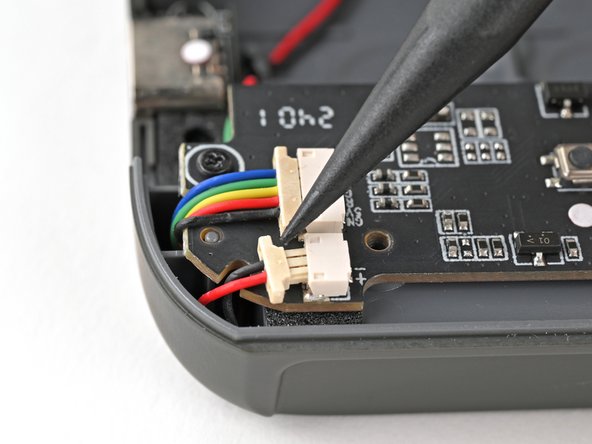
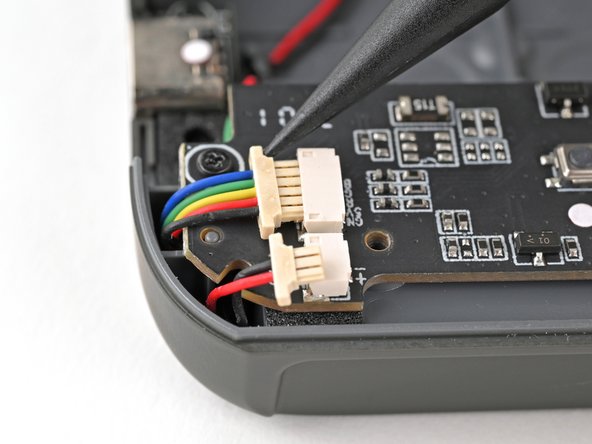
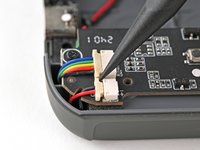
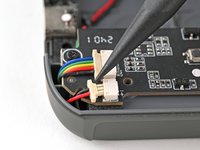
    • Use the tip of a spudger to push the right earbud cable head out of its socket to disconnect it.

    • Repeat for the USB-C port cable.

  10. Fairphone Fairbuds Mainboard Replacement, Remove the mainboard screws: step 10, image 1 of 2 Fairphone Fairbuds Mainboard Replacement, Remove the mainboard screws: step 10, image 2 of 2
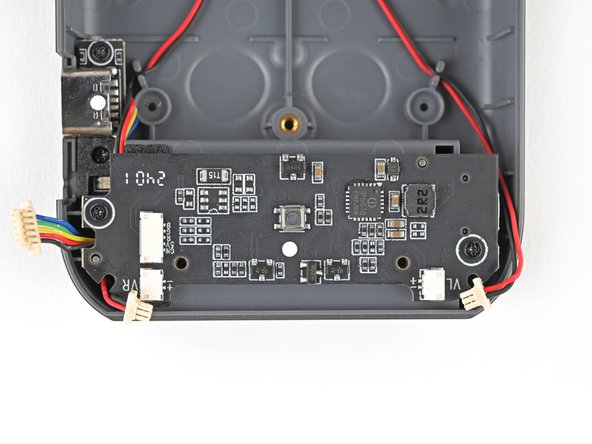
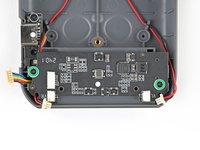
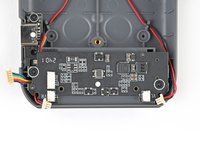
    • Use a Phillips screwdriver to remove the two 3.9 mm‑long screws securing the mainboard.

  11. Fairphone Fairbuds Mainboard Replacement, Remove the mainboard: step 11, image 1 of 3 Fairphone Fairbuds Mainboard Replacement, Remove the mainboard: step 11, image 2 of 3 Fairphone Fairbuds Mainboard Replacement, Remove the mainboard: step 11, image 3 of 3
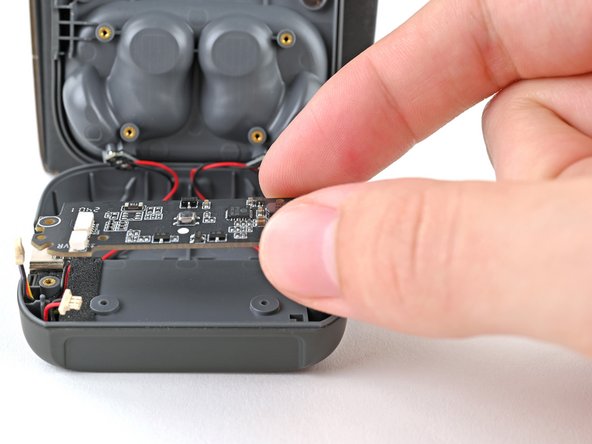
    • Lift the mainboard off its posts in the charging core and remove it.

Conclusion

To reassemble your device, follow these instructions in reverse order.

Take your e-waste to an R2 or e-Stewards certified recycler.

Repair didn’t go as planned? Try some basic troubleshooting, or ask our Answers Community for help.

One other person completed this guide.

Alex Diaz-Kokaisl

Member since: 01/16/22

229,523 Reputation

1,106 Guides authored

Team

iFixit Member of iFixit

Staff

124 Members

24,736 Guides authored

0 Guide Comments

Add Comment

View Statistics:

Past 24 Hours: 0

Past 7 Days: 19

Past 30 Days: 77

All Time: 1,286