Free Shipping on Domestic Orders $75+

Fairphone 4 Front Camera Replacement

What you need

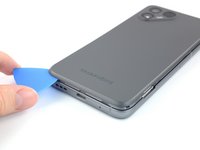
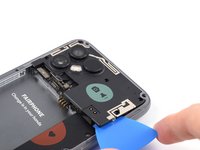
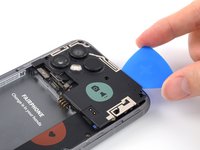
    1. Fairphone 4 Front Camera Replacement, Pry the back cover up: step 1, image 1 of 2 Fairphone 4 Front Camera Replacement, Pry the back cover up: step 1, image 2 of 2
      • Be sure to power off your phone before you begin.

      • Insert your thumbnail, or a prying tool like a spudger, into the notch at the bottom right of the back cover.

      • Pry the back cover up to start separating its plastic clips.

      Ask FixBot

      Add Comment

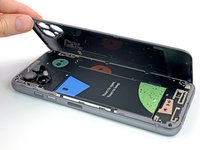
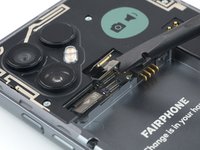
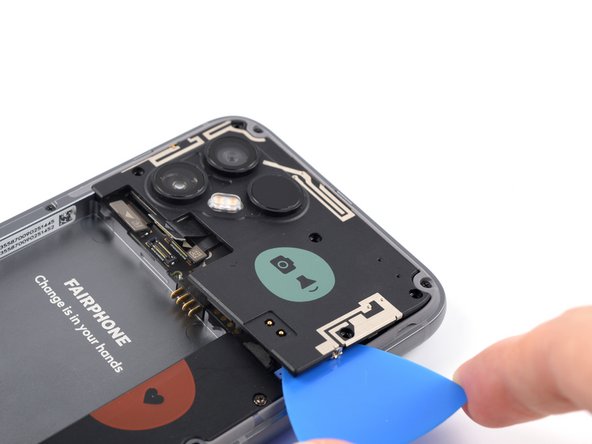
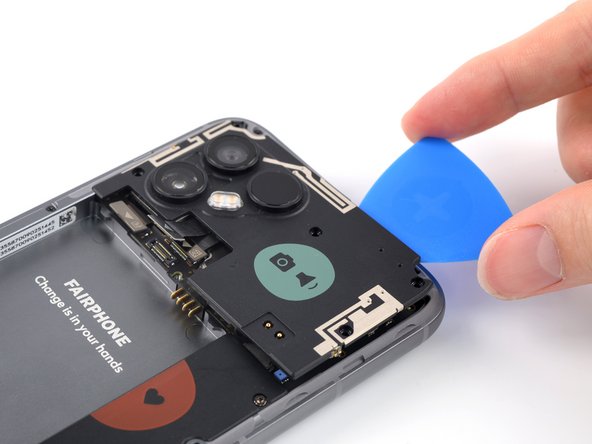
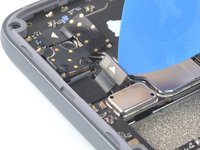
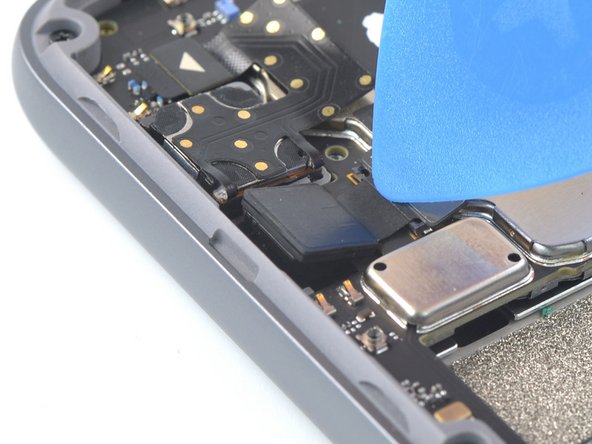
    2. Fairphone 4 Front Camera Replacement: step 2, image 1 of 3 Fairphone 4 Front Camera Replacement: step 2, image 2 of 3 Fairphone 4 Front Camera Replacement: step 2, image 3 of 3
      • Using your thumbnail or an opening pick, slide along the right side of the phone to loosen the plastic clips.

      Ask FixBot

      Add Comment

    3. Fairphone 4 Front Camera Replacement: step 3, image 1 of 3 Fairphone 4 Front Camera Replacement: step 3, image 2 of 3 Fairphone 4 Front Camera Replacement: step 3, image 3 of 3
      • Slide along the bottom of the phone to loosen the plastic clips.

      Ask FixBot

      Add Comment

    4. Fairphone 4 Front Camera Replacement: step 4, image 1 of 3 Fairphone 4 Front Camera Replacement: step 4, image 2 of 3 Fairphone 4 Front Camera Replacement: step 4, image 3 of 3
      • Slide along the left side of the phone to loosen the plastic clips.

      • Lift the back cover to release the rest of the plastic clips and remove it.

      • To reinstall the back cover press it firmly into place until you hear a snap from the plastic clips.

      Ask FixBot

      Add Comment

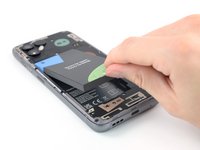
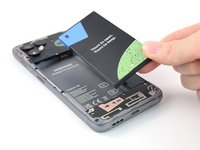
    1. Fairphone 4 Front Camera Replacement, Lever up the Battery: step 5, image 1 of 3 Fairphone 4 Front Camera Replacement, Lever up the Battery: step 5, image 2 of 3 Fairphone 4 Front Camera Replacement, Lever up the Battery: step 5, image 3 of 3
      • Use a fingernail or a prying tool at the marked notch to lever the battery out of its recess.

      • Lift the battery out of its recess and remove it.

      • Remove the battery.

      Ask FixBot

      Add Comment

    1. Fairphone 4 Front Camera Replacement, Unscrew the cable cover: step 6, image 1 of 1
      • Remove the 4.8 mm-long Phillips screw.

      Ask FixBot

      Add Comment

    2. Fairphone 4 Front Camera Replacement, Remove the cable cover: step 7, image 1 of 2 Fairphone 4 Front Camera Replacement, Remove the cable cover: step 7, image 2 of 2
      • Insert an opening pick beneath the cover near the triangular mark.

      • Twist the opening pick to pry the cover up.

      • Remove the cover.

      Ask FixBot

      Add Comment

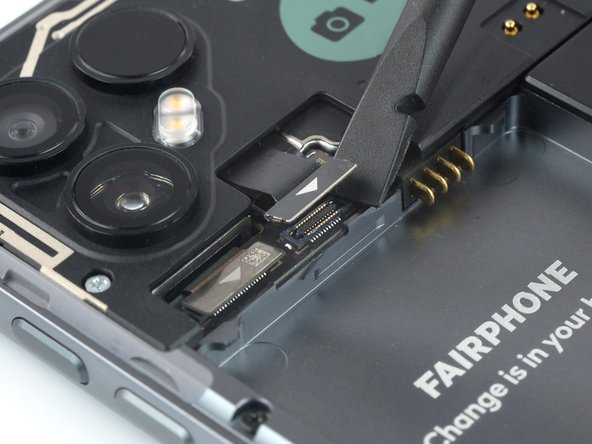
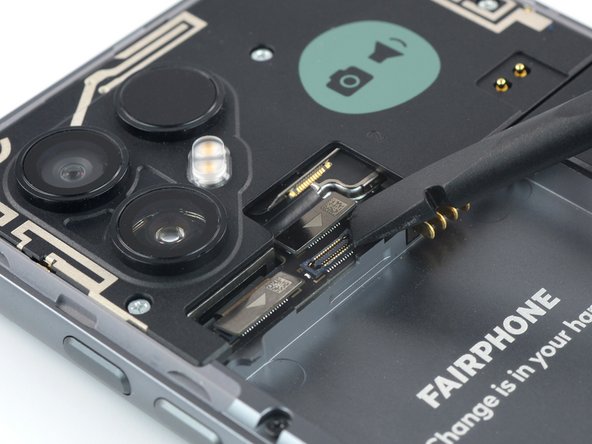
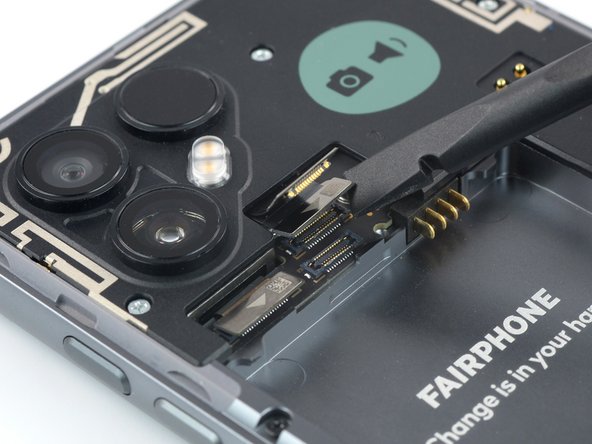
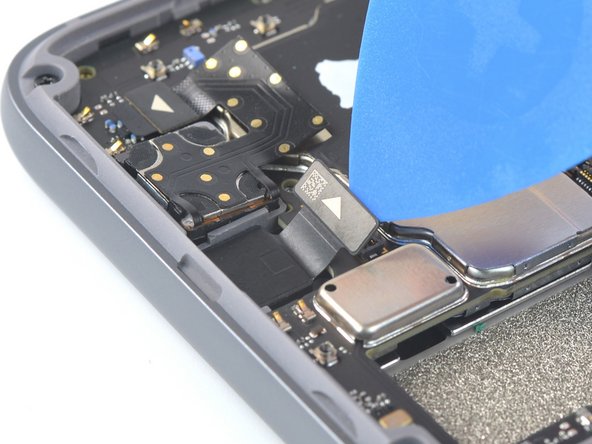
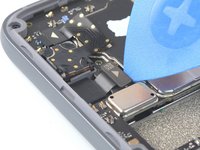
    3. Fairphone 4 Front Camera Replacement, Disconnect cables: step 8, image 1 of 3 Fairphone 4 Front Camera Replacement, Disconnect cables: step 8, image 2 of 3 Fairphone 4 Front Camera Replacement, Disconnect cables: step 8, image 3 of 3
      • Use a spudger or an opening pick to pry up and disconnect the two camera connection cables.

      Ask FixBot

      Add Comment

    4. Fairphone 4 Front Camera Replacement: step 9, image 1 of 3 Fairphone 4 Front Camera Replacement: step 9, image 2 of 3 Fairphone 4 Front Camera Replacement: step 9, image 3 of 3
      • Lift up the right connector to reveal the additional connector beneath it.

      • Use a spudger or an opening pick to pry up and disconnect the third camera connection cable.

      Ask FixBot

      Add Comment

    5. Fairphone 4 Front Camera Replacement, Unscrew the rear camera module: step 10, image 1 of 1
      • Remove the five 4.8 mm-long Phillips screws.

      Ask FixBot

      Add Comment

    6. Fairphone 4 Front Camera Replacement: step 11, image 1 of 3 Fairphone 4 Front Camera Replacement: step 11, image 2 of 3 Fairphone 4 Front Camera Replacement: step 11, image 3 of 3
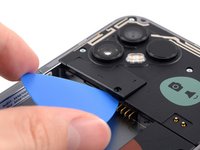
      • Use an opening pick to slide underneath the rear camera module.

      • Slide the opening pick along the rear camera module to release the clips that hold it in place.

      Ask FixBot

      Add Comment

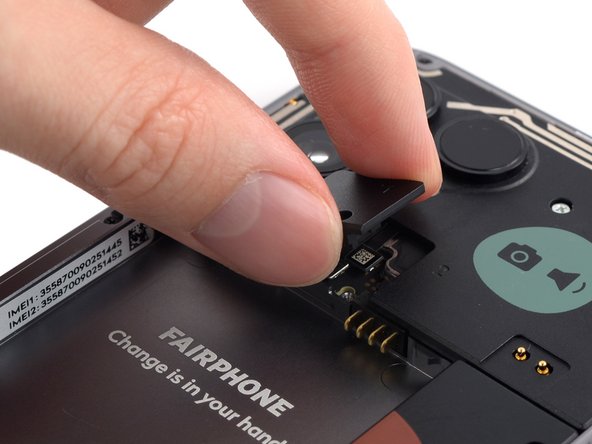
    7. Fairphone 4 Front Camera Replacement: step 12, image 1 of 1
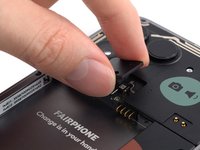
      • Lift the rear camera module and remove it.

      Ask FixBot

      Add Comment

    1. Fairphone 4 Front Camera Replacement, Disconnect the front camera cable: step 13, image 1 of 2 Fairphone 4 Front Camera Replacement, Disconnect the front camera cable: step 13, image 2 of 2
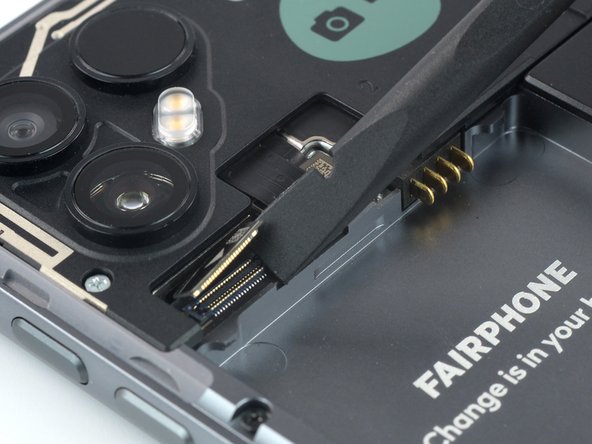
      • Use an opening pick to pry up and disconnect the front camera cable.

      Ask FixBot

      Add Comment

    2. Fairphone 4 Front Camera Replacement, Lift out the front camera: step 14, image 1 of 2 Fairphone 4 Front Camera Replacement, Lift out the front camera: step 14, image 2 of 2
      • Use an opening pick to lift out the front camera by carefully pulling it away from the frame so it pops out of its recess.

      • Alternatively you can turn the phone over to let gravity to do its part.

      Ask FixBot

      Add Comment

    3. Fairphone 4 Front Camera Replacement, Remove the front camera: step 15, image 1 of 1
      • Grab the front camera and remove it.

      Ask FixBot

      Add Comment

Conclusion

To reassemble your device, follow these instructions in reverse order.

Take your e-waste to an R2 or e-Stewards certified recycler.

Repair didn’t go as planned? Try some basic troubleshooting, or ask our Answers community for help.


Cancel: I did not complete this guide.

Manuel Haeussermann

Member since: 07/13/22

26,644 Reputation

72 Guides authored

Team

iFixit Member of iFixit

Staff

123 Members

85,546 Guides authored

0 Guide Comments

Add Comment

View Statistics:

Past 24 Hours: 4

Past 7 Days: 19

Past 30 Days: 69

All Time: 2,762