
Fahrenheit FHT 125PRMR Dial Replacement

Nicolas Moreau and one other contributor
Last updated on Dec 22, 2016
Views: 1.5K
View statistics:
- Past 24 Hours:
- 1
- Past 7 Days:
- 14
- Past 30 Days:
- 94
- All Time:
- 1,509
Comments: 0
No one has left comments on this guide. Will you be first?
Go to guide commentsCompleted: 0 1
No one has marked this guide "completed." Will you be the first?
1 person has marked this guide "completed." It's you — great job!
Favorites: 0 1
No one has favorited (and subscribed to) this guide. Will you be the first?
1 person has favorited (and subscribed to) this guide — and that's you!
Introduction
Go to step 1 ↓This guide will help you replace a dial for a Fahrenheit FHT 125PRMR hair straightener that is not properly controlling the temperature of the device when powered on. Make sure the device is unplugged when working on it to avoid damaging any electrical components.
What you need
Tools


-
-
-
Use your fingers or a plastic opening tool to open the side hinges on both sides of the device.
 Ask FixBot
-
-
-
Using a Philips head #2 screwdriver remove the 7mm black screw from the hinge of the device.
-
-
-
Using the metal spudger, push through the hole the screw was removed from. Doing this will push the copper pin out of the other side.
-
When the pin is removed the two sides of the device can now separate.
-
-
-
Using a Philips head #1 screwdriver remove the two 6mm black screws on both sides of the dial panel cover.
-
-
-
Using a Philips head #1 screwdriver remove the two 4mm silver screws on both sides of the dial panel cover.
-
-
-
Using a Philips head #00 screwdriver remove the 4mm silver screw from the center of the dial.
-
Remove the dial after the screw is removed with either your hand or a plastic opening tool.
-
-
-
-
Using a soldering tool, remove the dial station by carefully desoldering the metal on the connecting pins to the motherboard.
-
-






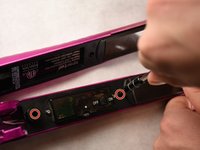
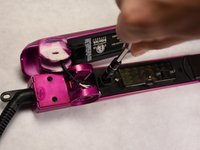


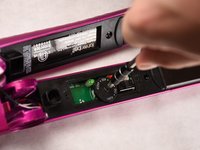
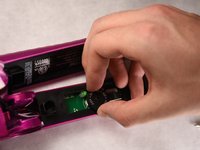


To reassemble your device, follow these instructions in reverse order.

Team

IUPUI, Team 2-2, Harley Fall 2016 Member of IUPUI, Team 2-2, Harley Fall 2016
IUPUI-HARLEY-F16S2G2
4 Members
48 Guides authored
