Introduction
If your FS-200 Impulse Heat Sealer isn’t sealing like it used to or has stopped heating up altogether, chances are the heating element needs to be replaced. This thin wire gets hot for a few seconds to create that perfect seal on plastic materials, but after a lot of use, it can wear out or break.
Swapping it out is pretty simple! This guide will walk you through removing the old heating element and installing a new one so your heat sealer is back in action in no time!
What you need
-
-
-
Unplug the heat sealer from any power source and make sure the heat sealer isn't hot.
-
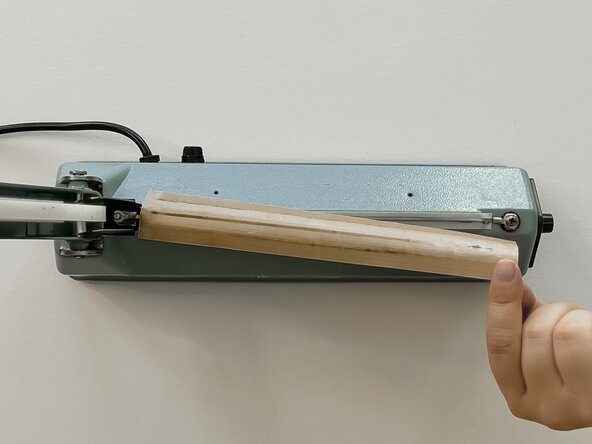
Lift the sealing arm and position it up and out of the way to create space for the replacement.
 Ask FixBot
-
-
-
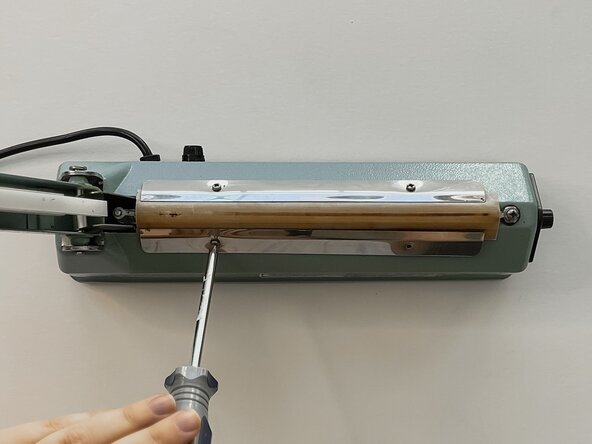
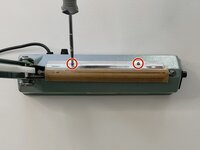
Using a standard Phillips #2 screwdriver, remove the first two screws to detach the first metal panel.
-
-
-
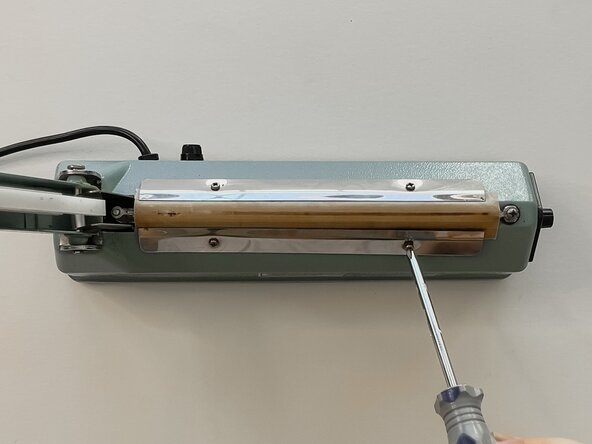
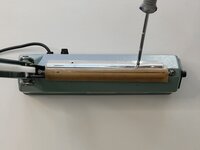
Using a standard Phillips #2 screwdriver, unscrew the remaining two screws to remove the second metal panel.
-
-
-
-
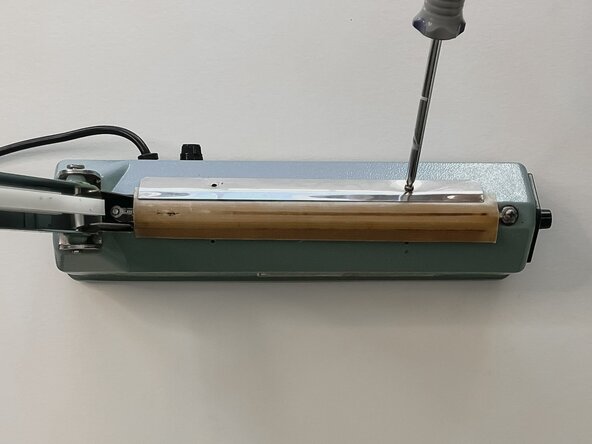
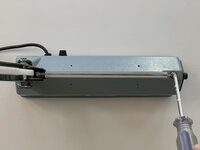
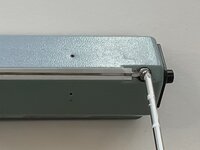
Using a standard Phillips #2 screwdriver, unscrew the large single screw and remove the old heating element wire.
-
-
-
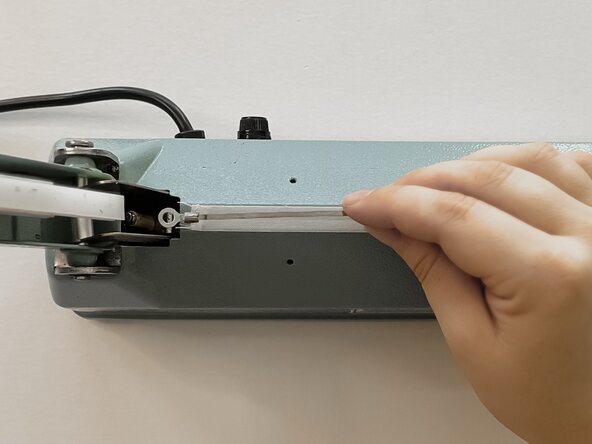
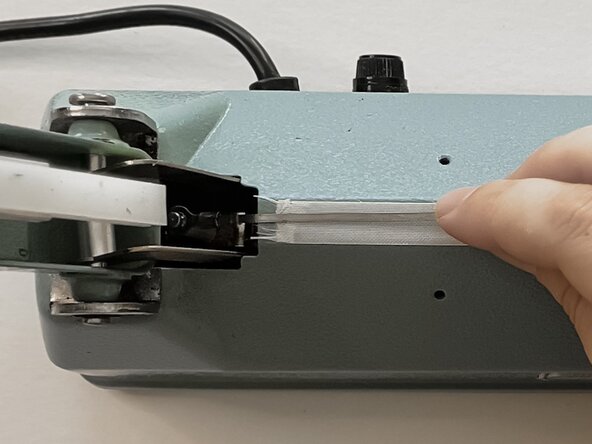
Position the new heating element by placing one end of the wire onto the pin located beneath the arm lever.
-
-
-
Stretch the wire across the base pulling it towards the corresponding screw hole. The pin from the first side will slide as you pull it tight.
-
Holding the heating element taught, line up the 2 holes and use a standard Phillips #2 screwdriver to screw in the large single screw.
-
-

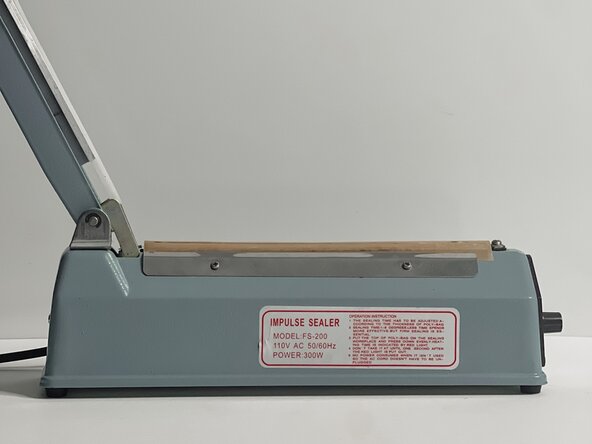





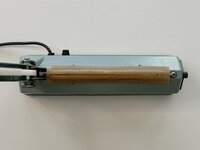
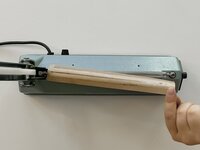

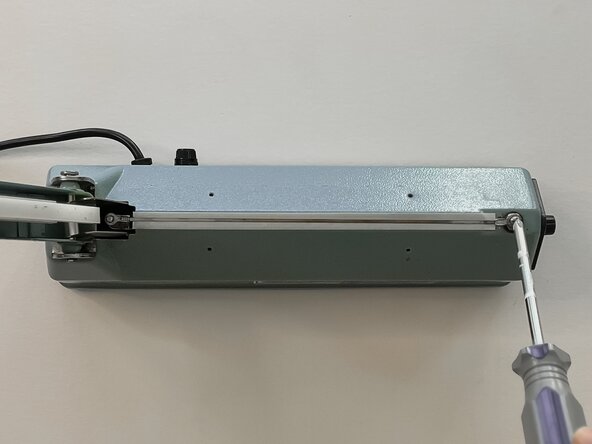
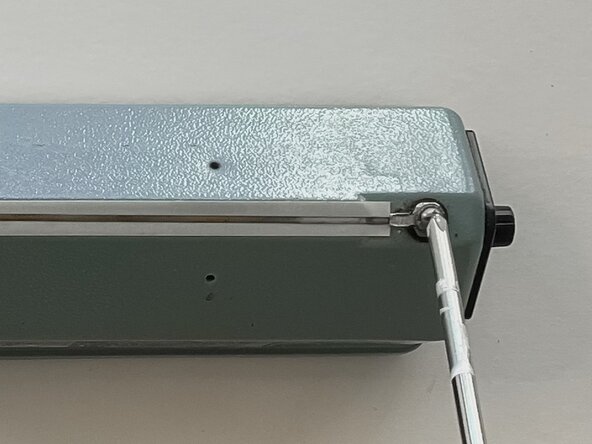

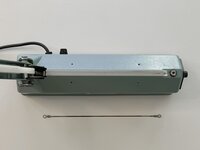
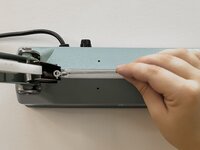
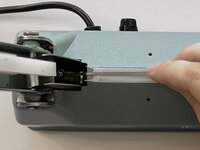

To reassemble your device, follow these instructions in reverse order.

Team

Rose State College, Team 1-4, Kirkman Spring 2025 Member of Rose State College, Team 1-4, Kirkman Spring 2025
ROSE-KIRKMAN-S25S1G4
1 Member
12 Guides authored
