
FLSUN QQ Print Surface Replacement

Daniel Green and 2 other contributors
Last updated on Jan 23, 2023
Views: 2.3K
View statistics:
- Past 24 Hours:
- 1
- Past 7 Days:
- 13
- Past 30 Days:
- 83
- All Time:
- 2,263
Comments: 0
No one has left comments on this guide. Will you be first?
Go to guide commentsCompleted: 1 2
1 person has marked this guide "completed." Will you be next?
2 people have marked this guide "completed." Including you — great job!
Favorites: 1 2
1 person has favorited (and subscribed to) this guide. Will you be next?
2 people have favorited (and subscribed to) this guide — including you!
Community-Contributed Guide
An awesome member of our community made this guide. It was not created by iFixit staff.
Introduction
Go to step 1 ↓Note: This guide is for the FLSUN QQ not the newer QQ-S
If you own a FLSUN QQ and the original bed is worn out, or if you simply want to upgrade for easier print removal, this guide will walk you through the process.
Recommended: If you have not upgraded to the leveling switch I recommend the FLSUN QQ Leveling Sensor Replacement guide first so that you can more easily level after installing the new print surface.
What you need
Parts
Tools
-
-
×6
-
-


-
-
-
Power up printer
-
Tap Tools
-
Tap Heat
-
Tap Extrude 1 to switch to Bed
-
Tap + till the bed temp is set to 70º
 Ask FixBot
-
-
-
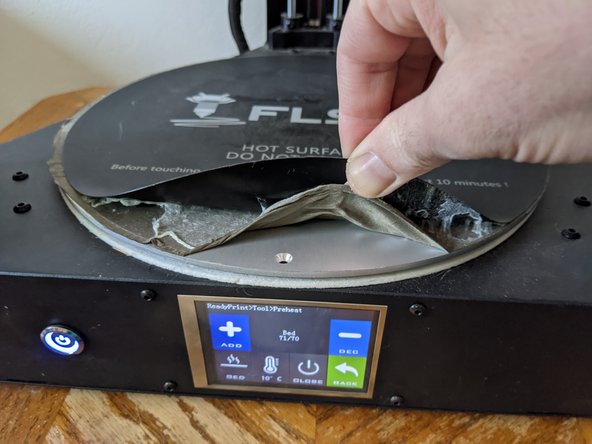
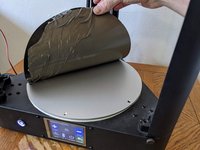
Use the putty knife to start peeling up the old bed.
-
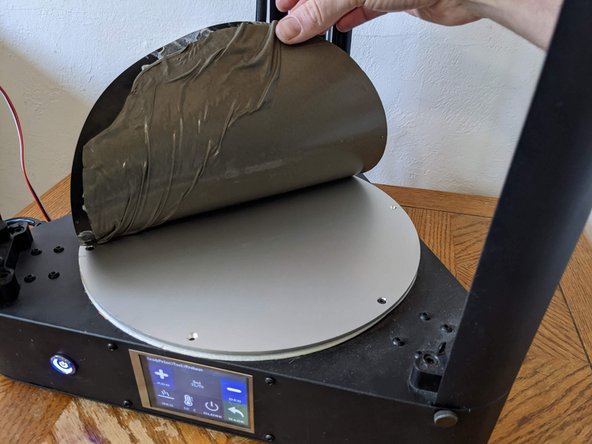
Once you get the edge started you should be able to peel the rest by hand.
-
-
-
One side of the bed will have a wire taped in with the conductive sticker.
-
If you have upgraded to the leveling switch you can cut this wire.
-
If not, you could carefully peel the wire off of the conductive sticker to save it for later...
-
aluminum foil stuck to top of bed and connected to leveling wire
-
homemade leveling switch
-
etc.
-
-
-
Use mineral spirits, gloves, and cotton balls to clean the bed
-
-
-
Leave the steel plate and magnetic sticker together.
-
Remove the backing from the magnetic sticker.
-
Carefully apply the sticker and plate from one edge to the other.
-
-
-
-
Attach Leveling Switch
-
Heat Bed to Normal Printing Temperature
-
Tap Tools
-
Tap Leveling
-
Tap Level
-
-
-
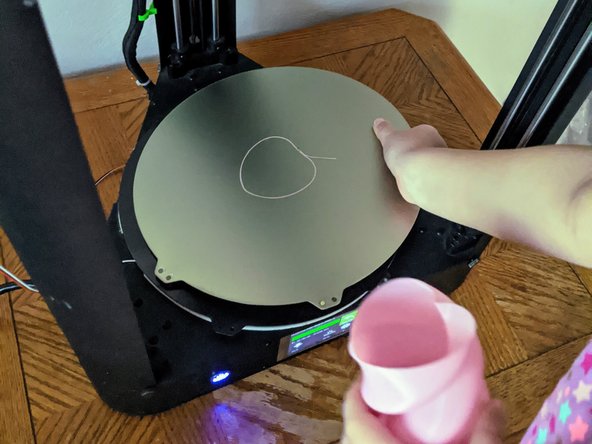
Peel spring steel plate off of magnetic sticker.
-
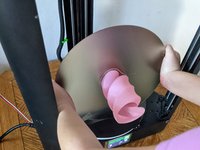
Flex plate gently to detach print.
-
Retrieve print (I dropped the first one)
-
-




You have successfully upgrade the print surface of your FLSUN-QQ
Print Happy
Cancel: I did not complete this guide.
One other person completed this guide.

