Introduction
This guide is for the Euhomy IM-06D icemaker. This guides purpose is to replace the compressor relay. This part helps create the ice along with the compressor itself. Some symptoms that mean this part may need to be replaced are if the machine is not making ice and is otherwise working as intended. If this is the case, then the compressor relay may need to be replaced. Please make sure to unplug the device before starting all guides.
What you need
-
-
-
Rotate the device so that the screws on the bottom are visible.
-
Remove the two 15 mm Phillips screws.
-
Remove the two 10 mm Phillips screws.
 Ask FixBot
-
-
-
-
Snip the zip tie holding the wires together.
-
Unplug the wire from the board.
-
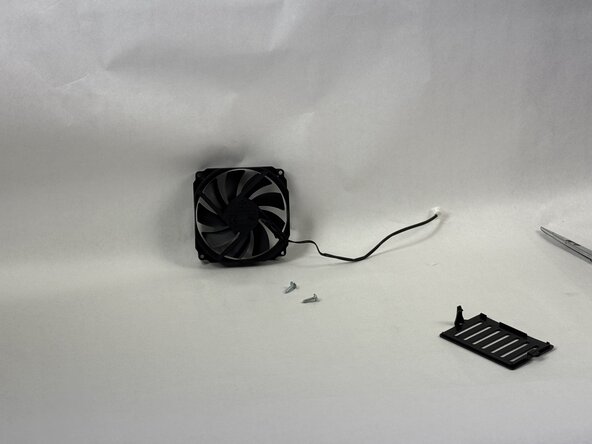
Remove the fan from the device.
-
-
-
-
-
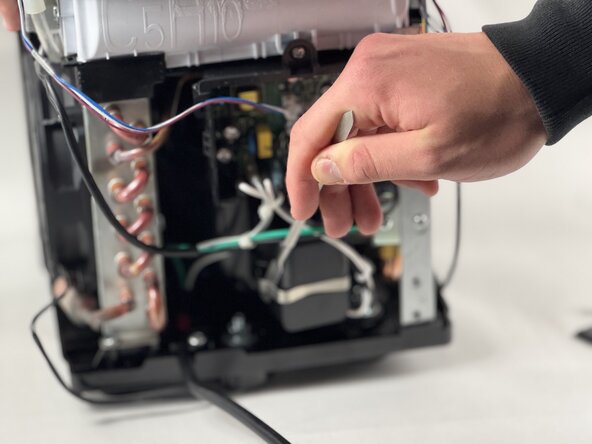
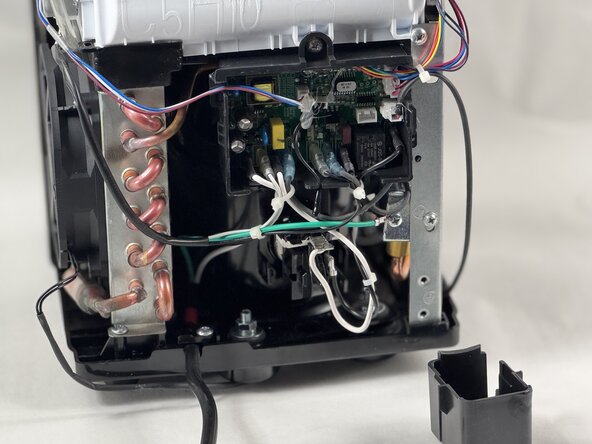
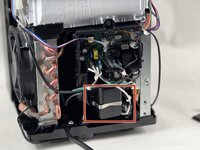
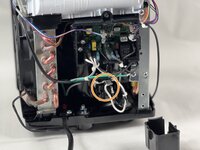
Locate the black box under the green ground cable and find the silver clip running across the back of it.
-
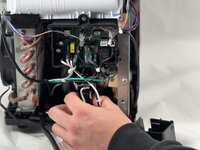
Use a pry tool remove the clip.
-
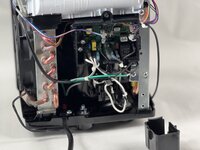
Remove the box.
-
-
-
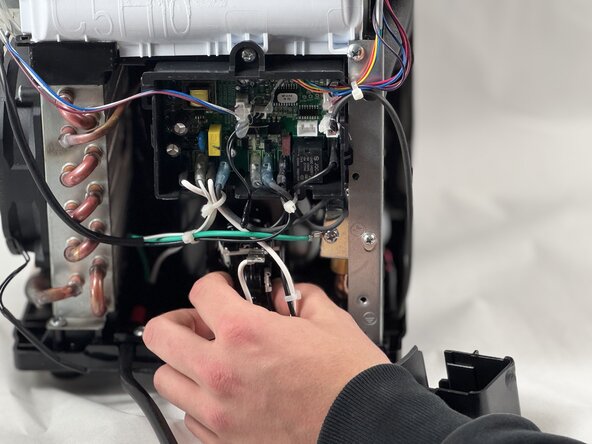
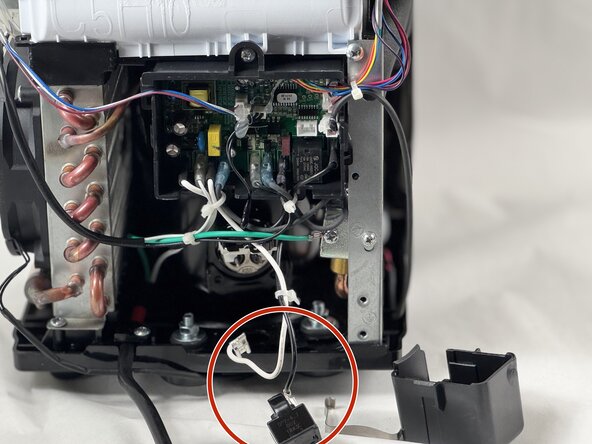
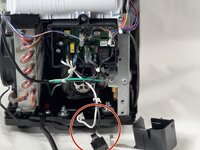
Locate the white wire and black relay.
-
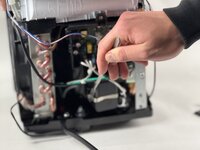
Using your hands pull the wire and relay out of the compressor.
-
Once the relay and white wire have been removed you're ready to replace it with your new part.
-
-


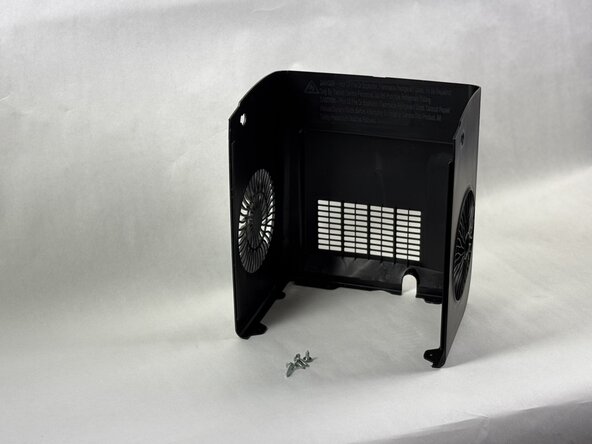


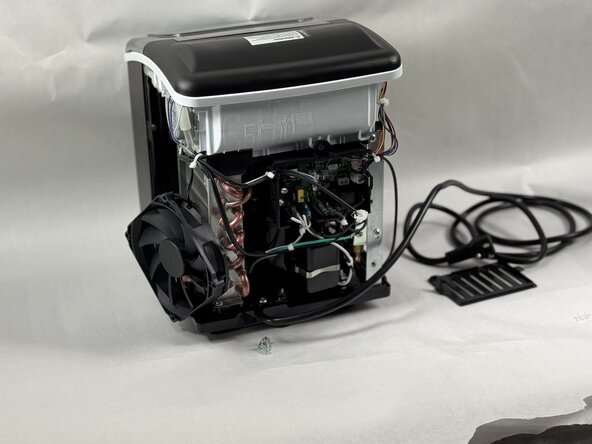



To reassemble your device, follow the above steps in reverse order.
Take your e-waste to an R2 or e-Stewards certified recycler.
Repair didn’t go as planned? Try some basic troubleshooting or ask our Answers community for help.
Cancel: I did not complete this guide.
2 other people completed this guide.

Team

UMass Dartmouth, Team 2-5, Botvin Spring 2025 Member of UMass Dartmouth, Team 2-5, Botvin Spring 2025
UMASSD-BOTVIN-S25S2G5
3 Members
60 Guides authored
