Introduction
This is a repair guide for the bumper sensor on the Eufy Clean RoboVac G32 Pro. The bump sensor acts as a physical touch sensor that detects when the robot has collided with an obstacle, like a wall or furniture, triggering it to change direction and avoid further contact. If your RoboVac is constantly bumping into objects even when it shouldn't, or if it doesn't seem to react to obstacles at all, it's a good indication that the bumper sensor has likely gone out.
What you need
-
-
-
Orient the device so the underside is facing up.
-
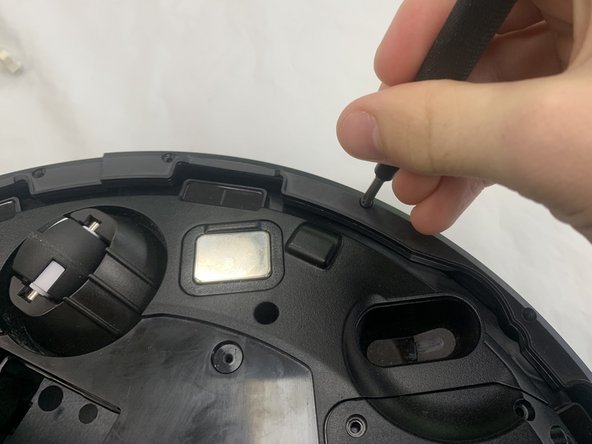
Remove the eight 9.3 mm screws securing the bumper brackets using a Phillips #1 screwdriver.
-
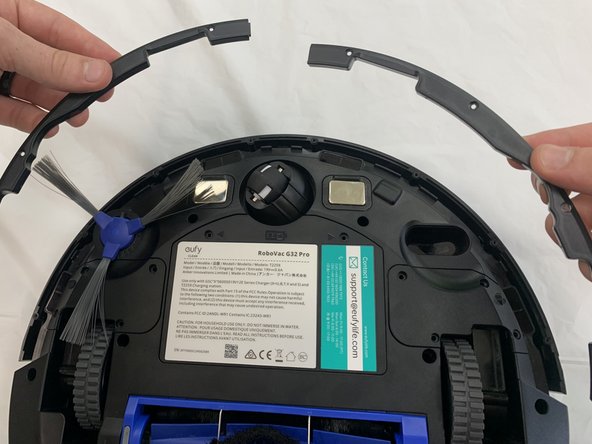
Remove the bumper brackets.
 Ask FixBot
-
-
-
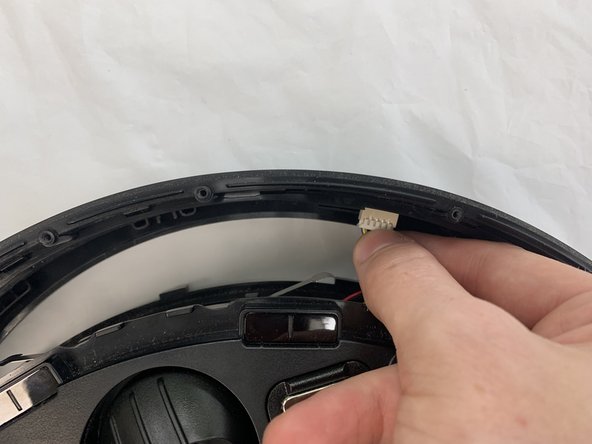
Lift the bumper off of the device gently.
-
Use your fingers to disconnect the 8 pin connector.
-
-
-





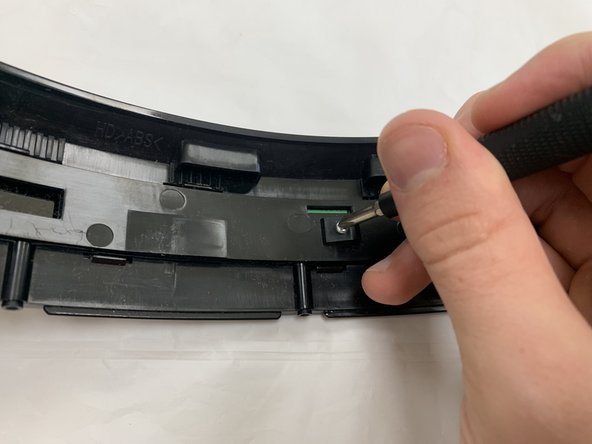
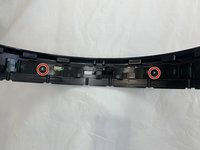
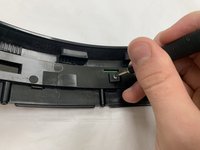

To reassemble your device, follow the above steps in reverse order.
Take your e-waste to an R2 or e-Stewards certified recycler.
Repair didn’t go as planned? Try some basic troubleshooting or ask our Answers community for help.

Team

University of North Texas, Team 2-5, Coppersmith Fall 2024 Member of University of North Texas, Team 2-5, Coppersmith Fall 2024
UNT-COPPERSMITH-F24S2G5
4 Members
48 Guides authored
