Introduction
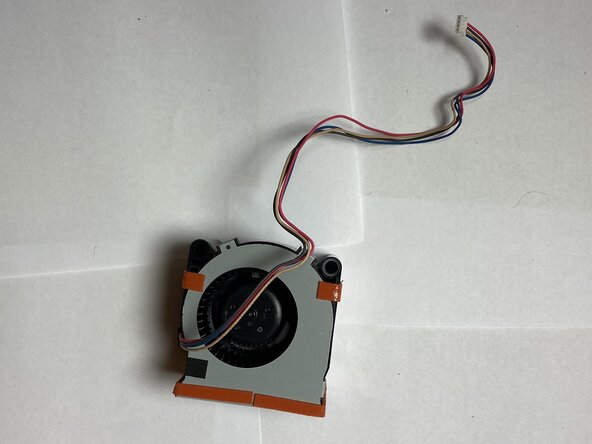
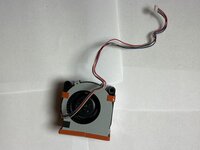
The fan in the Epson VS250 projector helps prevent the projector from overheating. The projector has multiple components that produce heat, but the fan helps cool these components down. This reduces the chance that the projector catches fire when dust particles enter.
This guide will show you how to replace the fan, but before continuing with this guide, check the Air Filter guide, which is a more common cause of overheating and easier to fix. The Fan replacement guide requires more time and has a higher difficulty.
Before you begin this repair, power off and unplug your Epson VS250 projector.
What you need
-
-
-
Place the projector on a flat surface.
-
Orient the projector so that the the word "Epson" is facing you.
-
Using the Phillips #1 screwdriver, to loosen the screw on the top right corner of the projector. The screw only needs to be loosened.
 Ask FixBot
-
-
-
Using a Phillips #1 screwdriver, remove the three 6 mm screws that hold the side portion of the projector in place.
-
Use the same Phillips #1 screwdriver to remove the single 10 mm screw that is holding the side cover of the projector in place.
-
-
-
Use a Phillips #1 screwdriver to remove the two 10 mm screws that are holding the side cover of the projector in place.
-
-
-
-
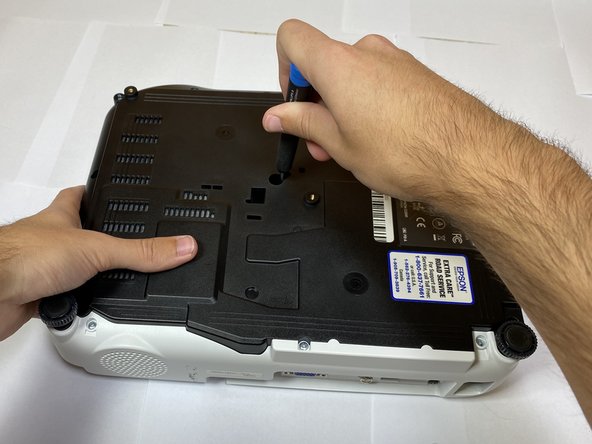
Flip the projector so that it lays upside down.
-
Using a Phillips #1 screwdriver, remove the eight 10 mm screws that secure the side portion of the projector.
-
-
-
Slowly lift up the top shell up and out of the device.
-
Disconnect the ribbon cable from the motherboard and remove the shell from the device.
-
-
-
-
-
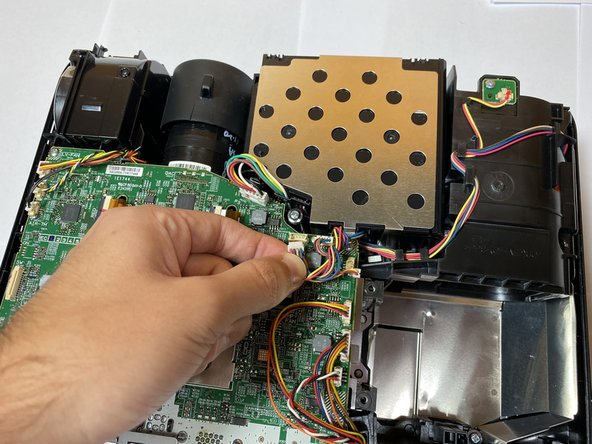
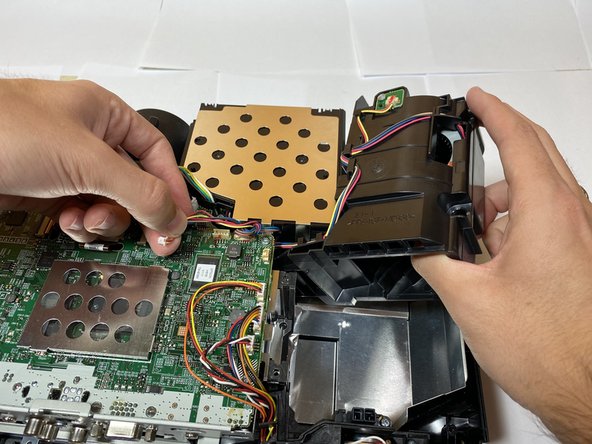
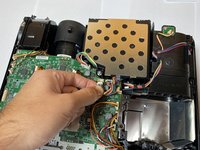
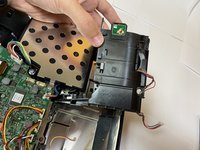
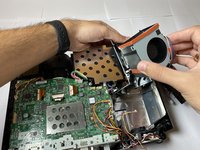
Unplug the fan connector from the circuit board.
-
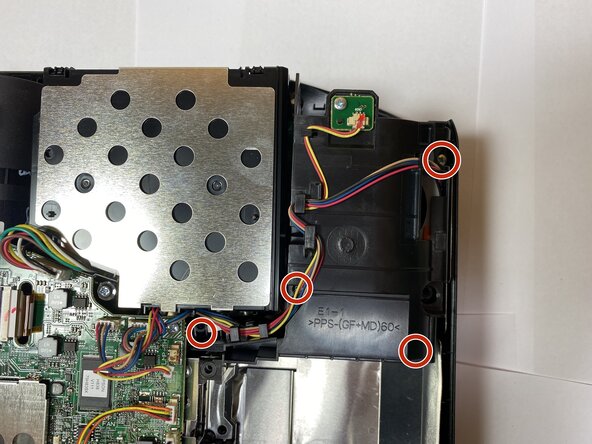
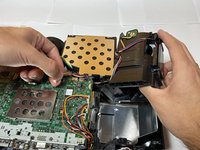
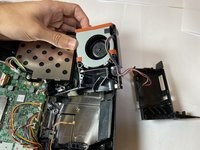
Remove the wires from the hooks that secure them to free the fan.
-
-
-
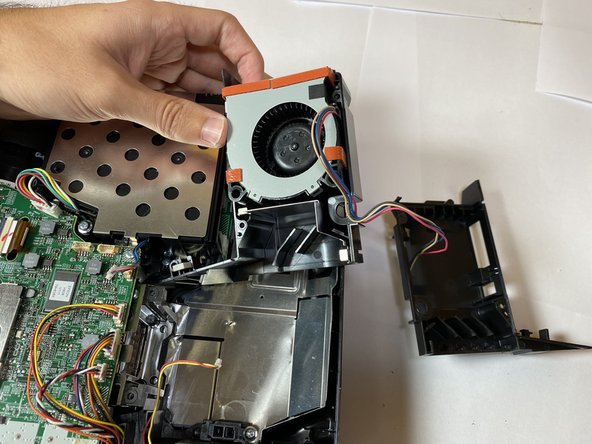
Disconnect the wire and remove the black casing from the rest of the fan assembly.
-









To reassemble your device, follow these instructions in reverse order. Take your e-waste to an R2 or e-Stewards certified recycler.
Cancel: I did not complete this guide.
One other person completed this guide.

Team

Clemson, Team 4-2, Hunter Fall 2021 Member of Clemson, Team 4-2, Hunter Fall 2021
CLEM-HUNTER-F21S4G2
5 Members
60 Guides authored
