
Epson VS240 Buttons Replacement

Tyler Kelly and 3 other contributors
Last updated on Jun 20, 2022
Views: 468
View statistics:
- Past 24 Hours:
- 2
- Past 7 Days:
- 11
- Past 30 Days:
- 73
- All Time:
- 468
Comments: 0
No one has left comments on this guide. Will you be first?
Go to guide commentsCompleted: 0 1
No one has marked this guide "completed." Will you be the first?
1 person has marked this guide "completed." It's you — great job!
Favorites: 0 1
No one has favorited (and subscribed to) this guide. Will you be the first?
1 person has favorited (and subscribed to) this guide — and that's you!
Needs More Images
A few more images would make this guide's procedures crystal clear.
Introduction
Go to step 1 ↓This guide explains how to replace the buttons on the Epson VS240. The buttons control many functions of the device, and if one or more have stopped functioning, it may be necessary to replace them. Special requirements include a Phillips #1 screwdriver and having a gentle touch, because the piece you'll be fixing is very delicate.
Power down and unplug the projector before beginning.
What you need
Tools


-
-
-
Using the Phillips #2 screwdriver, loosen the single captive screw on the left side of the projector.
-
Slide the panel off and remove it from the device.
 Ask FixBot
-
-
-
Use the Phillips #2 screwdriver to remove the three 5 mm screws.
-
Using the same Phillips #2 screwdriver, remove the single 8 mm silver screw.
-
-
-
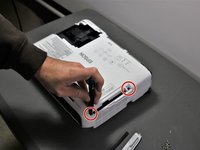
Use a Phillips #1 screwdriver to remove the two 10 mm silver screws from the bottom of the device.
-
-
-
Use a Phillips #1 screwdriver to remove the single 10 mm screw where the panel was removed in Step 1.
-
Remove the white back plate from the device.
-
-
-
Flip the projector over so that the underside (side with the feet) is facing you.
-
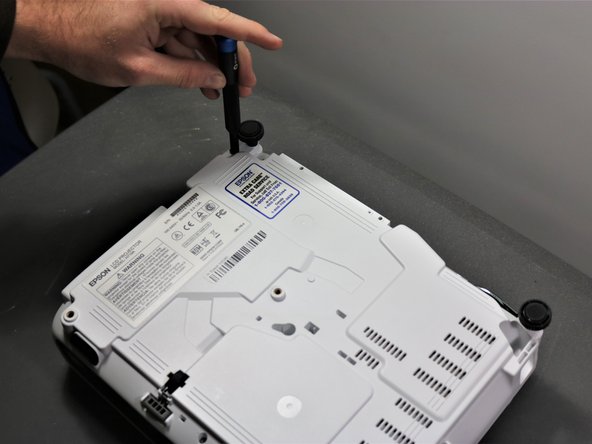
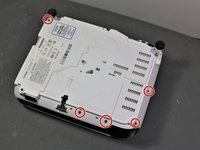
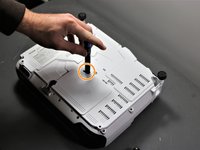
Use a Phillips #1 screwdriver to remove five 10 mm screws on the underside of projector.
-
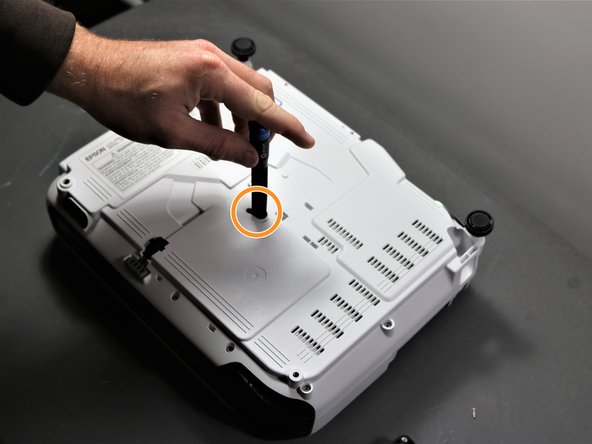
Using the same Phillips #1 screwdriver, remove a single 10 mm screw in the center hole.
-
-
-
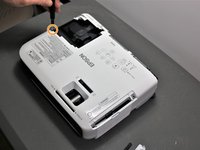
Use a Phillips #1 screwdriver to remove two 10 mm screws from the openings on each side of the air filter, on the topside of the projector.
-
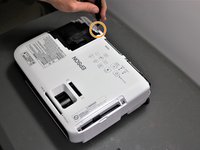
Using the same Phillips #1 screwdriver, remove the two 10 mm screws where the white panel was removed on the topside of the projector in Step 1.
-
-
-
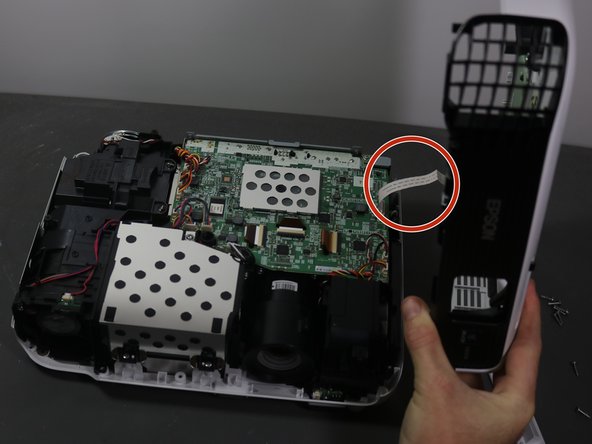
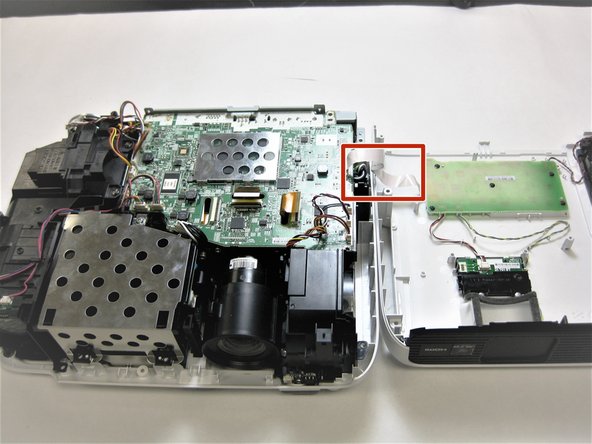
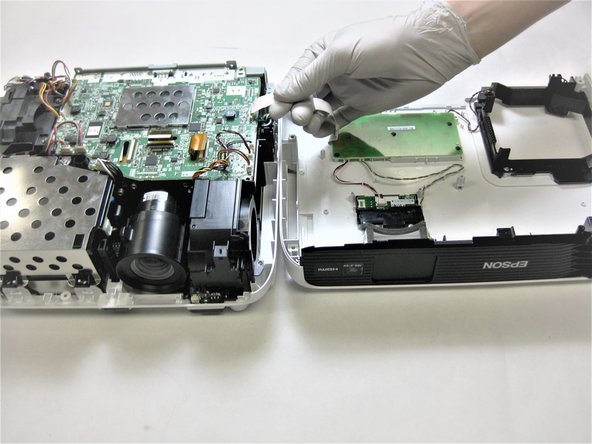
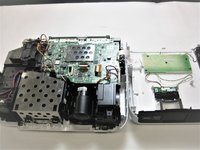
Gently lift top cover and place it on its top next to the projector so that the ribbon has no tension on it.
-
Gently pull the brown tape connecting the cable to the motherboard and then remove the shell from the device.
-
-
-
-
-
-
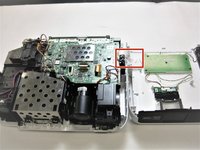
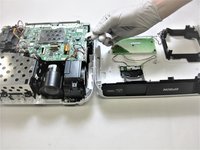
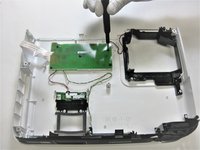
Gently disconnect the white ribbon cable connecting the motherboard to the button panel.
-
-
-
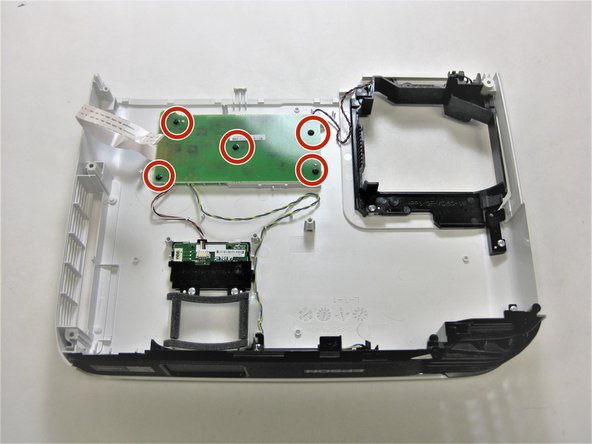
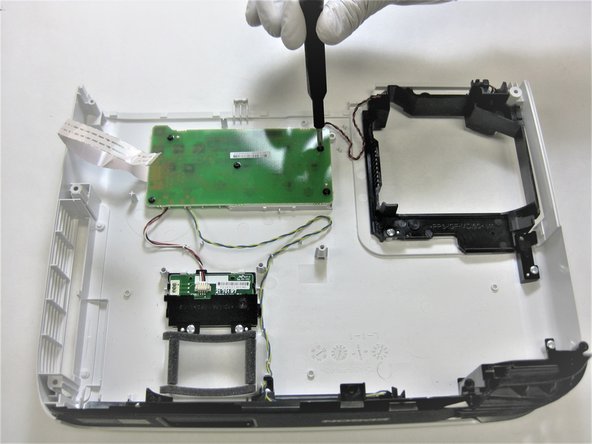
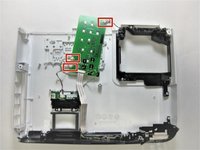
Use a Phillips #1 screwdriver to remove the five 3 mm screws securing the button panel to the shell.
-
-
-
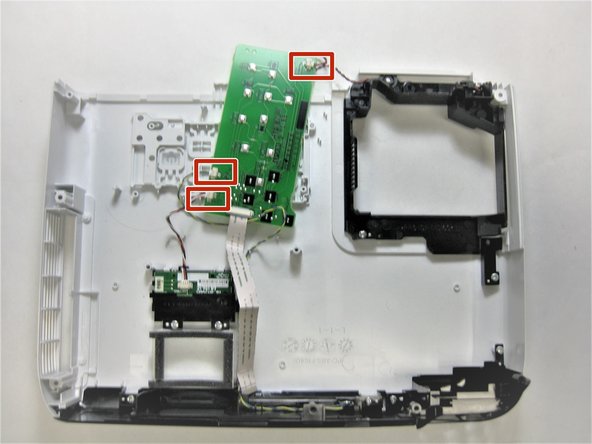
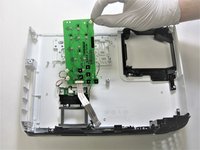
Disconnect the three cables connected to the button panel.
-
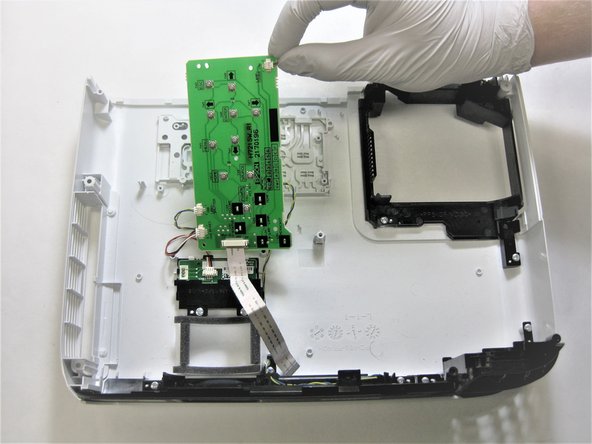
Lift the button panel up and out.
-
-








To reassemble your device, follow these instructions in reverse order.

Team

The Citadel Military College of South Carolina, Team 2-17, Eggleston Spring 2022 Member of The Citadel Military College of South Carolina, Team 2-17, Eggleston Spring 2022
CMCSC-EGGLESTON-S22S2G17
3 Members
36 Guides authored
