
Epson Powerlite 410W Lens Replacement

Randy Krygowski and one other contributor
Last updated on May 11, 2022
Views: 623
View statistics:
- Past 24 Hours:
- 3
- Past 7 Days:
- 13
- Past 30 Days:
- 54
- All Time:
- 623
Comments: 0
No one has left comments on this guide. Will you be first?
Go to guide commentsCompleted: 0 1
No one has marked this guide "completed." Will you be the first?
1 person has marked this guide "completed." It's you — great job!
Favorites: 0 1
No one has favorited (and subscribed to) this guide. Will you be the first?
1 person has favorited (and subscribed to) this guide — and that's you!
Introduction
Go to step 1 ↓Using this guide is essential if your Epson Powerlite 410W projector is plugged in, but not turning on, or has been physically damaged.
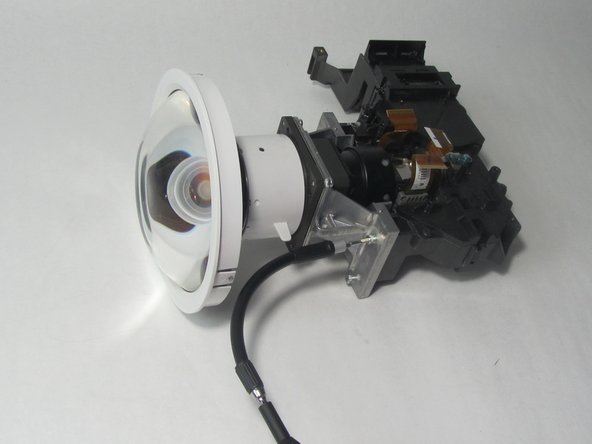
The lens is the part of the projector that focuses the light produced by the lamp onto whatever the projector is projecting onto. The lens is made of glass, so it can get scratched, shattered, or chipped, rendering it useless and in need of replacement.
The lens is only one component of the projector that can prevent it from working, so refer to the troubleshooting page
Make sure to replace the lens with a compatible replacement lens, since there are many lenses of various types that do not all work on the Epson Powerlite 410W
What you need
Tools


-
-
-
Remove eight screws from the bottom of the device using a Phillips #00 screwdriver.
-
-
-
Turn the projector so the power button is on top.
-
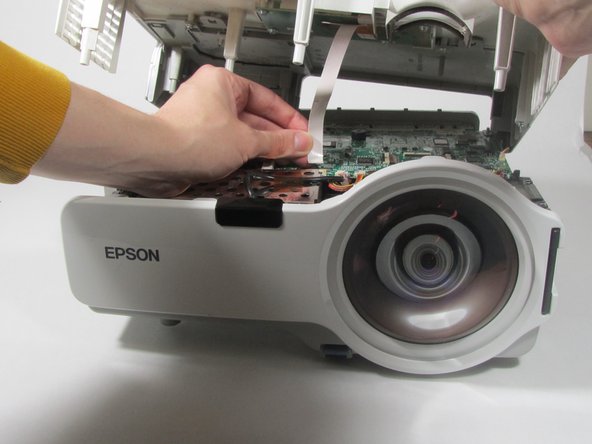
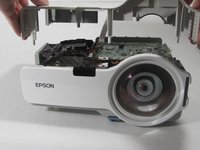
Gently pull up the cover until it pops off.
-
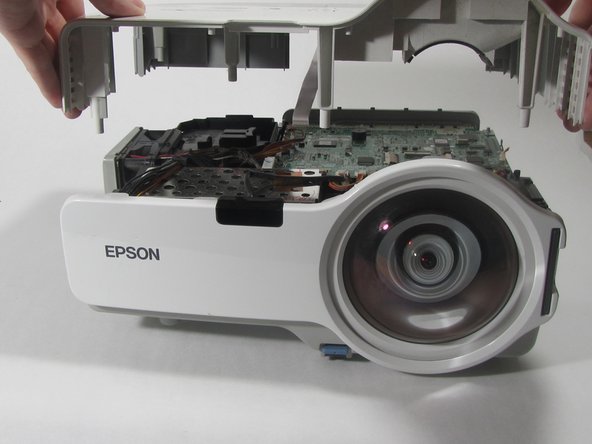
Disconnect the ribbon cable that attaches the cover to the motherboard.
-
Remove the cover and place to the side.
-
-
-
-
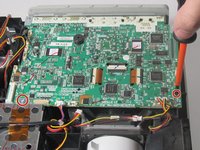
Remove the two screws holding down the motherboard using a Phillips #00 screwdriver.
-
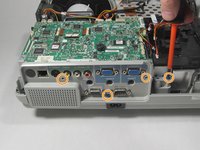
Remove the four screws holding down the I/O board using a Phillips #00 screwdriver.
-
-
-
Remove the seven cables that are running to the motherboard by pulling them out of their sockets.
-
-
Tool used on this step:Tweezers$4.99
-
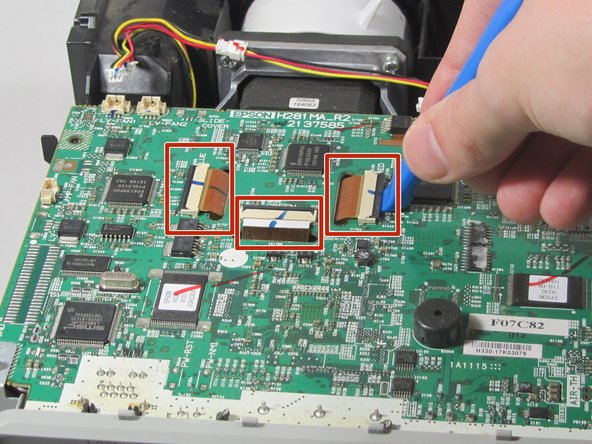
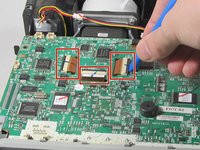
Using a plastic opening tool, gently pry up the black tabs holding in the ribbon cables on the motherboard.
-
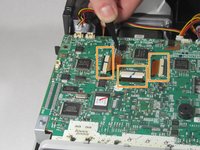
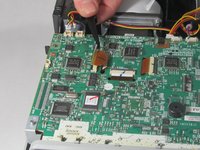
Using tweezers, gently pull the ribbon cables out of the sockets.
-
-
-
Gently pull the motherboard up and tilt it back, revealing the last cable attached to the motherboard. Disconnect this cable.
-
Remove the motherboard from the projector.
-
-
-
-

 Ask FixBot










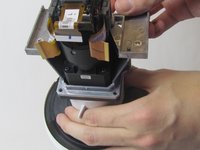

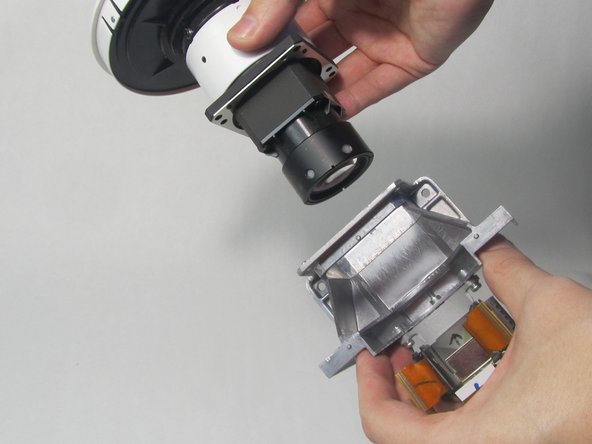
To reassemble your device, follow these instructions in reverse order.

Team

Illinois Wesleyan University, Team 1-4, Bullock Spring 2022 Member of Illinois Wesleyan University, Team 1-4, Bullock Spring 2022
IWU-BULLOCK-S22S1G4
3 Members
60 Guides authored
