
Epson PowerLite 83+ Lamp Replacement

Billy Fox and 3 other contributors
Last updated on May 26, 2022
Views: 1.1K
View statistics:
- Past 24 Hours:
- 2
- Past 7 Days:
- 9
- Past 30 Days:
- 58
- All Time:
- 1,074
Comments: 0
No one has left comments on this guide. Will you be first?
Go to guide commentsCompleted: 2 3
2 people have marked this guide "completed." Will you be next?
3 people have marked this guide "completed." Including you — great job!
Favorites: 0 1
No one has favorited (and subscribed to) this guide. Will you be the first?
1 person has favorited (and subscribed to) this guide — and that's you!
Featured Student Guide
This guide has been the hard work of our awesome students and is found to be exceptionally cool by the iFixit staff.
Introduction
Go to step 1 ↓The lamp is a major component in the Epson PowerLite 83+ projector and could be the cause of multiple issues. The process of replacing the lamp is relatively basic as it just involves removing the lamp cover and removing the lamp from within the case. This process can also be used for re-seating the lamp if it is needed.
Before beginning this repair, be sure to to turn off the projector and unplug the device from the power source. Allow the projector to cool for an hour if it has been just been used recently as well.
What you need


-
-
-
Turn off and unplug the projector.
-
Allow the projector to cool for an hour before performing maintenance on it.
 Ask FixBot
-
-
-
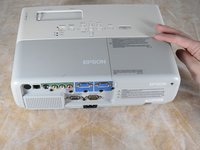
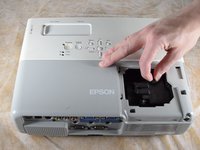
Apply gentle pressure to the end of the lamp cover.
-
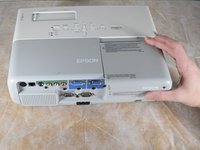
Pull the lamp cover towards the end of the projector.
-
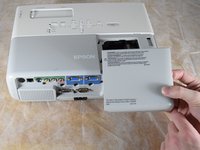
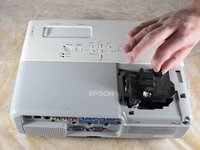
When the cover is released, pull the cover straight up off of the projector to reveal the lamp.
-
-
-
-
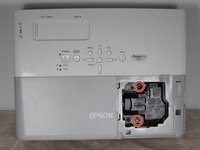
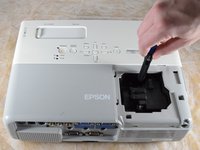
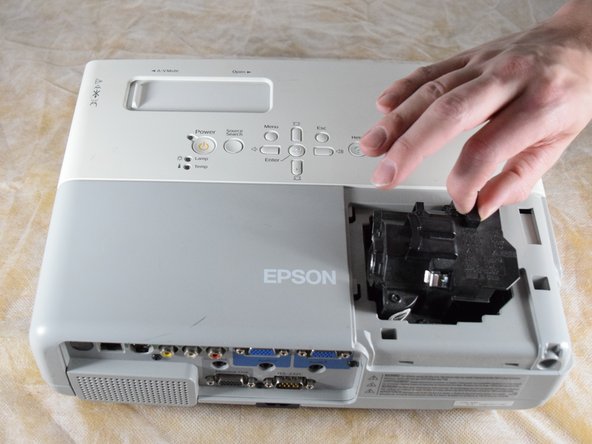
Gently grip the lamp by the finger hold.
-
Remove the lamp by pulling it off the guide rail, straight out of the projector.
-
-






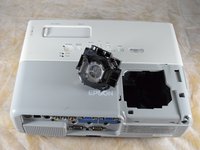
To reassemble your device, follow these instructions in reverse order.
Cancel: I did not complete this guide.
2 other people completed this guide.

Team

Clemson, Team 2-4, Hunter Spring 2022 Member of Clemson, Team 2-4, Hunter Spring 2022
CLEM-HUNTER-S22S2G4
4 Members
72 Guides authored
