Free Shipping on Domestic Orders $75+

Epson PowerLite 822 Plus Motherboard Replacement

What you need

  1. Epson PowerLite 822 Plus Motherboard Replacement, Motherboard: step 1, image 1 of 1
    • Flip the projector over.

    • Remove all 8 screws on the bottom of the projector.

    Ask FixBot

    Add Comment

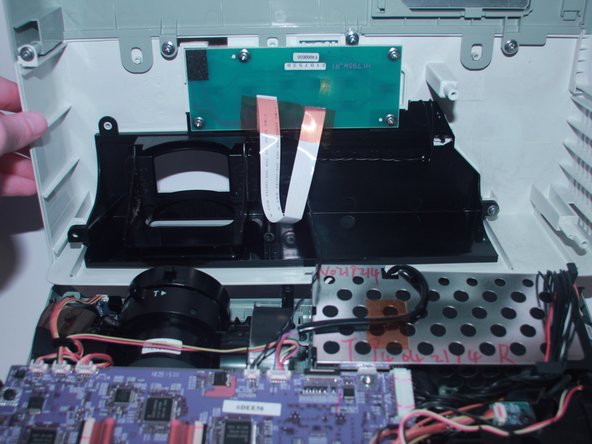
  2. Epson PowerLite 822 Plus Motherboard Replacement: step 2, image 1 of 2 Epson PowerLite 822 Plus Motherboard Replacement: step 2, image 2 of 2
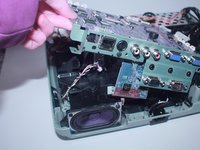
    • Now, flip the projector back over and pry the top of it open revealing the inside of the projector.

    Ask FixBot

    Add Comment

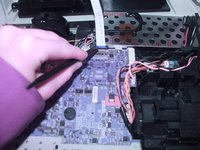
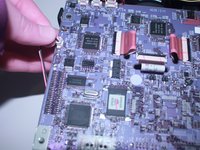
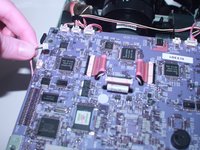
  3. Epson PowerLite 822 Plus Motherboard Replacement: step 3, image 1 of 2 Epson PowerLite 822 Plus Motherboard Replacement: step 3, image 2 of 2
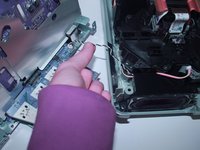
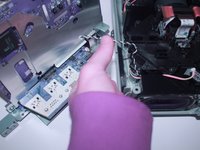
    • Use the spudger to disconnect it from the motherboard.

    Ask FixBot

    Add Comment

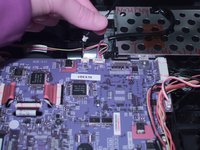
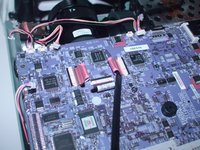
  4. Epson PowerLite 822 Plus Motherboard Replacement: step 4, image 1 of 2 Epson PowerLite 822 Plus Motherboard Replacement: step 4, image 2 of 2
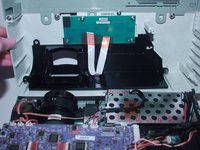
    • Using your finger gently move back and forth the JST cable that connects the top to the motherboard.

    • Now completely take off the top of the projector.

    Ask FixBot

    Add Comment

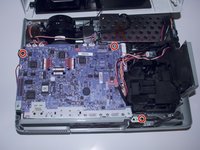
  5. Epson PowerLite 822 Plus Motherboard Replacement: step 5, image 1 of 2 Epson PowerLite 822 Plus Motherboard Replacement: step 5, image 2 of 2
    • Remove the 3 screws that secure the motherboard in place.

    Ask FixBot

    Add Comment

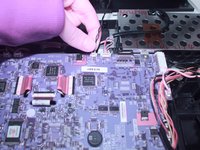
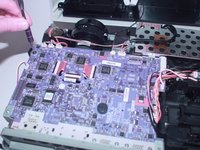
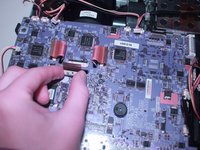
  6. Epson PowerLite 822 Plus Motherboard Replacement: step 6, image 1 of 3 Epson PowerLite 822 Plus Motherboard Replacement: step 6, image 2 of 3 Epson PowerLite 822 Plus Motherboard Replacement: step 6, image 3 of 3
    • Gently move back and forth the 11 JST connectors until they come out.

    Ask FixBot

    Add Comment

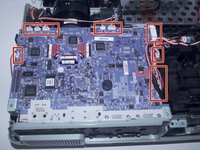
  7. Epson PowerLite 822 Plus Motherboard Replacement: step 7, image 1 of 2 Epson PowerLite 822 Plus Motherboard Replacement: step 7, image 2 of 2
    • With the spudger lift the red plastic tabs from their connectors.

    Ask FixBot

    Add Comment

  8. Epson PowerLite 822 Plus Motherboard Replacement: step 8, image 1 of 3 Epson PowerLite 822 Plus Motherboard Replacement: step 8, image 2 of 3 Epson PowerLite 822 Plus Motherboard Replacement: step 8, image 3 of 3
    • Lift the motherboard and disconnect the JST connector underneath.

    Ask FixBot

    Add Comment

  9. Epson PowerLite 822 Plus Motherboard Replacement: step 9, image 1 of 1
    • Now, the motherboard is completely removed from the projector and you are ready to replace it.

    Ask FixBot

    Add Comment

Conclusion

To reassemble your device, follow these instructions in reverse order.

Cancel: I did not complete this guide.

0 Guide Comments

Add Comment

View Statistics:

Past 24 Hours: 2

Past 7 Days: 6

Past 30 Days: 19

All Time: 209