Introduction
This is a replacement guide for the lamp for the Epson PowerLite 822 Plus. Model number EMP-822H. When the lamp is not working as it should that is when the projector image will become dim. This guide will show you how to remove and replace the current lamp in your projector.
What you need
-
-
-
If you just used the projector you will want to let it sit for about an hour to cool off.
-
If you have not used the projector within the past few hours you are ready to get to work.
 Ask FixBot
-
-
-
Use a Phillips #2 screwdriver to remove the 6 mm screw that holds the lamp cover in place.
-
-
-
-
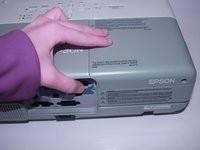
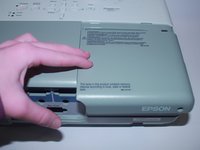
Apply pressure to the lamp cover, pulling it towards the end of the projector.
-
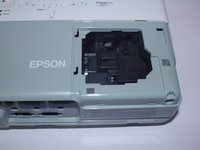
Pop the lamp cover off, exposing the lamp.
-
-
-
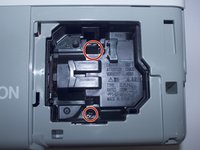
There are two 9mm screws which have already been loosened. These screws do not come all the way out.
-
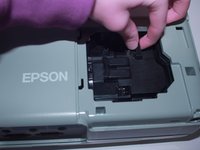
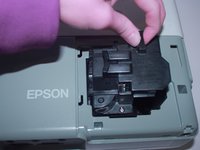
Grip the finger hold and pull it straight out of the projector.
-
-
-
After pulling it straight up by the finger hold the lamp will be revealed and ready to be replaced.
-
-





To reassemble your device, follow these instructions in reverse order.

Team

University of Alabama, Team 1-3, Bedsole Spring 2022 Member of University of Alabama, Team 1-3, Bedsole Spring 2022
UA-BEDSOLE-S22S1G3
4 Members
42 Guides authored
