Free Shipping on Domestic Orders $75+

Epson PictureMate Pal PM 200 Display Replacement

What you need

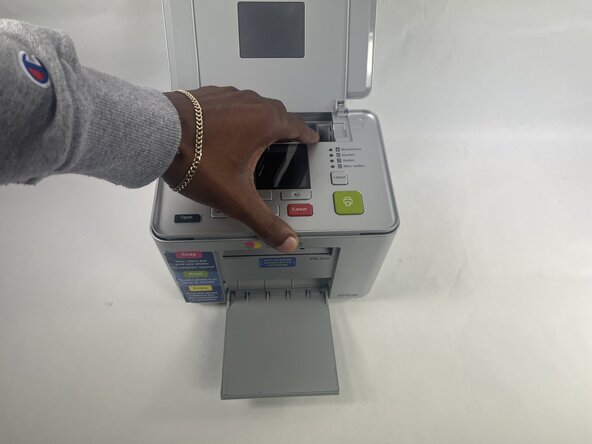
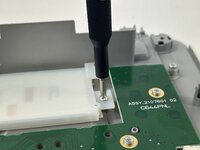
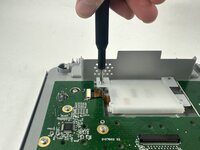
  1. Epson PictureMate Pal PM 200 Display Replacement, Printer Top Plate: step 1, image 1 of 3 Epson PictureMate Pal PM 200 Display Replacement, Printer Top Plate: step 1, image 2 of 3 Epson PictureMate Pal PM 200 Display Replacement, Printer Top Plate: step 1, image 3 of 3
    • Be certain that device is powered off and unplugged as to not damage any of the internal components before beginning.

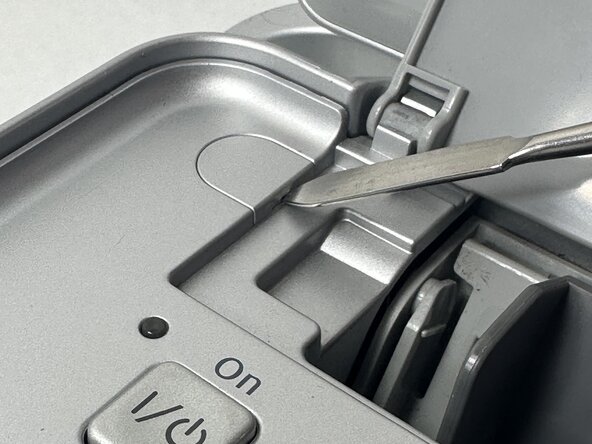
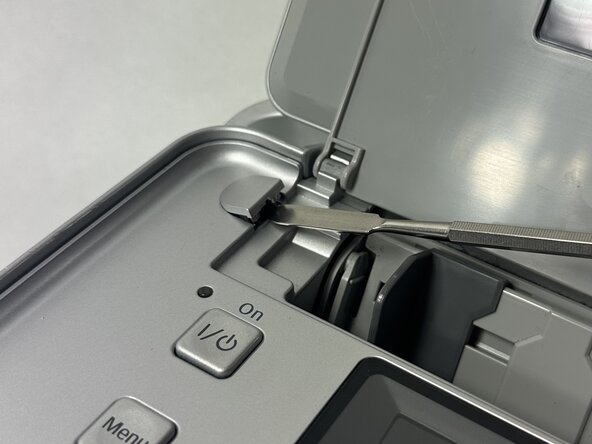
    • Power off device and use a metal spudger to remove each of the two caps over the screws that hold the top plate to the device.

    Ask FixBot

    Add Comment

  2. Epson PictureMate Pal PM 200 Display Replacement: step 2, image 1 of 1
    • Remove the two 6 mm Phillips screws.

    Ask FixBot

    Add Comment

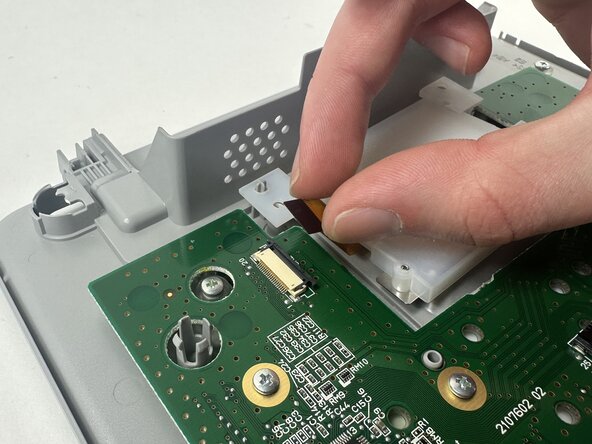
  3. Epson PictureMate Pal PM 200 Display Replacement: step 3, image 1 of 2 Epson PictureMate Pal PM 200 Display Replacement: step 3, image 2 of 2
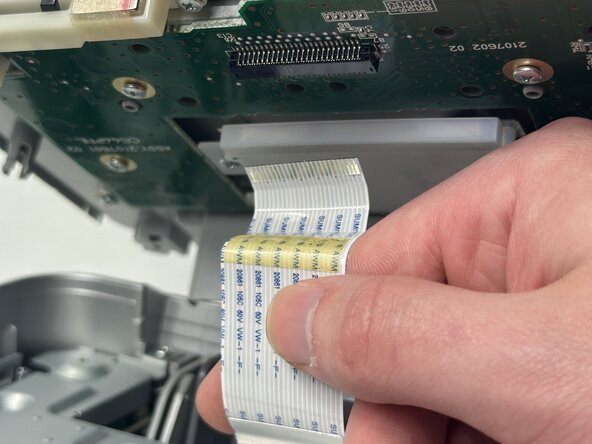
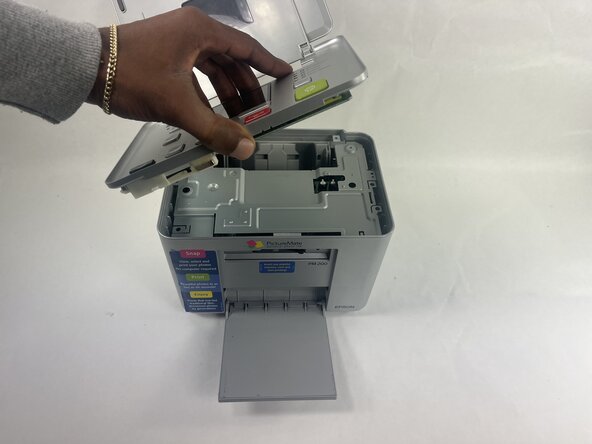
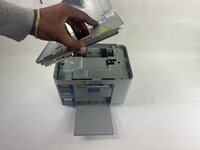
    • Gently lift the lid and turn it to face the daughterboard underneath.

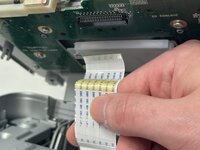
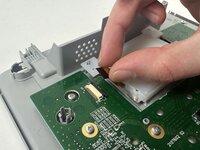
    • Gently pull the no-fuss ribbon cable out from its connector.

    • The other end of the ribbon cable is still in the device's motherboard. Only remove the end connected to the daughterboard unless stated in a later step in order to not lose it due to unnecessary removal.

    Ask FixBot

    Add Comment

  4. Epson PictureMate Pal PM 200 Display Replacement: step 4, image 1 of 2 Epson PictureMate Pal PM 200 Display Replacement: step 4, image 2 of 2
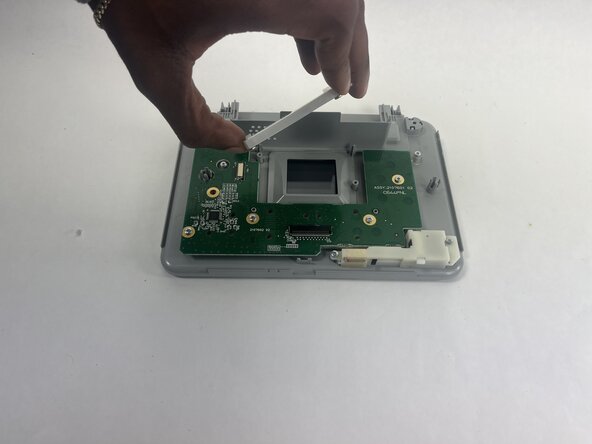
    • Remove the printer top plate.

    Ask FixBot

    Add Comment

  5. Epson PictureMate Pal PM 200 Display Replacement, Display: step 5, image 1 of 1
    • Set the panel to the side on a neat, flat surface.

    Ask FixBot

    Add Comment

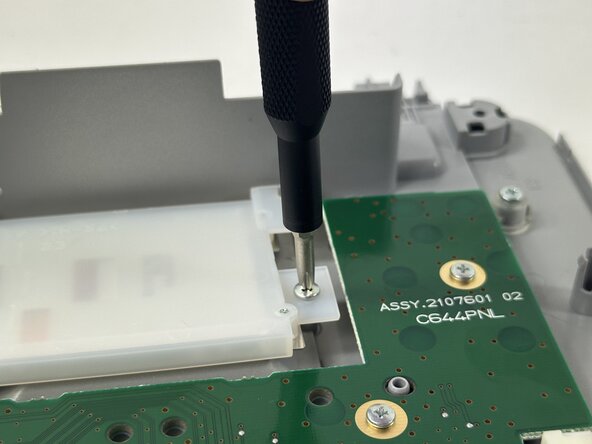
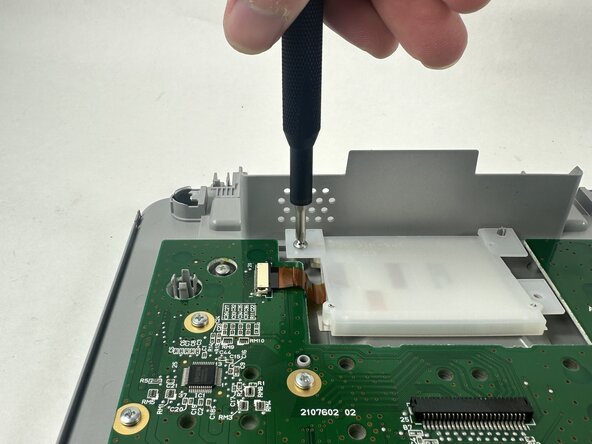
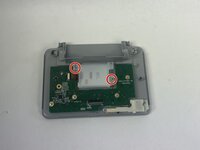
  6. Epson PictureMate Pal PM 200 Display Replacement: step 6, image 1 of 3 Epson PictureMate Pal PM 200 Display Replacement: step 6, image 2 of 3 Epson PictureMate Pal PM 200 Display Replacement: step 6, image 3 of 3
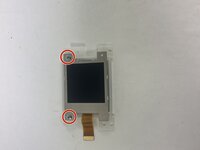
    • Remove the two 8 mm Phillips screws securing the display assembly to the top panel.

    Ask FixBot

    Add Comment

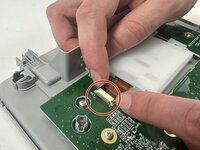
  7. Epson PictureMate Pal PM 200 Display Replacement: step 7, image 1 of 2 Epson PictureMate Pal PM 200 Display Replacement: step 7, image 2 of 2
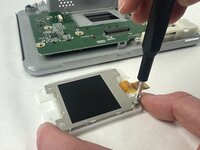
    • Pull the black ZIF locking flap toward the ribbon cable.

    • Disconnect the ribbon cable from the daughterboard.

    Ask FixBot

    Add Comment

  8. Epson PictureMate Pal PM 200 Display Replacement: step 8, image 1 of 2 Epson PictureMate Pal PM 200 Display Replacement: step 8, image 2 of 2
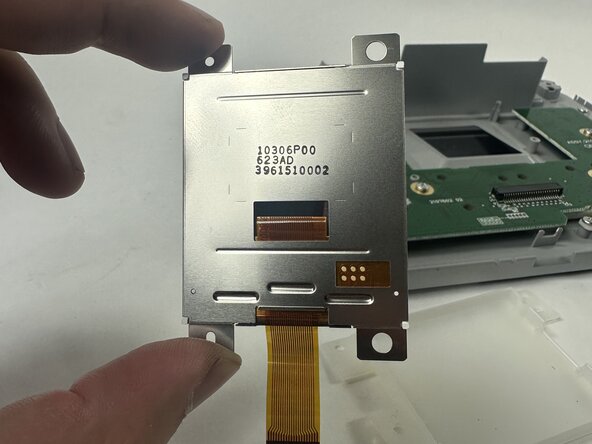
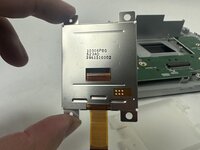
    • Remove the display assembly from the top panel.

    Ask FixBot

    Add Comment

  9. Epson PictureMate Pal PM 200 Display Replacement: step 9, image 1 of 2 Epson PictureMate Pal PM 200 Display Replacement: step 9, image 2 of 2
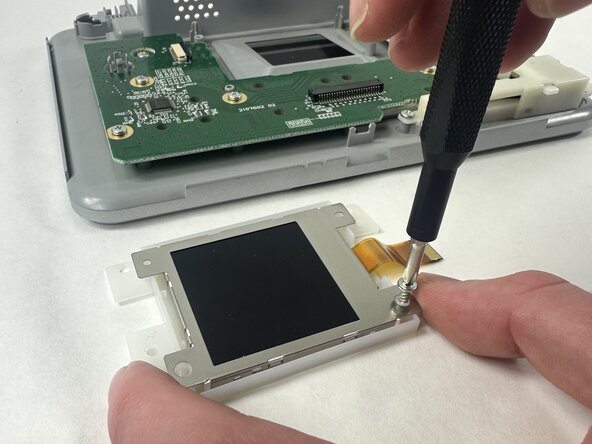
    • Remove the two 8 mm screws that secure the display to the housing.

    Ask FixBot

    Add Comment

  10. Epson PictureMate Pal PM 200 Display Replacement: step 10, image 1 of 3 Epson PictureMate Pal PM 200 Display Replacement: step 10, image 2 of 3 Epson PictureMate Pal PM 200 Display Replacement: step 10, image 3 of 3
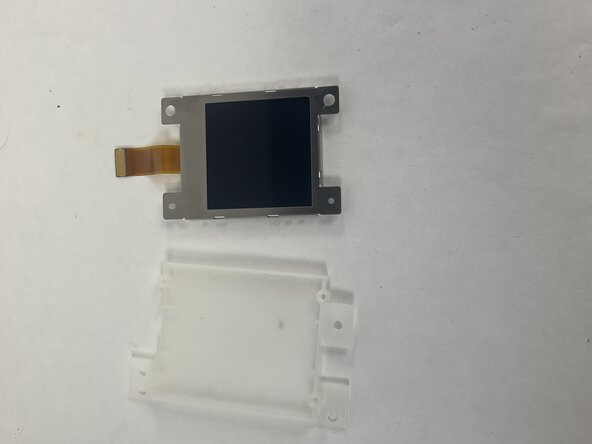
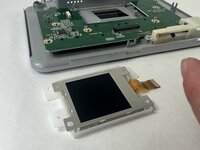
    • Remove the display from the housing.

    Ask FixBot

    Add Comment

Conclusion

To reassemble your device, follow the above steps in reverse order.
Take your e-waste to an R2 or e-Stewards certified recycler.
Repair didn’t go as planned? Try some basic troubleshooting or ask our Answers community for help.

Cancel: I did not complete this guide.

Andre

Member since: 03/31/25

484 Reputation

4 Guides authored

Team

0 Guide Comments

Add Comment

View Statistics:

Past 24 Hours: 0

Past 7 Days: 2

Past 30 Days: 18

All Time: 159