Introduction
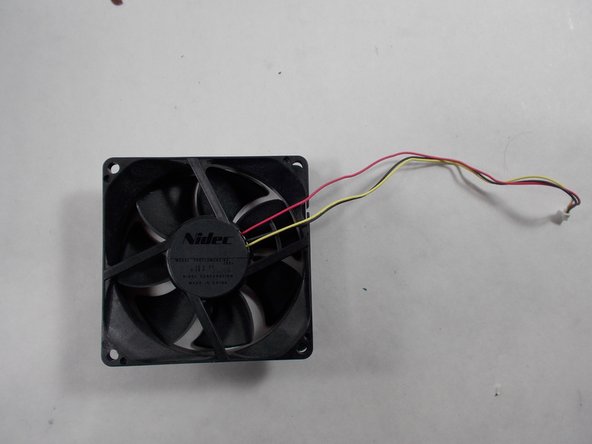
The Epson EX90 projector cooling fan is a vital component of the machine which regulates internal temperatures of device. If not replaced properly, a faulty cooling fan could begin to cause a variety of hard to solve problems. A bad fan may make loud and unusual noises when cooling, or if broken the device may begin to overheat. Caution will be required when opening cover, as attached ribbons breaking could damage the motherboard.
What you need
-
-
-
Place the projector so that the bottom side is facing upwards
-
Remove the eight screws pictured from the bottom of the device.
-
Open the cover.
 Ask FixBot
-
-
-
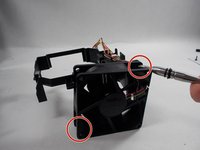
Carefully remove the two parallel wire connectors which connect the fan to the corner of the motherboard.
-
Take care to record the port which each wire comes from, so as not to get your wires crossed.
-
-
-


To reassemble your device, follow these instructions in reverse order.

Team

UMass Dartmouth, Team 2-3, Mellen Spring 2022 Member of UMass Dartmouth, Team 2-3, Mellen Spring 2022
UMASSD-MELLEN-S22S2G3
4 Members
36 Guides authored
