
Epomaker Shadow-X Switch Replacement

Chase Fulsom and 4 other contributors
Last updated on Jan 2, 2025
Views: 564
View statistics:
- Past 24 Hours:
- 3
- Past 7 Days:
- 15
- Past 30 Days:
- 59
- All Time:
- 564
Comments: 0
No one has left comments on this guide. Will you be first?
Go to guide commentsCompleted: 2 3
2 people have marked this guide "completed." Will you be next?
3 people have marked this guide "completed." Including you — great job!
Favorites: 0 1
No one has favorited (and subscribed to) this guide. Will you be the first?
1 person has favorited (and subscribed to) this guide — and that's you!
Introduction
Go to step 1 ↓Replacing the switches on your Epomaker Shadow-X can help restore or customize the typing experience. Follow this guide to safely remove and replace switches. Note: this process requires the keyboard to be hot-swappable.
What you need
Tools
-
Spudger4.9


-
-
-
Unplug or disconnect the keyboard from the PC.
-
Turn off and unplug the keyboard if connected via USB-C.
-
If using Bluetooth, disconnect it from all paired devices.
 Ask FixBot
-
-
-
Use a keycap puller to remove each keycap over the switches you plan to replace.
-
Gently pull upward to avoid damaging the keycap or switch stem.
-
-
-
Use a switch puller to press the clips on each side of the switch.
-
Gently pull the switch straight up to remove it from the socket.
-
-
-
-
Align the pins of the new switch with the socket or PCB holes. Carefully press the switch into place until it clicks or fits snugly into the PCB.
-
-

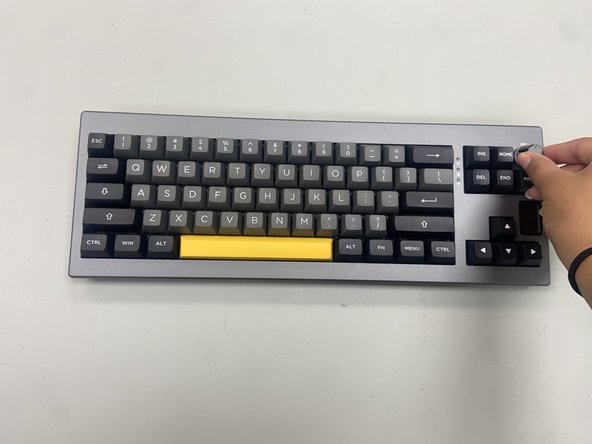


You’ve completed the switch replacement on your Epomaker Shadow-X keyboard! With new switches installed, your keyboard should offer an improved typing experience. Test each key to ensure they’re responsive, and enjoy the renewed feel of your keyboard.
Cancel: I did not complete this guide.
2 other people completed this guide.

Team

University of North Texas, Team 6-1, Kilpatrick Fall 2024 Member of University of North Texas, Team 6-1, Kilpatrick Fall 2024
UNT-KILPATRICK-F24S6G1
4 Members
60 Guides authored
