
Epomaker Shadow-X Keycap Replacement

Beck Spitler and one other contributor
Last updated on Dec 30, 2024
Views: 505
View statistics:
- Past 24 Hours:
- 3
- Past 7 Days:
- 12
- Past 30 Days:
- 68
- All Time:
- 505
Comments: 0
No one has left comments on this guide. Will you be first?
Go to guide commentsCompleted: 2 3
2 people have marked this guide "completed." Will you be next?
3 people have marked this guide "completed." Including you — great job!
Favorites: 0 1
No one has favorited (and subscribed to) this guide. Will you be the first?
1 person has favorited (and subscribed to) this guide — and that's you!
Introduction
Go to step 1 ↓Use this guide to replace worn-out or damaged keycaps on the Epomaker Shadow-X mechanical keyboard, or to customize it with new keycaps. Keycap replacement is a straightforward process, and this guide will help ensure each step is done safely.
What you need
Tools
-
-
Spudger4.9

-
-
-
Place the tool around the keycap, with the prongs on opposite sides of the key.
-
Gently pull the keycap up and off the switch stem.
-
-
-
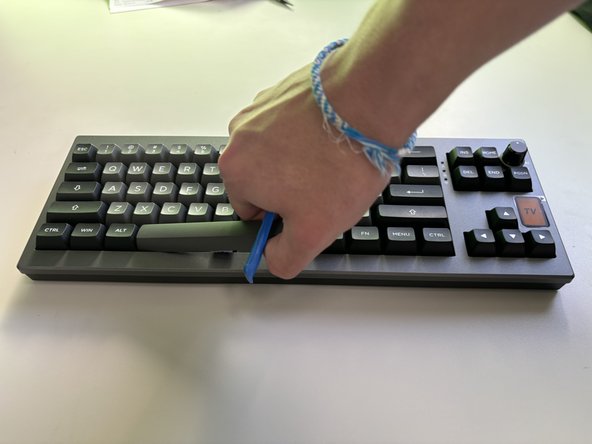
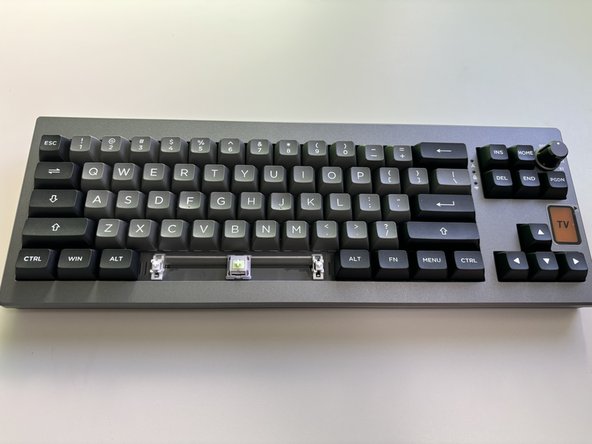
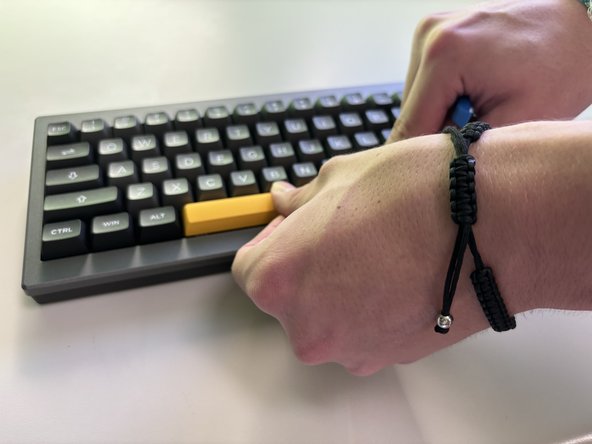
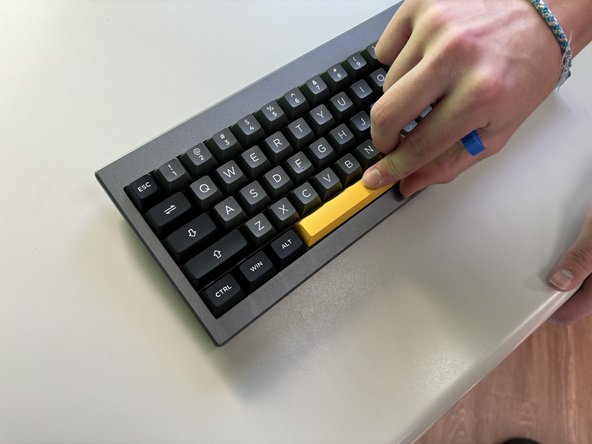
For larger keys, such as the Spacebar, Shift, or Enter, insert the puller evenly on both sides.
-
Lift gently, using tweezers to stabilize any clips if necessary to prevent them from snapping.
-
-
-
-
Once all keycaps are installed, reconnect the keyboard to power and test each key for proper fit and function.
-

 Ask FixBot




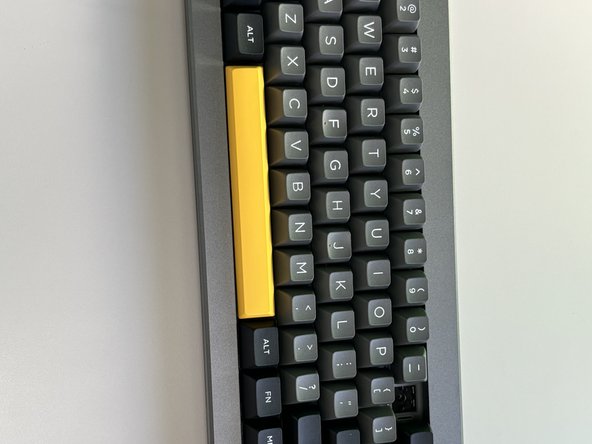



You have successfully replaced the keycaps on your Epomaker Shadow-X keyboard! The new keycaps should enhance both the aesthetic and feel of your keyboard. Test each key to ensure they are securely attached and functioning smoothly, and enjoy the refreshed look of your setup.
Cancel: I did not complete this guide.
2 other people completed this guide.

Team

University of North Texas, Team 6-1, Kilpatrick Fall 2024 Member of University of North Texas, Team 6-1, Kilpatrick Fall 2024
UNT-KILPATRICK-F24S6G1
4 Members
60 Guides authored
