
Enabot EBO SE Camera Replacement

Oscar Parra and 3 other contributors
Last updated on May 15, 2024
Views: 784
View statistics:
- Past 24 Hours:
- 1
- Past 7 Days:
- 13
- Past 30 Days:
- 85
- All Time:
- 784
Comments: 0
No one has left comments on this guide. Will you be first?
Go to guide commentsCompleted: 0 1
No one has marked this guide "completed." Will you be the first?
1 person has marked this guide "completed." It's you — great job!
Favorites: 0 1
No one has favorited (and subscribed to) this guide. Will you be the first?
1 person has favorited (and subscribed to) this guide — and that's you!
Introduction
Go to step 1 ↓Replacing your camera for the Enabot can be essential for your viewing experience. Your camera can severely impact your utilization of the Enabot EBO SE since you're viewing everything through the camera. Sometimes the camera can be dirty or not functioning properly leading to potential problems. In these following steps we will show you how to replace your camera.
What you need
Tools


-
-
-
Gently turn the robot upside down.
-
Place the robot on a stable surface to prevent it from rolling or falling.
 Ask FixBot
-
-
-
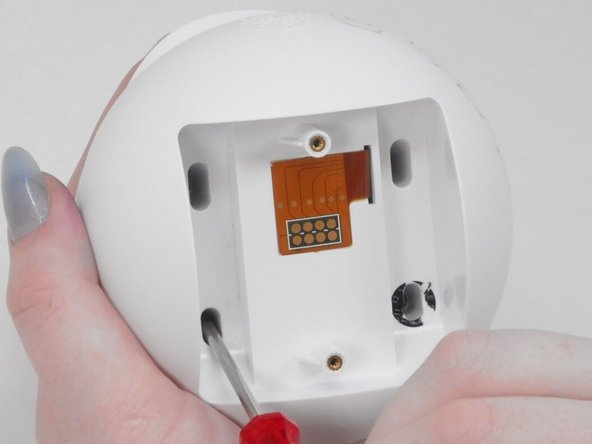
Use a flathead 2.5 mm screwdriver to remove the 5.7 mm screw from the wheels.
-
-
-
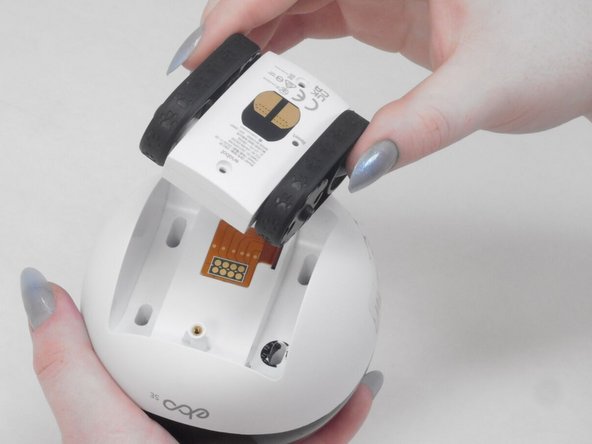
Pull the wheel assembly towards you so it comes straight off without resistance.
-
-
-
-
-
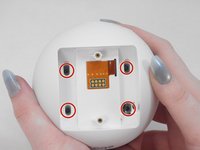
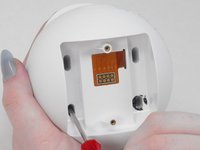
Use a Torx screwdriver to remove the four 9 mm screws from the assembly.
-
-
-
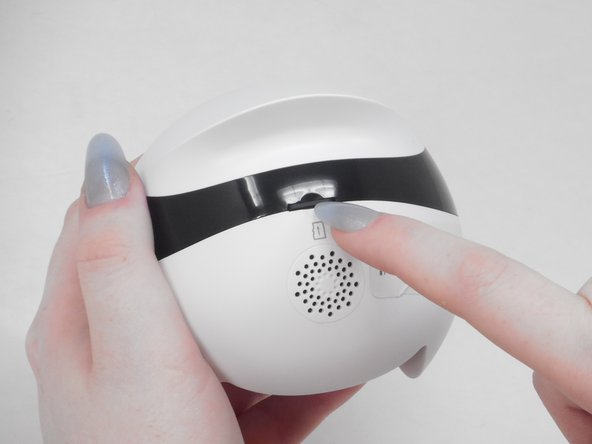
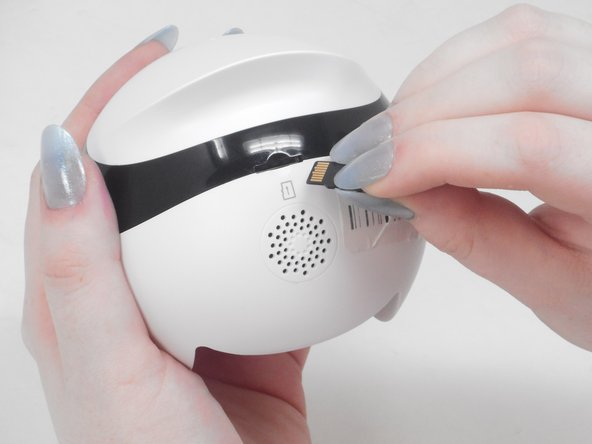
Use your fingernail to carefully press down and eject the Micro SD Card from the back of the Enabot.
-
-
-
Using the iFixit opening tool or your fingernail, place it underneath the gray tab on the lower housing.
-
Lift the tab up and pull out the ribbon cable to disconnect it from the lower housing.
-
-
-
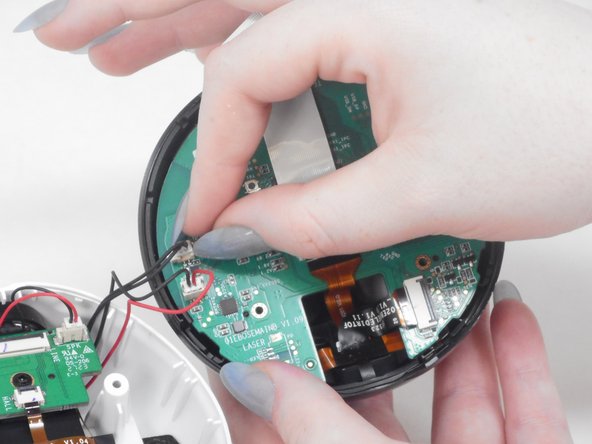
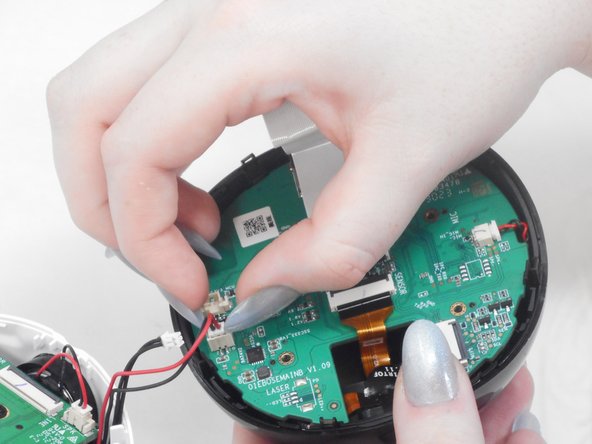
Gently use your finger nails to lift up and disconnect both wires to fully separate the upper and lower housings.
-
-
-
-
-
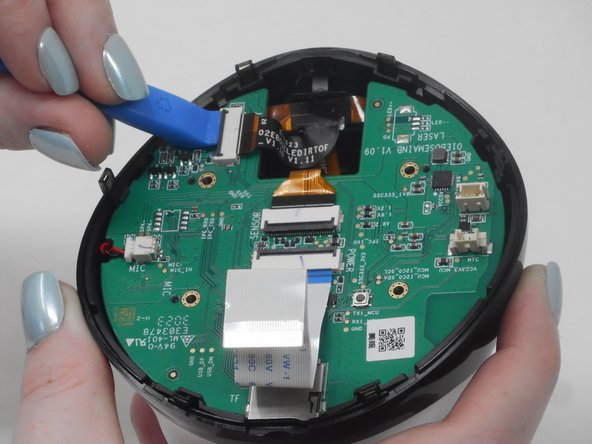
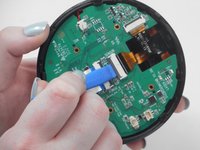
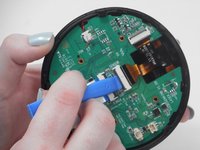
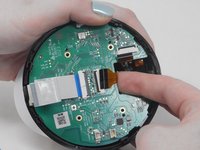
Use the iFixit opening tool to unlock the side gray tab and free the orange & black ribbon cable.
-
-
-
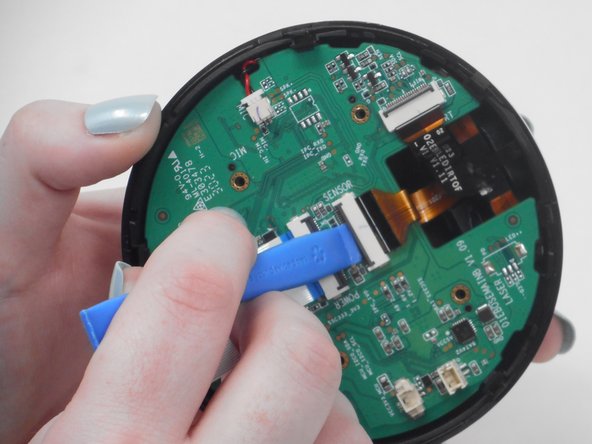
Use the iFixit opening tool to unlock the middle gray tab and free the orange & black ribbon cable.
-
-
-
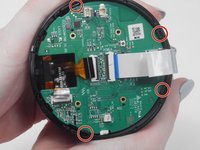
Select one of the release tabs on the edge of the upper casing that holds the motherboard in place.
-
Place one finger in between the motherboard and the upper casing.
-
Pull the release tab back while lifting the motherboard with your other finger to "pop" the motherboard out of the casing.
-
-
-
-
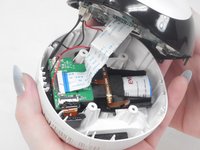
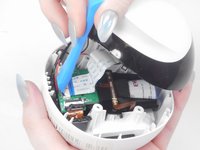
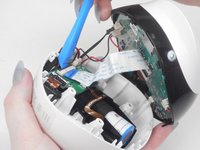
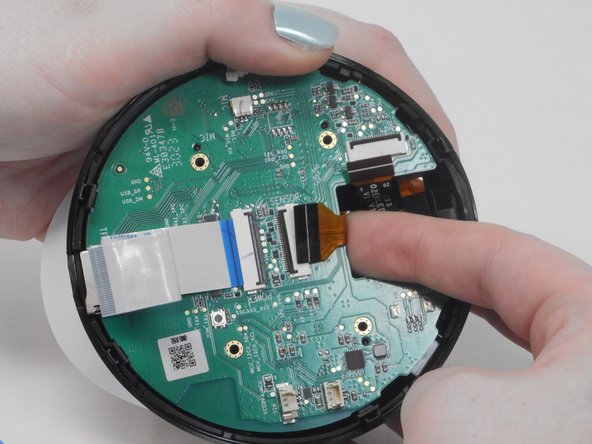
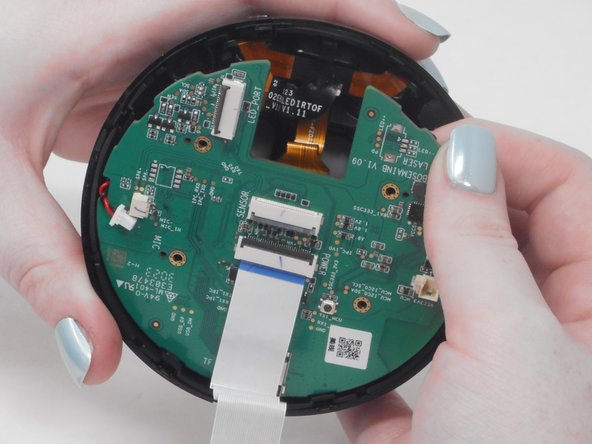
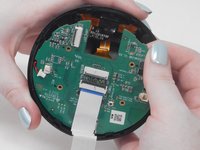
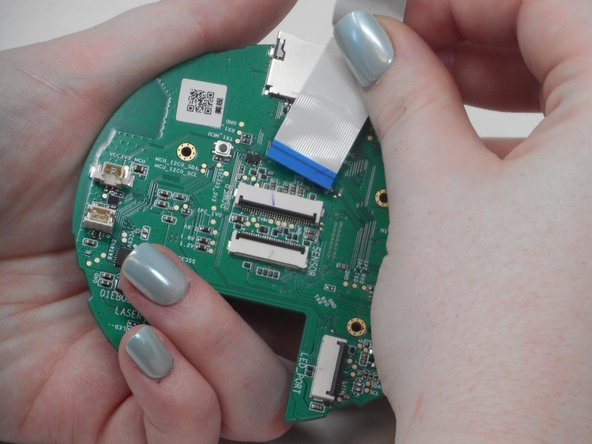
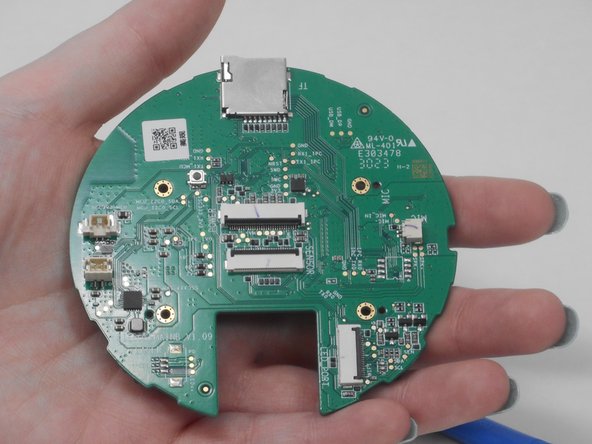
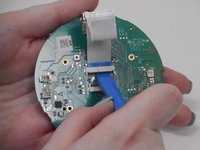
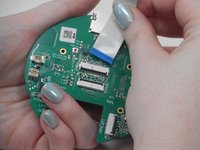
Use the ifixit opening tool to disconnect the blue & white ribbon cable.
-
Gently pull the blue & white ribbon cable out of the gray connector tab.
-
-
-
-
-
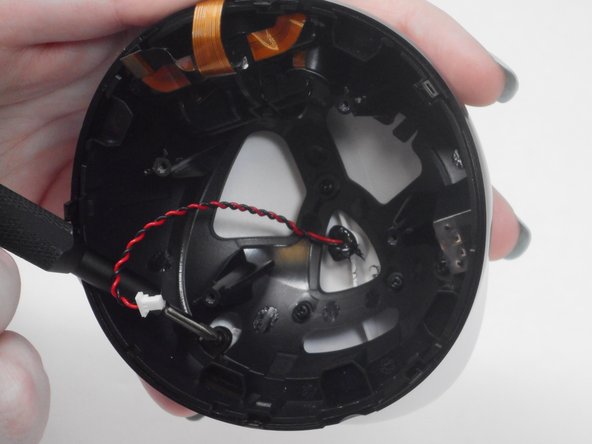
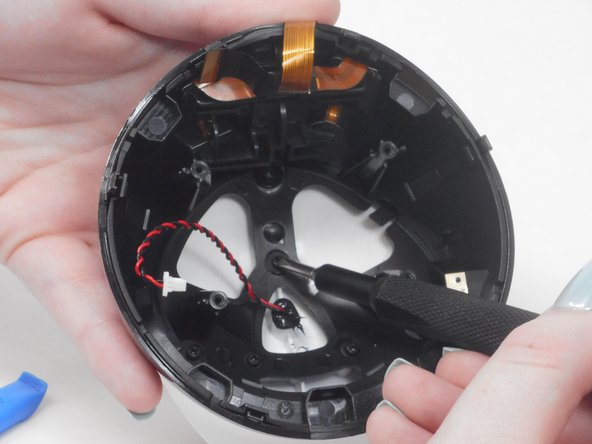
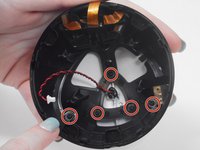
Use a Phillips #00 screwdriver to remove all five 7.4 mm screws from the upper casing.
-
-
-
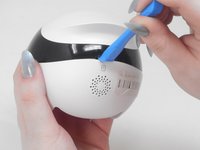
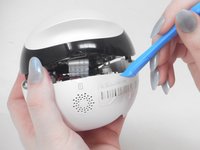
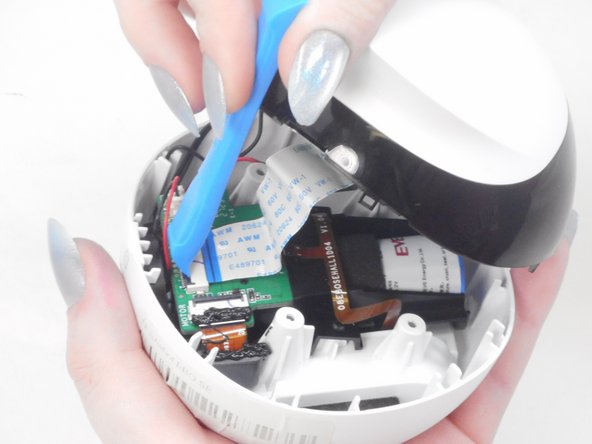
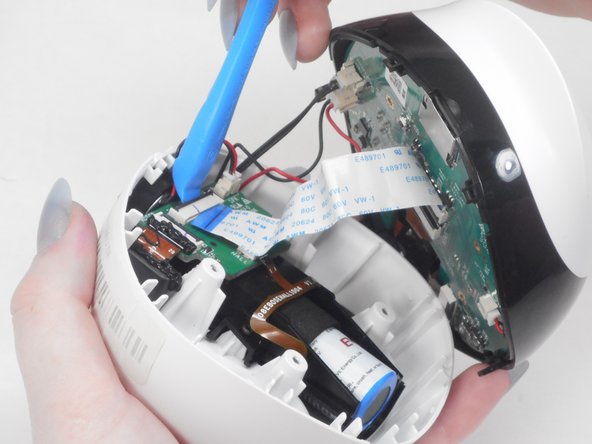
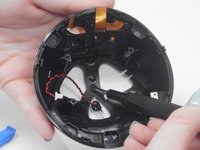
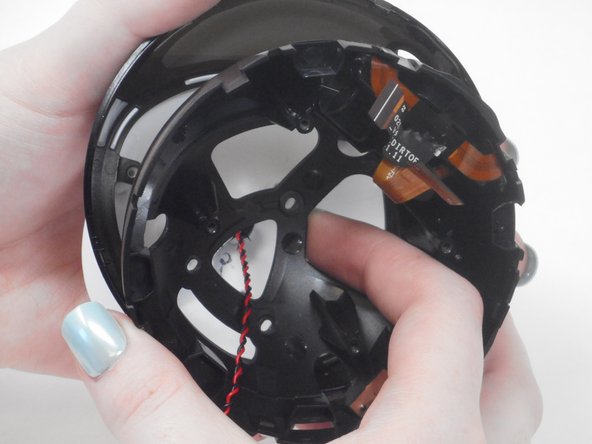
Place your fingers in the space between the black casing and white lid.
-
Pull black casing towards you to separate the two parts.
-
-




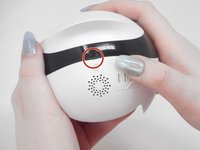
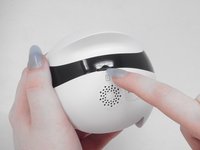
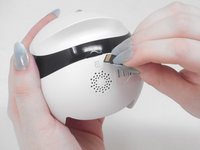

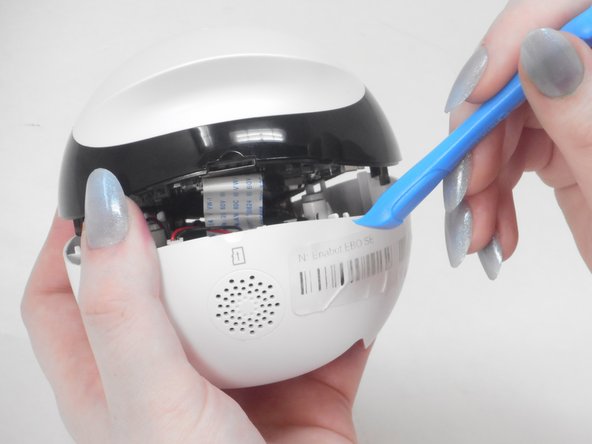






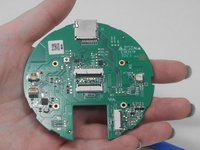



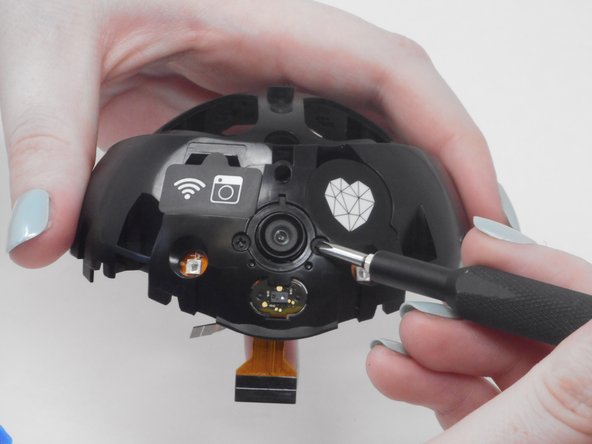
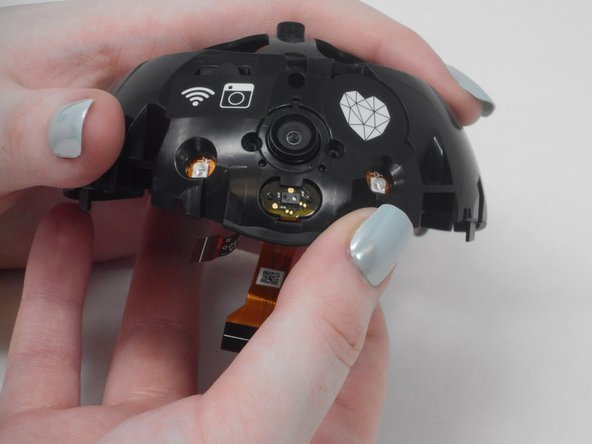
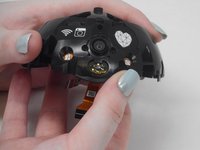

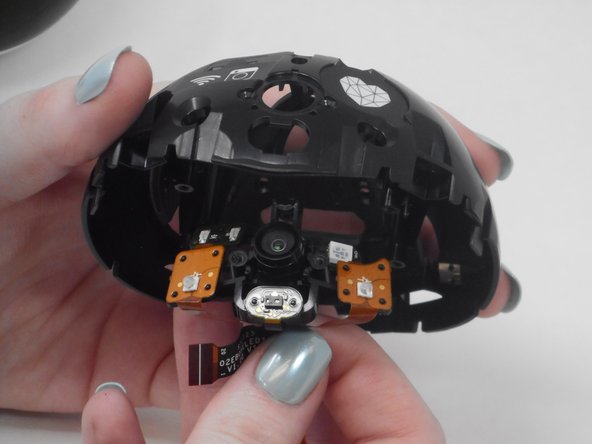
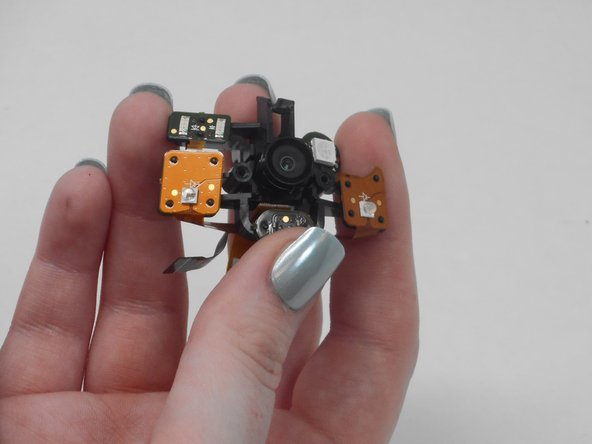
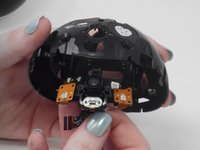
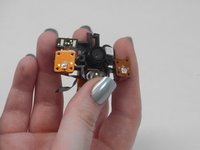
To reassemble your device, follow these instructions in reverse order.

Team

University of Memphis, Team 4-5, Sneed Spring 2024 Member of University of Memphis, Team 4-5, Sneed Spring 2024
UM-SNEED-S24S4G5
4 Members
72 Guides authored
