Introduction
This replacement should take approximately an hour and a half (replacement time may vary). This guide details how to replace the tablet's motherboard by detaching and removing the motherboard after separating the motherboard from the other parts of the tablet.
What you need
-
-
-
Remove back of Ematic FunTab by using the plastic opening tool to pry the back open.
 Ask FixBot
-
-
-
Next, you need to remove all connections to the motherboard and the device.
-
Start by first removing the tape from all the connections.
-
Be careful not to remove the camera.
-
-
-
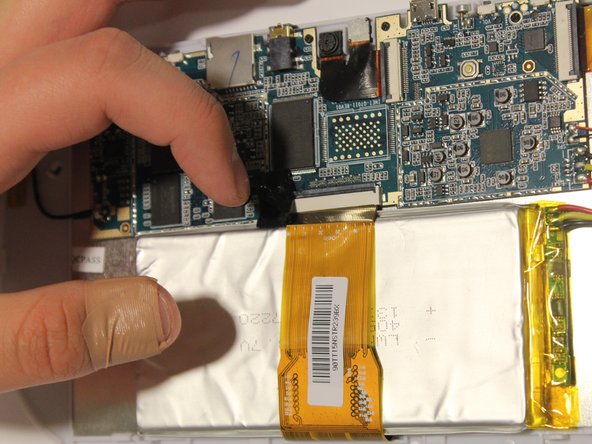
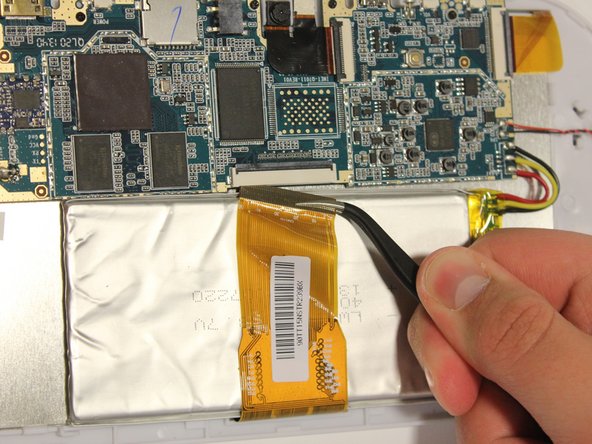
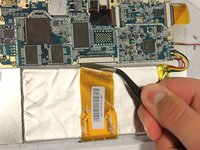
Remove LCD connector from the LCD.
-
Be sure to flip up the retaining tabs before pulling the LCD connector out. (It is the black tab on the connection port).
-
-
-
Tool used on this step:Tweezers$4.99
-
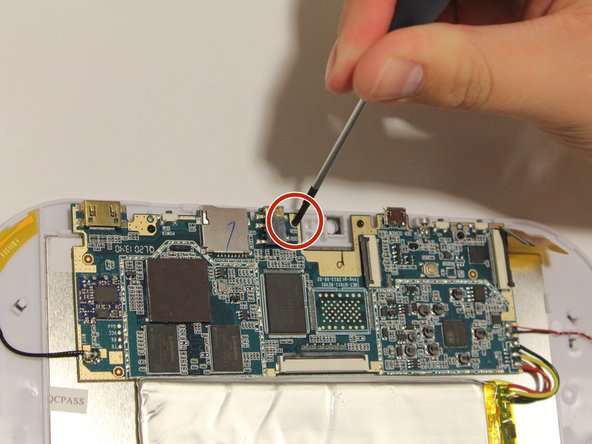
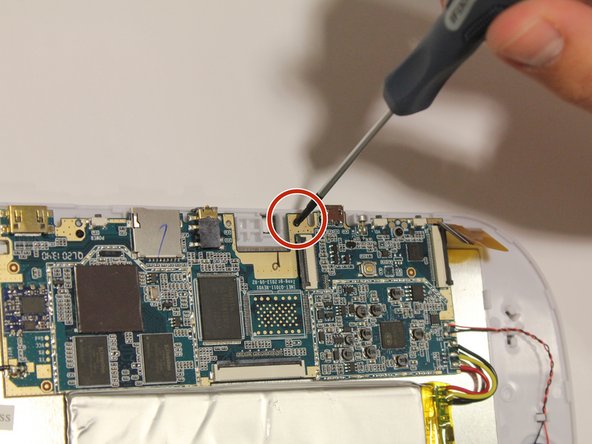
Remove camera connection from camera with tweezers.
-
Again, be sure to flip up the retaining tab before pulling the connector.
-
-
-
Remove speaker connection from speaker with tweezers.
-
Before pulling the speaker connection make sure the retaining tab is flipped up.
-
-
-
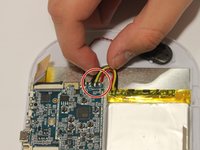
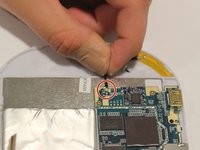
Remove wires:
-
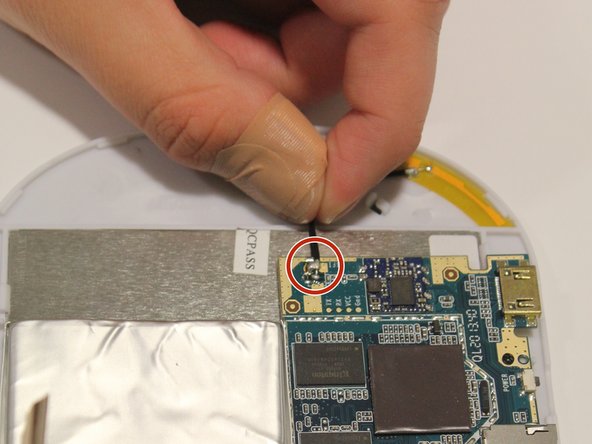
Start by removing the black wire on each side.
-
Next, remove the WiFi antenna wire from the motherboard.
-
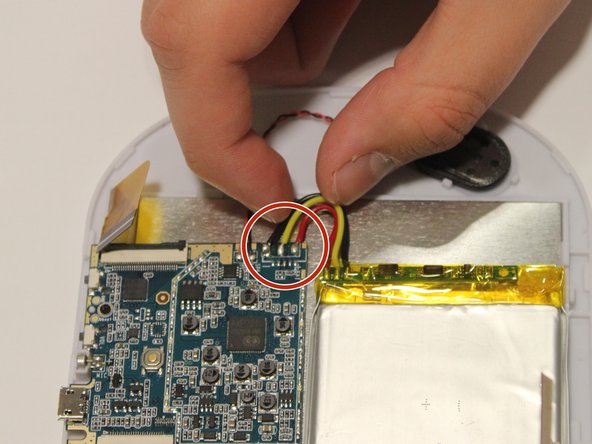
Finally, remove the yellow, red, and black wires.
-
To put the wires back in their correct locations you will need a soldering iron to solder the wire back in place. You will do this once the motherboard is replaced. Here is a guide on how to solder How To Solder and Desolder Connections
-
-
-
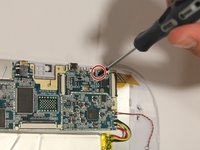
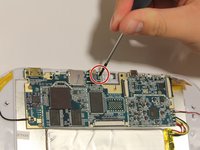
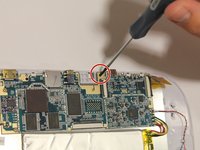
Unscrew all four screws on motherboard with the Phillip's head screwdriver.
-
All of the screws are the same size, and should all fit in either corresponding screw location.
-
-
-
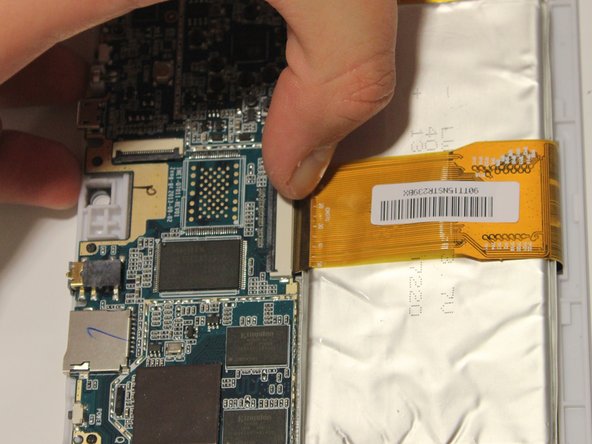
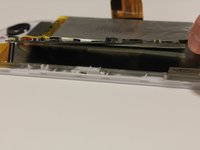
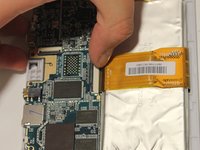
It is now safe to remove and replace the old motherboard with your new motherboard.
-
-






To reassemble your device, follow these instructions in reverse order.
Cancel: I did not complete this guide.
One other person completed this guide.

Team

University of Alabama, Team 1-1, Naidoo Spring 2015 Member of University of Alabama, Team 1-1, Naidoo Spring 2015
UA-NAIDOO-S15S1G1
4 Members
24 Guides authored
