Introduction
If the speaker on your tablet is blown or no longer outputting sound then you may need to replace it, this guide will teach you exactly how to replace your tablets speaker.
What you need
-
-
There are two screws on the side with the micro USB power port. Remove the two 2mm x 0.5mm screws with a Phillips #0 Screwdriver head.
 Ask FixBot
-
-
-
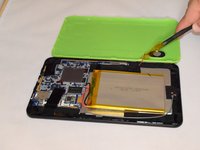
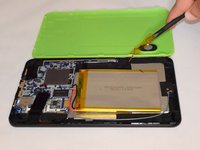
Pry off the plastic backing with the spudger and the plastic opening tools. Anything that can provide enough leverage and not conduct electricity will also work for this purpose.
-
-
-
-
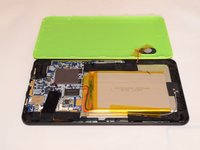
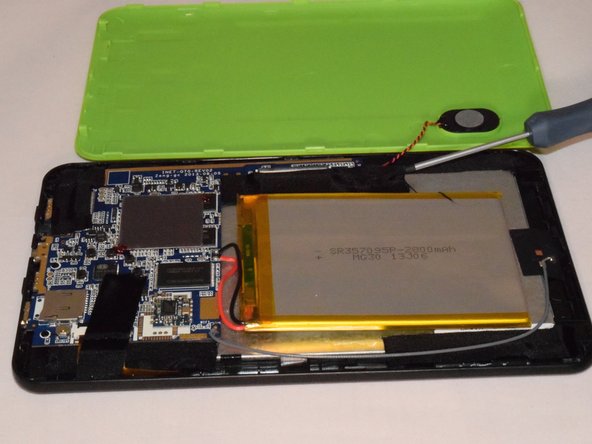
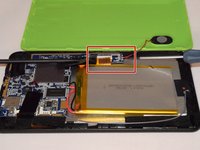
Once you pry off the plastic backing, you will expose the battery and the motherboard. Then remove the tape on the speaker wire.
-
-
-
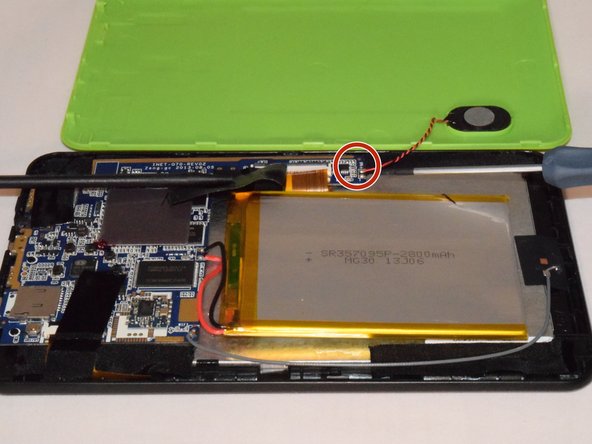
Carefully remove tapes holding speaker in place.
-
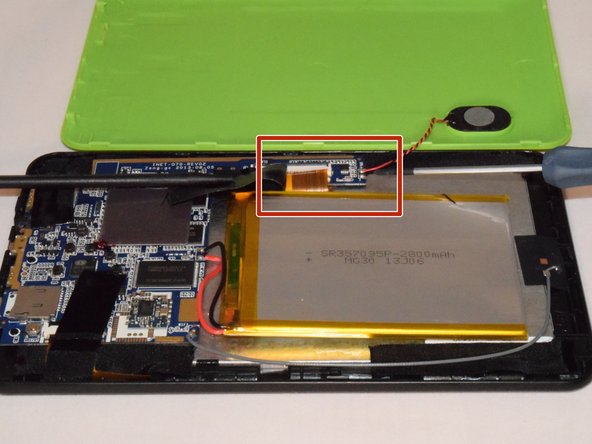
Disconnect the speaker wires from the motherboard.
-
-
-
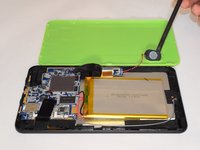
Pry the speaker out of the plastic casing to replace it with the new speaker using the spudger.
-
If replacing the speaker, you will need a soldering kit to reconnect the wires with the new speaker after disconnecting the old speaker.
-


To reassemble your device, follow these instructions in reverse order, note you will need to solder for this replacement.

Team

Eastern Washington University, Team 1-1, Rowley SU 2015 Member of Eastern Washington University, Team 1-1, Rowley SU 2015
EWU-ROWLEY-SU15S1G1
4 Members
10 Guides authored