
Element GC-1020 Screen Replacement

Lashaun Noel and 4 other contributors
Last updated on May 7, 2024
Views: 810
View statistics:
- Past 24 Hours:
- 2
- Past 7 Days:
- 18
- Past 30 Days:
- 108
- All Time:
- 810
Comments: 0
No one has left comments on this guide. Will you be first?
Go to guide commentsCompleted: 2 3
2 people have marked this guide "completed." Will you be next?
3 people have marked this guide "completed." Including you — great job!
Favorites: 0 1
No one has favorited (and subscribed to) this guide. Will you be the first?
1 person has favorited (and subscribed to) this guide — and that's you!
Introduction
Go to step 1 ↓As there is a difference between the screen of the device and the display it is important to know which part needs replacing. If the outer plastic clear portion of your device has cosmetic scratches, cracks, or dents, use this is guide to replace the screen. Run a finger on the outer surface of the device to determine which part has been damaged.
What you need
Tools


-
-
-
Unscrew the four screws (size: 3.175mm) on the left and right side of the Element Electronics GC-1020 device using the PH#0 screwdriver.
 Ask FixBot
-
-
-
Carefully pull the back of the device (the silver portion) apart from the rest of the device.
-
-
-
-
-
Tool used on this step:Tweezers$4.99
-
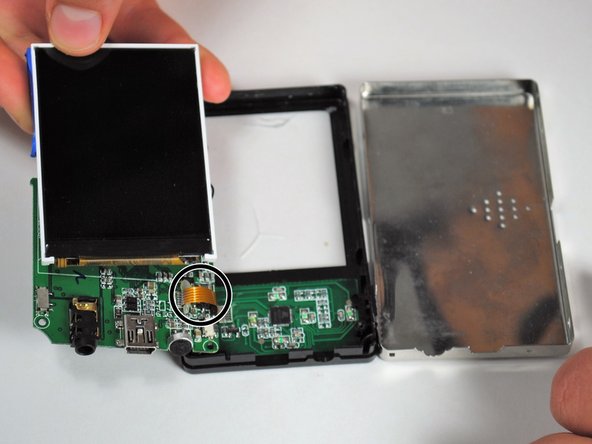
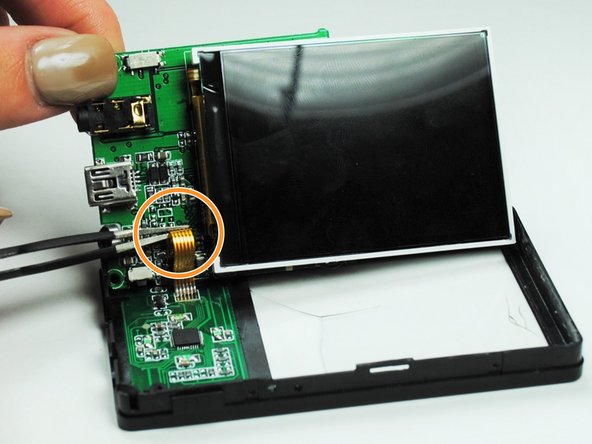
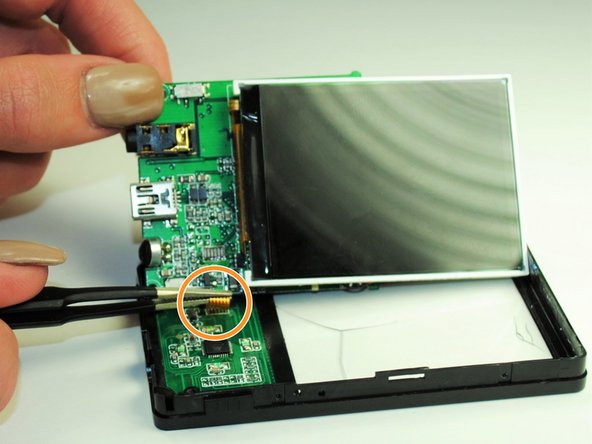
Detach the screen by disconnecting the thin piece of ribbon cable attached to the PCB (printed circuit board).
-
Use a pair of tweezers to carefully pull the ribbon from the circuit board.
-
-
-
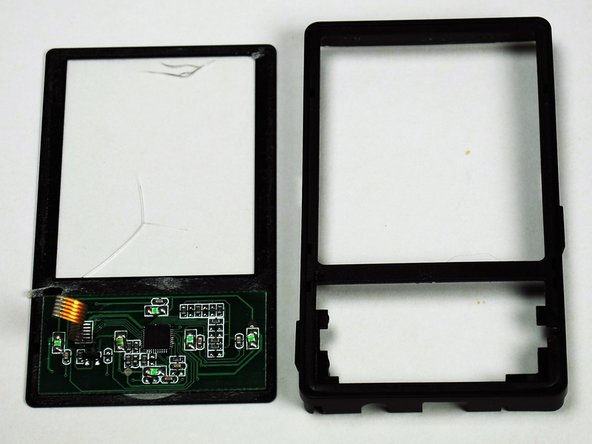
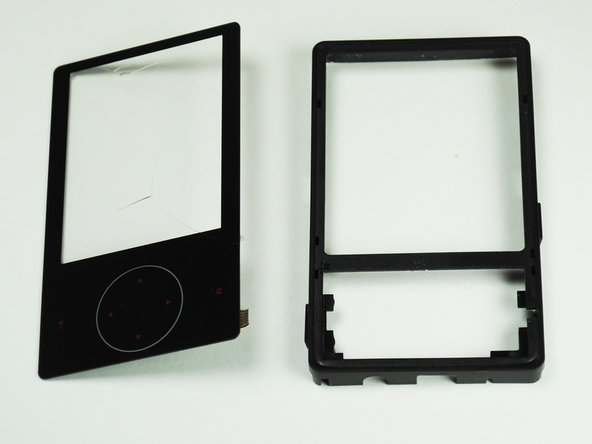
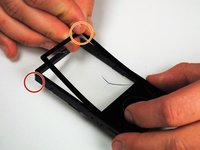
Carefully pry apart the screen from the frame of the device.
-
Separate the two by peeling away the thin plastic layer that makes up the screen of the device.
-




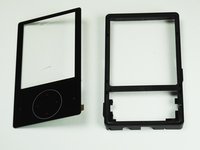
To reassemble your device, follow these instructions in reverse order.
Cancel: I did not complete this guide.
2 other people completed this guide.

Team

University of Tampa, Team 1-4, Whiteside Fall 2015 Member of University of Tampa, Team 1-4, Whiteside Fall 2015
UT-WHITESIDE-F15S1G4
4 Members
60 Guides authored
