Introduction
Use this guide to replace your Electric Lint Remover's faulty or damaged blade. This guide is specific to the Rolling Lint Remover from the Japanese company Daiso. However, electric lint removers from companies such as Wellco, Smartasin, and Feek have similar designs.
The blades are necessary to remove lint balls from fabrics. A dull blade may make clothing appear worse or simply not perform its function of removing lint and fuzz.
Before using this guide, ensure your Electric Lint Roller's blades are inserted correctly. Before beginning the guide, remove the batteries from the device. To ensure a dull blade or blades is the issue, follow steps 1-3 and quickly inspect if the blades are not loose from the compartment or something else is hindering the blades' rotation.
It is difficult to find a single blade replacement, but feel free to purchase the entire blade compartment that can be found at prices as low as fifty-five cents. This way, a singular blade or the entire compartment may be replaced so the device performs as it was just purchased.
What you need
-
-
-
Use your flathead screwdriver to get in between the device and the blades.
-
Push the plastic blade holder outward from the device until it pops off.
-
-
-
-
Lift the wire out of the defective blade's hole, using the flathead screwdriver.
-
-
-
Flip the cap onto its backside and firmly hold down the side with the loose blade.
-
Pull back the wire using your fingers, and insert wire back into the blade hole.
-
-
-
Insert the plastic blade holder back on the shaft of the device, by aligning the hexagonal hole on the cap with the shaft.
-
Press down gently on the plastic blade cap.
-


 Ask FixBot


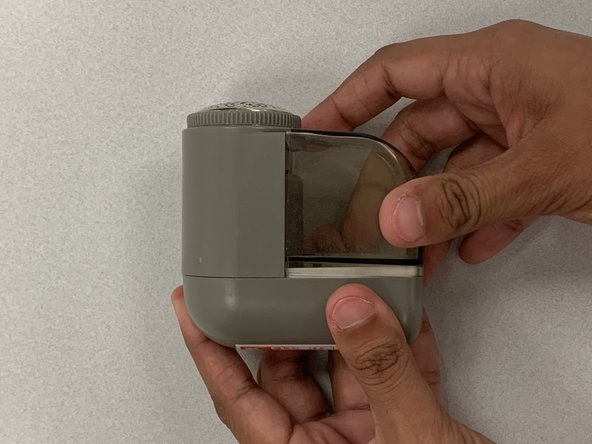

We hope this guide helped you. Happy Fixing!
Cancel: I did not complete this guide.
One other person completed this guide.

Team

CSU Los Angeles, Team 9-4, Ribeiro Fall 2023 Member of CSU Los Angeles, Team 9-4, Ribeiro Fall 2023
CSULA-RIBEIRO-F23S9G4
3 Members
12 Guides authored
