Free Shipping on Domestic Orders $75+

Electric Eel Top Feeder Assembly Replacement

What you need

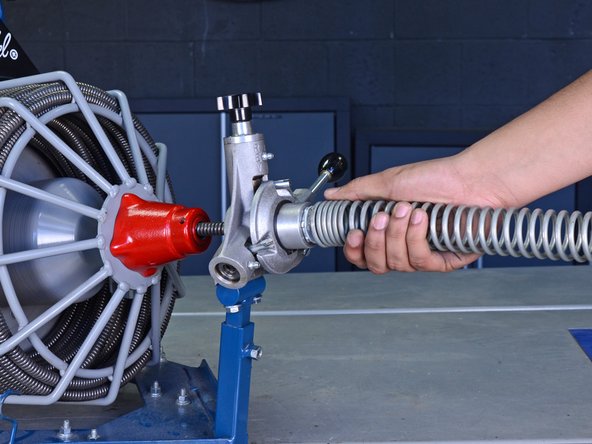
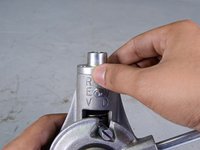
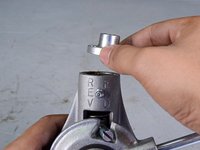
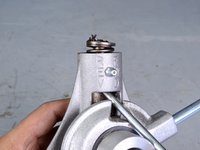
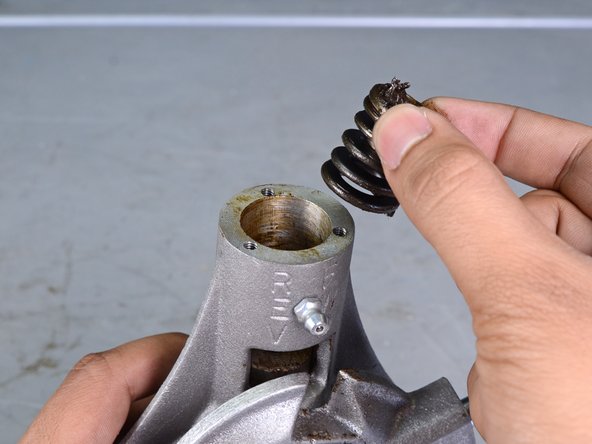
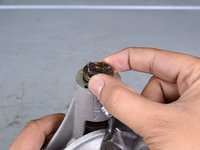
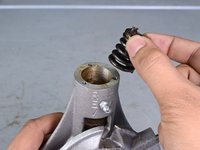
  1. Electric Eel Top Feeder Assembly Replacement, Remove the Guide Spring: step 1, image 1 of 3 Electric Eel Top Feeder Assembly Replacement, Remove the Guide Spring: step 1, image 2 of 3 Electric Eel Top Feeder Assembly Replacement, Remove the Guide Spring: step 1, image 3 of 3
    • Unplug your drain cleaner before starting this guide. Because this device may have been used in a septic setting, it should be cleaned and disinfected as much as possible before disassembly.

    • Wear gloves to protect your hands from injury when handling the cable.

    • Ensure the cable is completely retracted into the auto-feeder.

    • Twist the guide spring counter-clockwise to unscrew it from the auto-feeder.

    • Remove the guide spring.

    Ask FixBot

    Add Comment

  2. Electric Eel Top Feeder Assembly Replacement, Release the Tension Spring: step 2, image 1 of 3 Electric Eel Top Feeder Assembly Replacement, Release the Tension Spring: step 2, image 2 of 3 Electric Eel Top Feeder Assembly Replacement, Release the Tension Spring: step 2, image 3 of 3
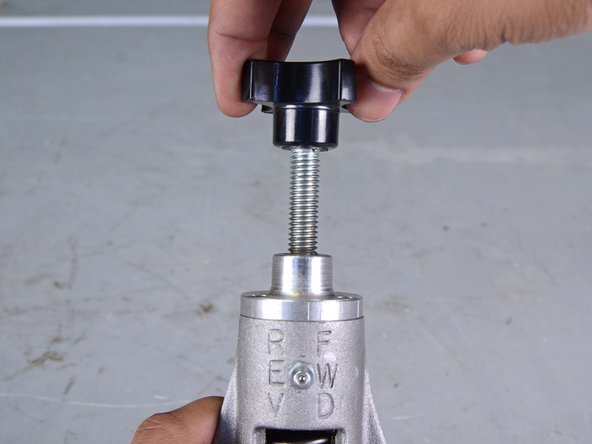
    • Unscrew the tension knob to loosen the tension spring in the top feeder assembly.

    Ask FixBot

    Add Comment

  3. Electric Eel Top Feeder Assembly Replacement, Set the Feeder in Neutral Position: step 3, image 1 of 3 Electric Eel Top Feeder Assembly Replacement, Set the Feeder in Neutral Position: step 3, image 2 of 3 Electric Eel Top Feeder Assembly Replacement, Set the Feeder in Neutral Position: step 3, image 3 of 3
    • Set the feeder adjustment knob in the neutral position, in between the "FWD" and "REV" positions.

    Ask FixBot

    Add Comment

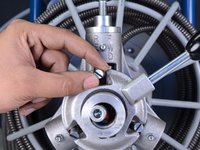
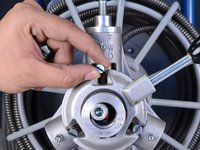
  4. Electric Eel Top Feeder Assembly Replacement, Disengage the Top Bearing: step 4, image 1 of 2 Electric Eel Top Feeder Assembly Replacement, Disengage the Top Bearing: step 4, image 2 of 2
    • Push the top control finger up as far as possible.

    • This disengages the top feeder assembly and allows the cable to freely move through the feeder. The finger may fall back down on its own and restrict cable movement. If this occurs, simply push the finger back up.

    Ask FixBot

    Add Comment

  5. Electric Eel Top Feeder Assembly Replacement, Remove the Auto-Feeder: step 5, image 1 of 1
    • Use a 1/2" open-ended wrench to remove the two bolts from the bottom of the feeder body mounting arm.

    Ask FixBot

    Add Comment

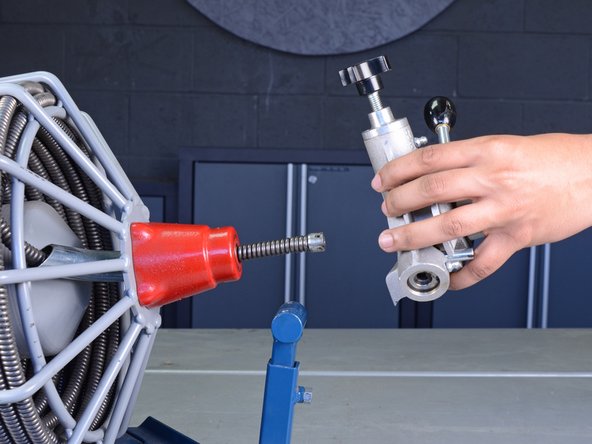
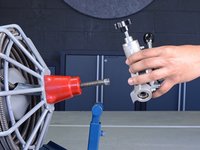
  6. Electric Eel Top Feeder Assembly Replacement: step 6, image 1 of 2 Electric Eel Top Feeder Assembly Replacement: step 6, image 2 of 2
    • Remove the auto-feeder from the cable.

    • If the end of the cable won't pass through the feeder, ensure that the top bearing is completely disengaged as described in step 4 of this guide.

    Ask FixBot

    Add Comment

  7. Electric Eel Top Feeder Assembly Replacement, Install the Roll Pin: step 7, image 1 of 1
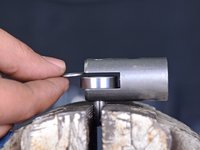
    • Use a vise to compress the roll pin until there is no longer space in the roll pin's slot.

    Ask FixBot

    Add Comment

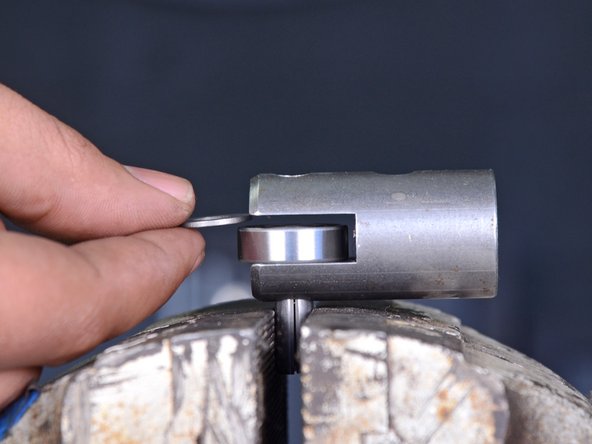
  8. Electric Eel Top Feeder Assembly Replacement: step 8, image 1 of 3 Electric Eel Top Feeder Assembly Replacement: step 8, image 2 of 3 Electric Eel Top Feeder Assembly Replacement: step 8, image 3 of 3
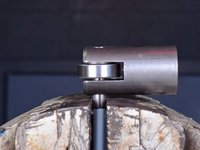
    • Use a dead blow hammer or mallet to tap down the bearing carrier onto the roll pin until the pin just begins to peek into the bearing channel.

    • Ensure you are using the correct bearing carrier for this step. The top bearing assembly uses the shorter carrier, while the two lower bearing assemblies use the longer carrier.

    Ask FixBot

    Add Comment

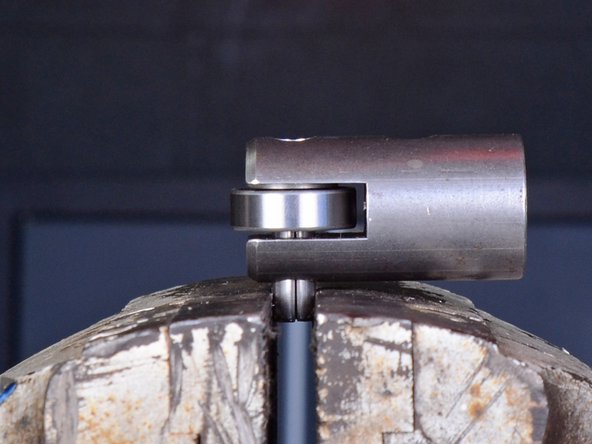
  9. Electric Eel Top Feeder Assembly Replacement: step 9, image 1 of 3 Electric Eel Top Feeder Assembly Replacement: step 9, image 2 of 3 Electric Eel Top Feeder Assembly Replacement: step 9, image 3 of 3
    • Insert a bearing and the bearing spacer into the bearing channel.

    • Ensure that the bearing and spacer are aligned with the roll pin and hole in the bearing carrier.

    Ask FixBot

    Add Comment

  10. Electric Eel Top Feeder Assembly Replacement: step 10, image 1 of 1
    • Continue to tap down the bearing carrier until the bearing and spacer are fully secured around the roll pin.

    • You will need to unclamp and reposition the roll pin upwards to continue tapping it into the bearing carrier. Do this as many times as is necessary to sufficiently support the roll pin.

    Ask FixBot

    Add Comment

  11. Electric Eel Top Feeder Assembly Replacement: step 11, image 1 of 1
    • Use a roll pin punch to finish seating the roll pin into place.

    • Place a piece of cloth or mat on top of the vise below the bearing carrier to prevent marring the outer surface of the bearing carrier.

    • Before moving to the next step, ensure the roll pin is fully seated and completely within the bearing carrier. A slightly exposed roll pin may damage the inside of your feeder body when the bearing carrier assembly is being installed.

    Ask FixBot

    Add Comment

  12. Electric Eel Top Feeder Assembly Replacement, Remove the Tension Knob: step 12, image 1 of 3 Electric Eel Top Feeder Assembly Replacement, Remove the Tension Knob: step 12, image 2 of 3 Electric Eel Top Feeder Assembly Replacement, Remove the Tension Knob: step 12, image 3 of 3
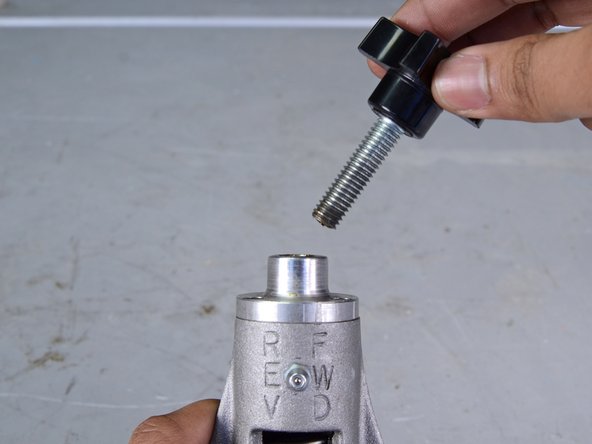
    • Unscrew and remove the tension knob from the top feeder assembly.

    Ask FixBot

    Add Comment

  13. Electric Eel Top Feeder Assembly Replacement, Remove the feeder cap: step 13, image 1 of 1
    • Use a 9/64" hex key to remove the three bolts from the top of the feeder.

    Ask FixBot

    Add Comment

  14. Electric Eel Top Feeder Assembly Replacement: step 14, image 1 of 2 Electric Eel Top Feeder Assembly Replacement: step 14, image 2 of 2
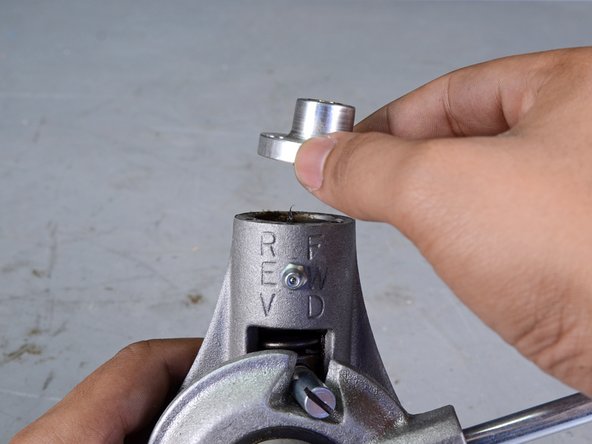
    • Remove the top feeder assembly cap.

    Ask FixBot

    Add Comment

  15. Electric Eel Top Feeder Assembly Replacement, Remove the Control Finger: step 15, image 1 of 1
    • Use a flat head screwdriver to remove the top control finger.

    Ask FixBot

    Add Comment

  16. Electric Eel Top Feeder Assembly Replacement, Remove the Tension Spring: step 16, image 1 of 2 Electric Eel Top Feeder Assembly Replacement, Remove the Tension Spring: step 16, image 2 of 2
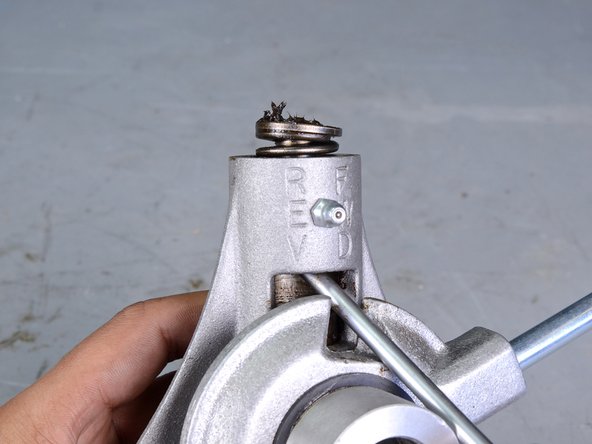
    • Insert a flathead screwdriver or other long tool underneath the tension spring in the top feeder assembly.

    • Use the tool to push up on the spring and ball bearing carrier so you can remove them by hand.

    Ask FixBot

    Add Comment

  17. Electric Eel Top Feeder Assembly Replacement: step 17, image 1 of 2 Electric Eel Top Feeder Assembly Replacement: step 17, image 2 of 2
    • Remove the ball bearing carrier and tension spring.

    Ask FixBot

    Add Comment

  18. Electric Eel Top Feeder Assembly Replacement, Remove the Bearing Carrier Assembly: step 18, image 1 of 3 Electric Eel Top Feeder Assembly Replacement, Remove the Bearing Carrier Assembly: step 18, image 2 of 3 Electric Eel Top Feeder Assembly Replacement, Remove the Bearing Carrier Assembly: step 18, image 3 of 3
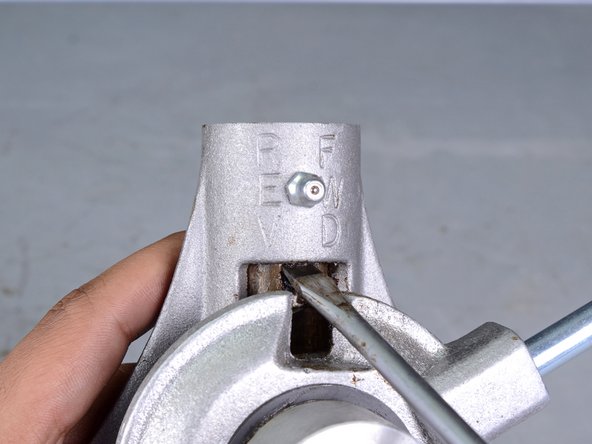
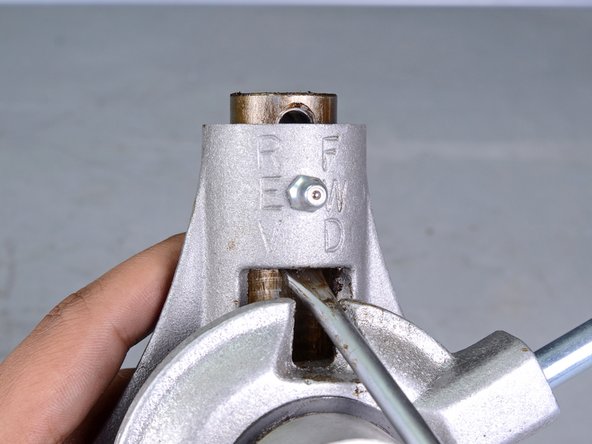
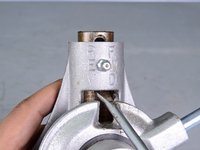
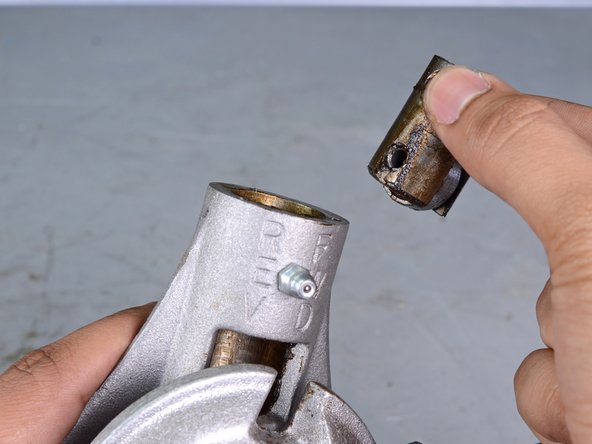
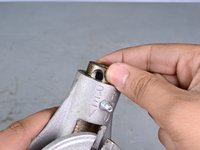
    • Use a flathead screwdriver or other long tool to push up on the bearing carrier so you can remove it by hand.

    Ask FixBot

    Add Comment

  19. Electric Eel Top Feeder Assembly Replacement: step 19, image 1 of 2 Electric Eel Top Feeder Assembly Replacement: step 19, image 2 of 2
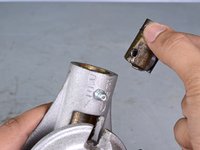
    • Remove the top bearing carrier assembly from the feeder body.

    Ask FixBot

    Add Comment

Conclusion

To reassemble your device, follow these instructions in reverse order.

After reassembly: Ensure the assembly you just installed is sufficiently lubricated using the Zerk fitting on the feeder body.

Cancel: I did not complete this guide.

2 other people completed this guide.

Tarun Thiruma

Member since: 11/20/19

40,423 Reputation

134 Guides authored

0 Guide Comments

Add Comment

View Statistics:

Past 24 Hours: 1

Past 7 Days: 12

Past 30 Days: 67

All Time: 2,594