Free Shipping on Domestic Orders $75+

Edwin the Duck Rubber Heart Power Button Replacement

What you need

    1. Edwin the Duck Rubber Heart Power Button Replacement, Rubber Heart Power Button: step 1, image 1 of 2 Edwin the Duck Rubber Heart Power Button Replacement, Rubber Heart Power Button: step 1, image 2 of 2
      • Unscrew the four 9mm screws with a T8 bit

      • Remove the back plate off

      Ask FixBot

      Add Comment

    2. Edwin the Duck Rubber Heart Power Button Replacement: step 2, image 1 of 2 Edwin the Duck Rubber Heart Power Button Replacement: step 2, image 2 of 2
      • Carefully take off the rubber skin.

      • It's important to remember to be patient and not rush. You don't want to rip or damage the rubber skin in then resulting in not having a waterproof cover.

      Ask FixBot

      Add Comment

    3. Edwin the Duck Rubber Heart Power Button Replacement: step 3, image 1 of 1
      • Using the J1 bit, unscrew all six 9 mm screws that run along the border.

      Ask FixBot

      Add Comment

    4. Edwin the Duck Rubber Heart Power Button Replacement: step 4, image 1 of 2 Edwin the Duck Rubber Heart Power Button Replacement: step 4, image 2 of 2
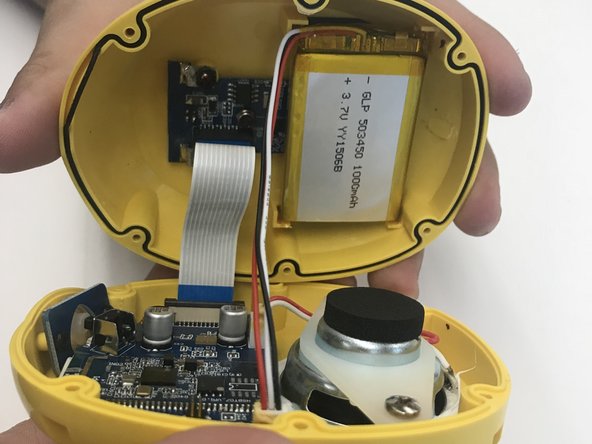
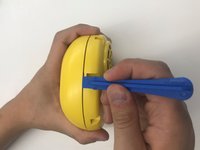
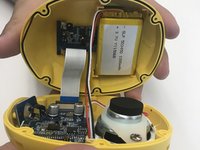
      • Use the plastic opening tool to open the inside of the duck.

      • Be very careful when splitting the two halves apart. There are wires connecting to both sides. Remember to open slowly.

      Ask FixBot

      Add Comment

    5. Edwin the Duck Rubber Heart Power Button Replacement: step 5, image 1 of 2 Edwin the Duck Rubber Heart Power Button Replacement: step 5, image 2 of 2
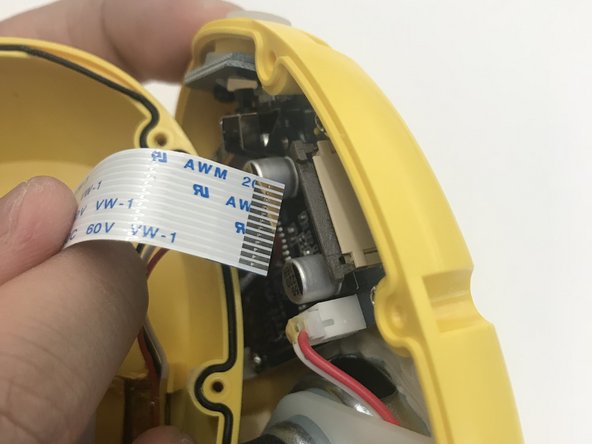
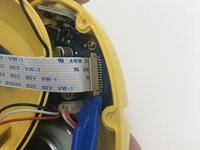
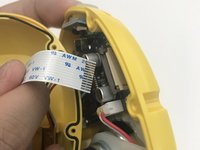
      • Using the plastic opening tool pull up the black tab up until it stops.

      • Be careful not to pull up the black tab too far up, otherwise the cable won't be secure anymore.

      • Pull up the white cable tab up slowly

      Ask FixBot

      Add Comment

    6. Edwin the Duck Rubber Heart Power Button Replacement: step 6, image 1 of 2 Edwin the Duck Rubber Heart Power Button Replacement: step 6, image 2 of 2
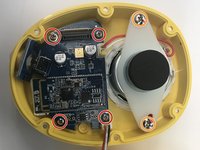
      • Use the J1 bit to unscrew all four 9 mm screws connected to the motherboard.

      • Use the J1 bit to unscrew both 9 mm screws attached to the white plastic plate

      Ask FixBot

      Add Comment

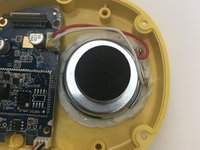
    7. Edwin the Duck Rubber Heart Power Button Replacement: step 7, image 1 of 1
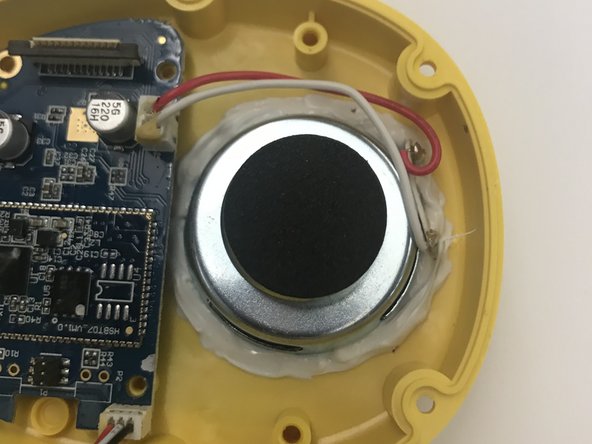
      • Lift up the motherboard and speaker and place it away and to the side like you see in the picture

      Ask FixBot

      Add Comment

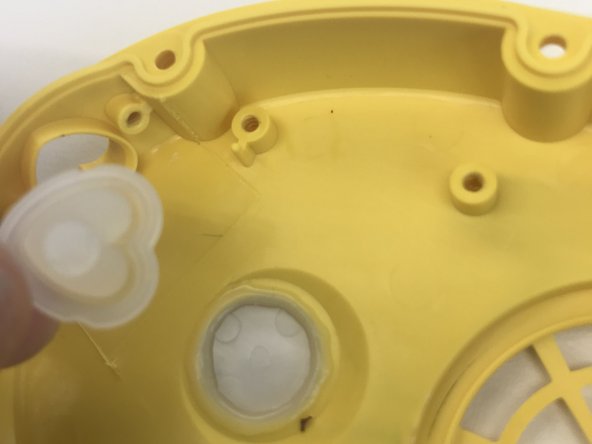
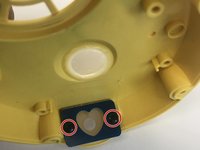
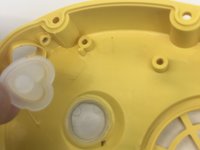
    8. Edwin the Duck Rubber Heart Power Button Replacement: step 8, image 1 of 2 Edwin the Duck Rubber Heart Power Button Replacement: step 8, image 2 of 2
      • Unscrew the two black 9 mm screws by using the J1 bit.

      • Remove the damaged rubber heart button and replace with a new rubber heart button.

      Ask FixBot

      Add Comment

Conclusion

To reassemble your device, follow these instructions in reverse order.

Cancel: I did not complete this guide.

2 other people completed this guide.

Michelle Montano

Member since: 10/18/17

116 Reputation

1 Guide authored

Team

UW Tacoma, Team S1-G4, Rose Fall 2017 Member of UW Tacoma, Team S1-G4, Rose Fall 2017

UWT-ROSE-F17S1G4

3 Members

12 Guides authored

0 Guide Comments

Add Comment

View Statistics:

Past 24 Hours: 1

Past 7 Days: 7

Past 30 Days: 27

All Time: 1,095