
Edwin the Duck Motherboard Replacement

Caleb Kim and 3 other contributors
Last updated on Dec 12, 2017
Views: 919
View statistics:
- Past 24 Hours:
- 3
- Past 7 Days:
- 16
- Past 30 Days:
- 91
- All Time:
- 919
Comments: 0
No one has left comments on this guide. Will you be first?
Go to guide commentsCompleted: 1 2
1 person has marked this guide "completed." Will you be next?
2 people have marked this guide "completed." Including you — great job!
Favorites: 0 1
No one has favorited (and subscribed to) this guide. Will you be the first?
1 person has favorited (and subscribed to) this guide — and that's you!
Introduction
Go to step 1 ↓Edwin the interactive toy cannot work if the central most crucial part of Edwin, which is the motherboard, does not work. If there is water damage, and Edwin is no longer working, this guide will take you through the steps of replacing it.
What you need


-
-
-
Unscrew the four 9mm screws with a T8 screwdriver bit
-
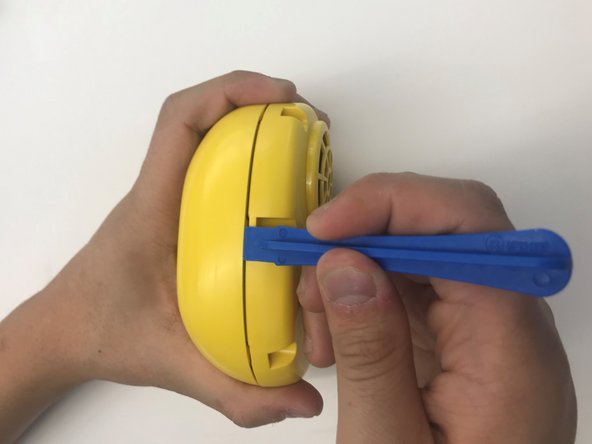
Remove the back plate off
 Ask FixBot
-
-
-
Using the J1 screwdriver bit, unscrew all six 9 mm screws that run along the border.
-
-
-
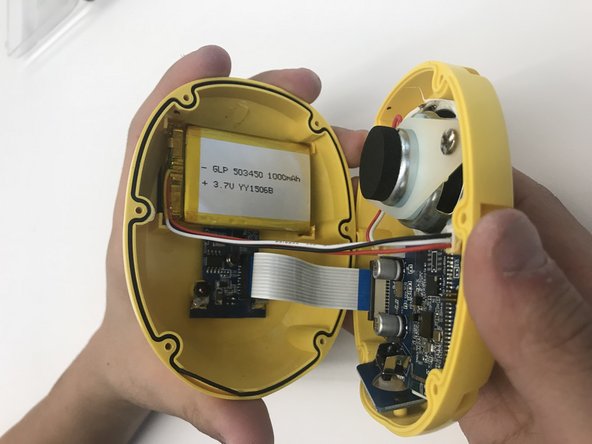
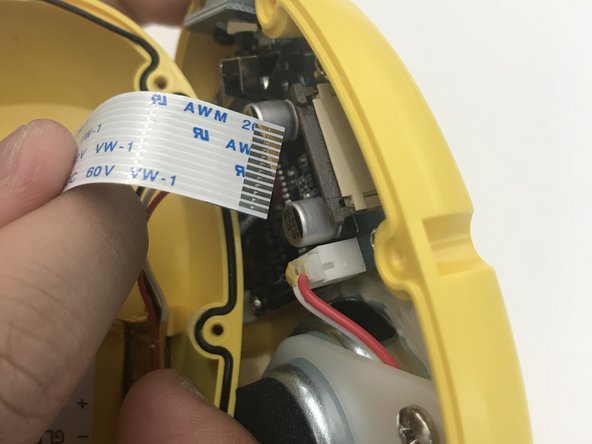
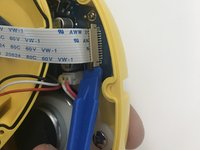
Using the plastic opening tool pull up the black tab up until it stops.
-
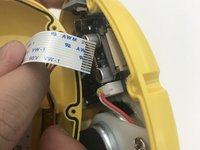
Pull up the white cable tab, up slowly
-
-
-
-
Use the J1 screwdriver bit to unscrew all four 9 mm screws attached to the motherboard.
-
-
-
Remove the top connector as you see in the picture.
-
Replace the new motherboard and you are finished.
-
-





To reassemble your device, follow these instructions in reverse order.
Cancel: I did not complete this guide.
One other person completed this guide.

Team

UW Tacoma, Team S1-G4, Rose Fall 2017 Member of UW Tacoma, Team S1-G4, Rose Fall 2017
UWT-ROSE-F17S1G4
3 Members
36 Guides authored
