Free Shipping on Domestic Orders $75+

Edifier W820NB Plus Battery Replacement

Views: 1.4K

View statistics:

Past 24 Hours:
4
Past 7 Days:
42
Past 30 Days:
160
All Time:
1,372
Comments: 1

1 comment on steps.

Completed: 0

No one has marked this guide "completed." Will you be the first?

Favorites: 0

No one has favorited (and subscribed to) this guide. Will you be the first?

Time Required: 20 - 30 minutes
Difficulty: Difficult
Needs More Images

A few more images would make this guide's procedures crystal clear.

Edifier W820NB Plus Battery Replacement

Introduction

Go to step 1 ↓

If your Edifier W820NB Plus will not charge or turn on, a faulty battery may be the cause. This guide will walk you through how to replace it. Be careful while removing the old battery. If punctured it could be quite dangerous. Make sure to take the old battery to a recycling center. Old batteries cannot be thrown away with regular trash.

This guide requires soldering. If you're unfamiliar with soldering, review the How to Solder and Desolder Connections guide and take appropriate precautions before beginning.

What you need

Tools

    1. Edifier W820NB Plus Battery Replacement, Ear Pads: step 1, image 1 of 1
      • Start with the headphones face up and the earpads visible.

      Ask FixBot

      Add Comment

    2. Edifier W820NB Plus Battery Replacement: step 2, image 1 of 2 Edifier W820NB Plus Battery Replacement: step 2, image 2 of 2
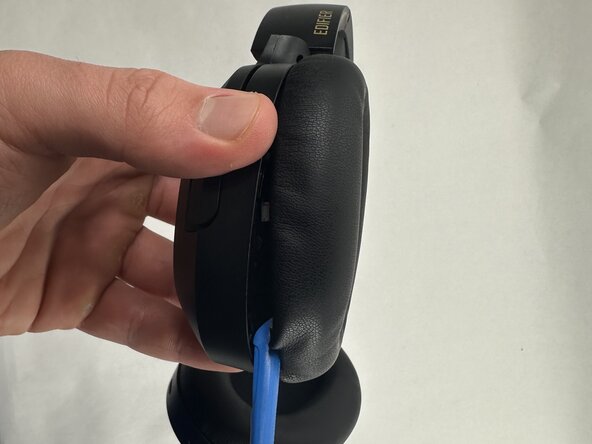
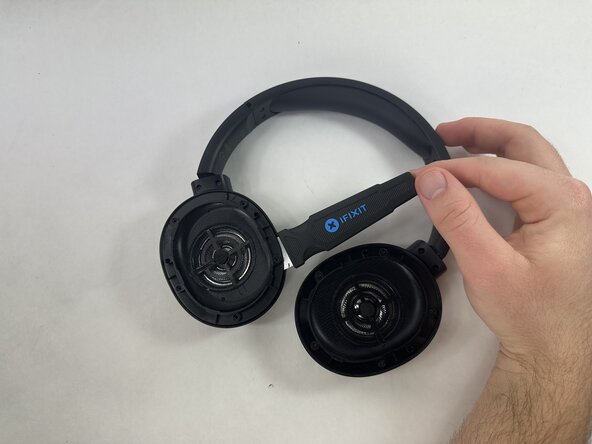
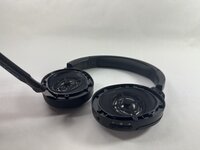
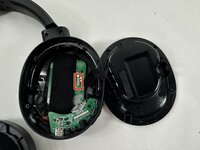
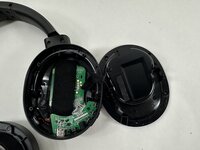
      • Hold the driver housing in one hand and insert an opening tool into the seam between the earpad and driver housing.

      Ask FixBot
      Add Comment

    3. Edifier W820NB Plus Battery Replacement: step 3, image 1 of 2 Edifier W820NB Plus Battery Replacement: step 3, image 2 of 2
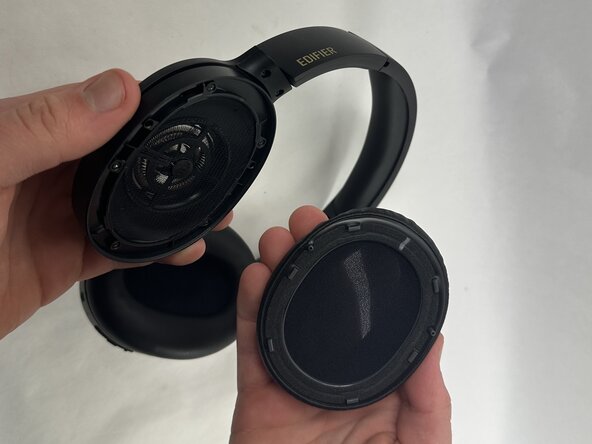
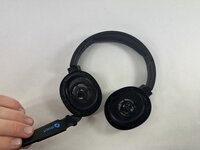
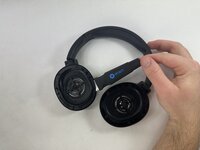
      • With your inserted opening tool, pry around the perimeter of the ear pad until it fully releases.

      • Repeat this procedure for the other side if necessary.

      Ask FixBot
      Add Comment

    4. Edifier W820NB Plus Battery Replacement: step 4, image 1 of 1
      • Repeat for the other side if necessary.

      Ask FixBot
      Add Comment

    1. Edifier W820NB Plus Battery Replacement, Drivers: step 5, image 1 of 1
      • Identify the driver you wish to replace.

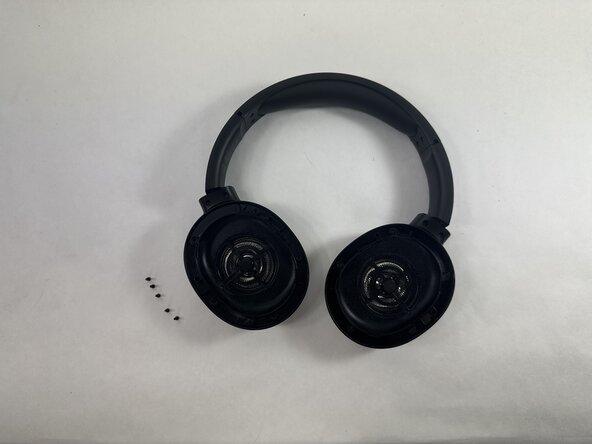
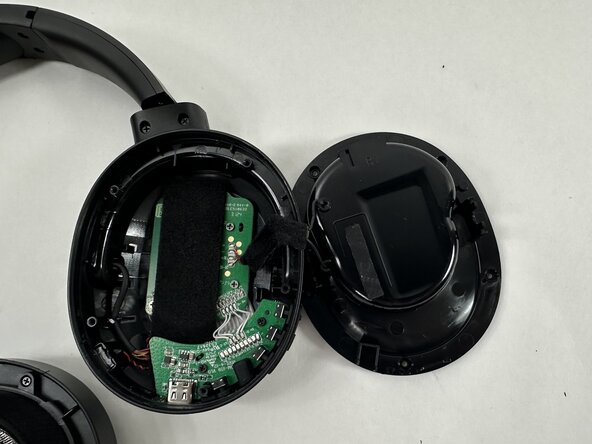
      • This guide will use the left driver as an example but the same steps can be mirrored when replacing or removing the right driver. The battery is under the left driver, while the motherboard and daughterboard are under the right driver.

      Ask FixBot

      Add Comment

    2. Edifier W820NB Plus Battery Replacement: step 6, image 1 of 2 Edifier W820NB Plus Battery Replacement: step 6, image 2 of 2
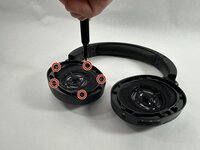
      • Remove all five 5 mm Phillips #0 screws that secure the driver assembly.

      Ask FixBot

      Add Comment

    3. Edifier W820NB Plus Battery Replacement: step 7, image 1 of 3 Edifier W820NB Plus Battery Replacement: step 7, image 2 of 3 Edifier W820NB Plus Battery Replacement: step 7, image 3 of 3
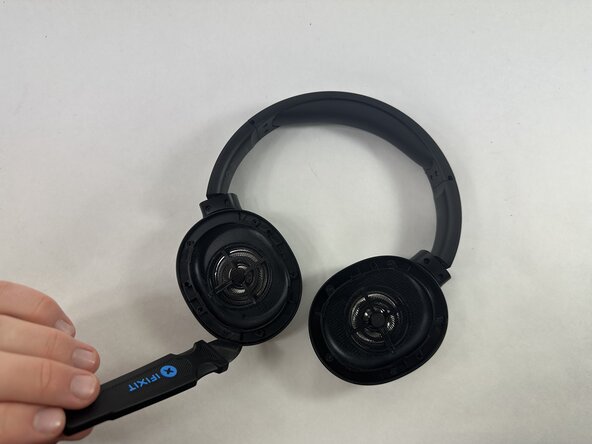
      • Note that the wires for the drivers are on the outermost edge. Try to avoid pushing or cutting them when taking the driver out.

      • Insert a Jimmy in the seam between the driver assembly and driver housing.

      • Rotate the Jimmy along the entire perimeter of the innermost edge to pry it out of place.

      Ask FixBot

      Add Comment

    4. Edifier W820NB Plus Battery Replacement: step 8, image 1 of 2 Edifier W820NB Plus Battery Replacement: step 8, image 2 of 2
      • Gently remove the driver assembly from the rest of the headphone, with care not to strain the connected wire.

      Ask FixBot

      Add Comment

    5. Edifier W820NB Plus Battery Replacement: step 9, image 1 of 2 Edifier W820NB Plus Battery Replacement: step 9, image 2 of 2
      • Skip this step if you are completing a battery replacement.

      • Repeat the procedure for the other driver if necessary.

      • Desolder the four driver connections from the motherboard.

      • Remove the driver assembly.

      Ask FixBot

      Add Comment

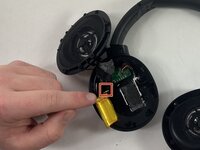
    1. Edifier W820NB Plus Battery Replacement, Battery: step 10, image 1 of 2 Edifier W820NB Plus Battery Replacement, Battery: step 10, image 2 of 2
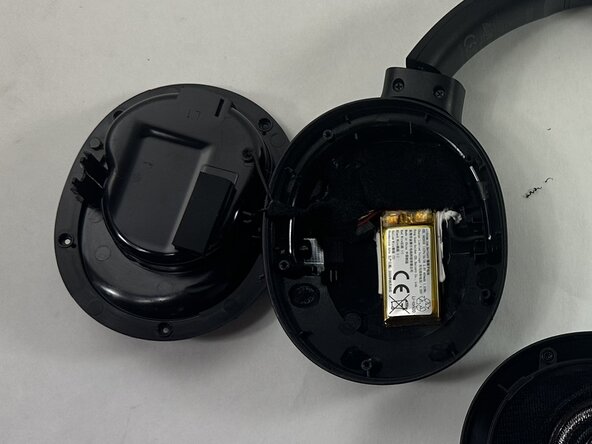
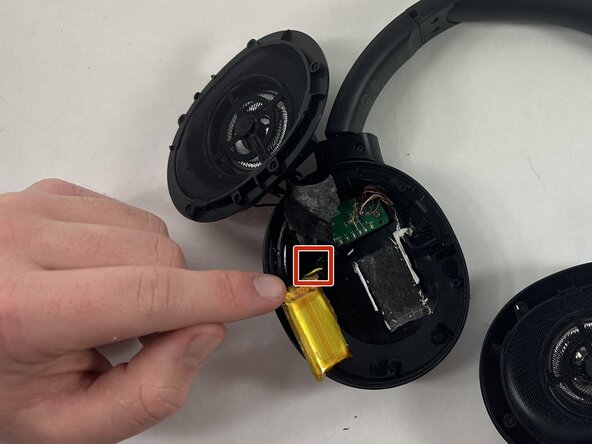
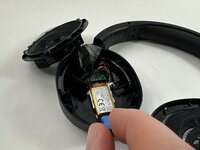
      • Use an iFixit Opening Tool to gently pry off the battery.

      • Do not bend, twist, or puncture the battery.

      • Note that the battery is stuck on with adhesive so it may be difficult to remove. Feel free to lighly heat the battery with a hairdryer or iOpener to loosen the adhesive.

      • Desolder the battery connections.

      Ask FixBot

      Add Comment

Conclusion

To reassemble your device, follow the above steps in reverse order.
For optimal performance, after completing this guide, calibrate your newly installed battery.
Take your e-waste to an R2 or e-Stewards certified recycler.
Repair didn’t go as planned? Try some basic troubleshooting or ask our Answers community for help.

Cancel: I did not complete this guide.

Happy Zhang

Member since: 03/21/25

438 Reputation

4 Guides authored

Team

0 Guide Comments

Add Comment

View Statistics:

Past 24 Hours: 4

Past 7 Days: 42

Past 30 Days: 160

All Time: 1,372